Christmas Bow Decor: 20 Ways to Tie the Look Together
Most Christmas decor does not fail because of one bad purchase. It fails because everything matches too perfectly — the same ornament finish on every branch, the same ribbon repeated until the room looks shrink-wrapped. What is missing is the handmade-feeling detail that makes a decorated home look loved instead of staged. Nine times out…
Most Christmas decor does not fail because of one bad purchase. It fails because everything matches too perfectly — the same ornament finish on every branch, the same ribbon repeated until the room looks shrink-wrapped. What is missing is the handmade-feeling detail that makes a decorated home look loved instead of staged. Nine times out of ten, that detail is a bow.
Bows are the hardest-working decoration in the Christmas playbook. A single well-tied bow can finish a tree topper, rescue a plain wreath, turn a chair into a holiday moment, and make a gift look twice as expensive. They cost almost nothing — ribbon, wire, scissors — and they carry an outsized visual weight because the human eye reads a bow as a deliberate, crafted gesture.
This guide gives you everything in designer order: first the fundamentals (ribbon types, tools, and the three core bow-tying techniques with step-by-step instructions), then 20 styled ways to use bows around your home — trees, garlands, wreaths, gifts, chairs, and the unexpected spots most people miss — plus color pairings that always work and storage tricks so your bows survive to next December.
Why Bows Are Christmas’s Hardest-Working Detail
The direct answer: bows deliver more visual impact per dollar than any other Christmas decoration because they combine color, texture, and a handcrafted signal in a single element that costs $2-5 in materials. Nothing else in the decor aisle offers that ratio.
Think about what a bow actually does in a styled room. On a tree, a bow topper replaces a finicky star or angel and anchors the whole silhouette. On a wreath, it creates a focal point that organizes the eye — without it, a wreath is just a circle of texture. On a chair back, a bow turns ordinary dining furniture into event seating. On a gift, it is the difference between “wrapped” and “presented.” One technique, five jobs.
There is also a trend tailwind. Bows have been everywhere in fashion and interiors for the past two years — on dresses, on curtains, on headboards — and Christmas is where the motif feels most at home. A quick look at Hallmark’s bow-making tutorials shows how much demand there is for the skill itself: people do not just want to buy bows, they want to tie them.
Bow Basics: Ribbon Types and Tools
The direct answer: wired ribbon is the only ribbon that holds complex bow shapes without frustration. Buy 2.5-inch wired ribbon for tree and mantel bows, 1.5-inch for gifts and chairs, and keep floral wire and sharp scissors on hand. Ribbon choice matters more than technique.
Wired vs. Unwired Ribbon
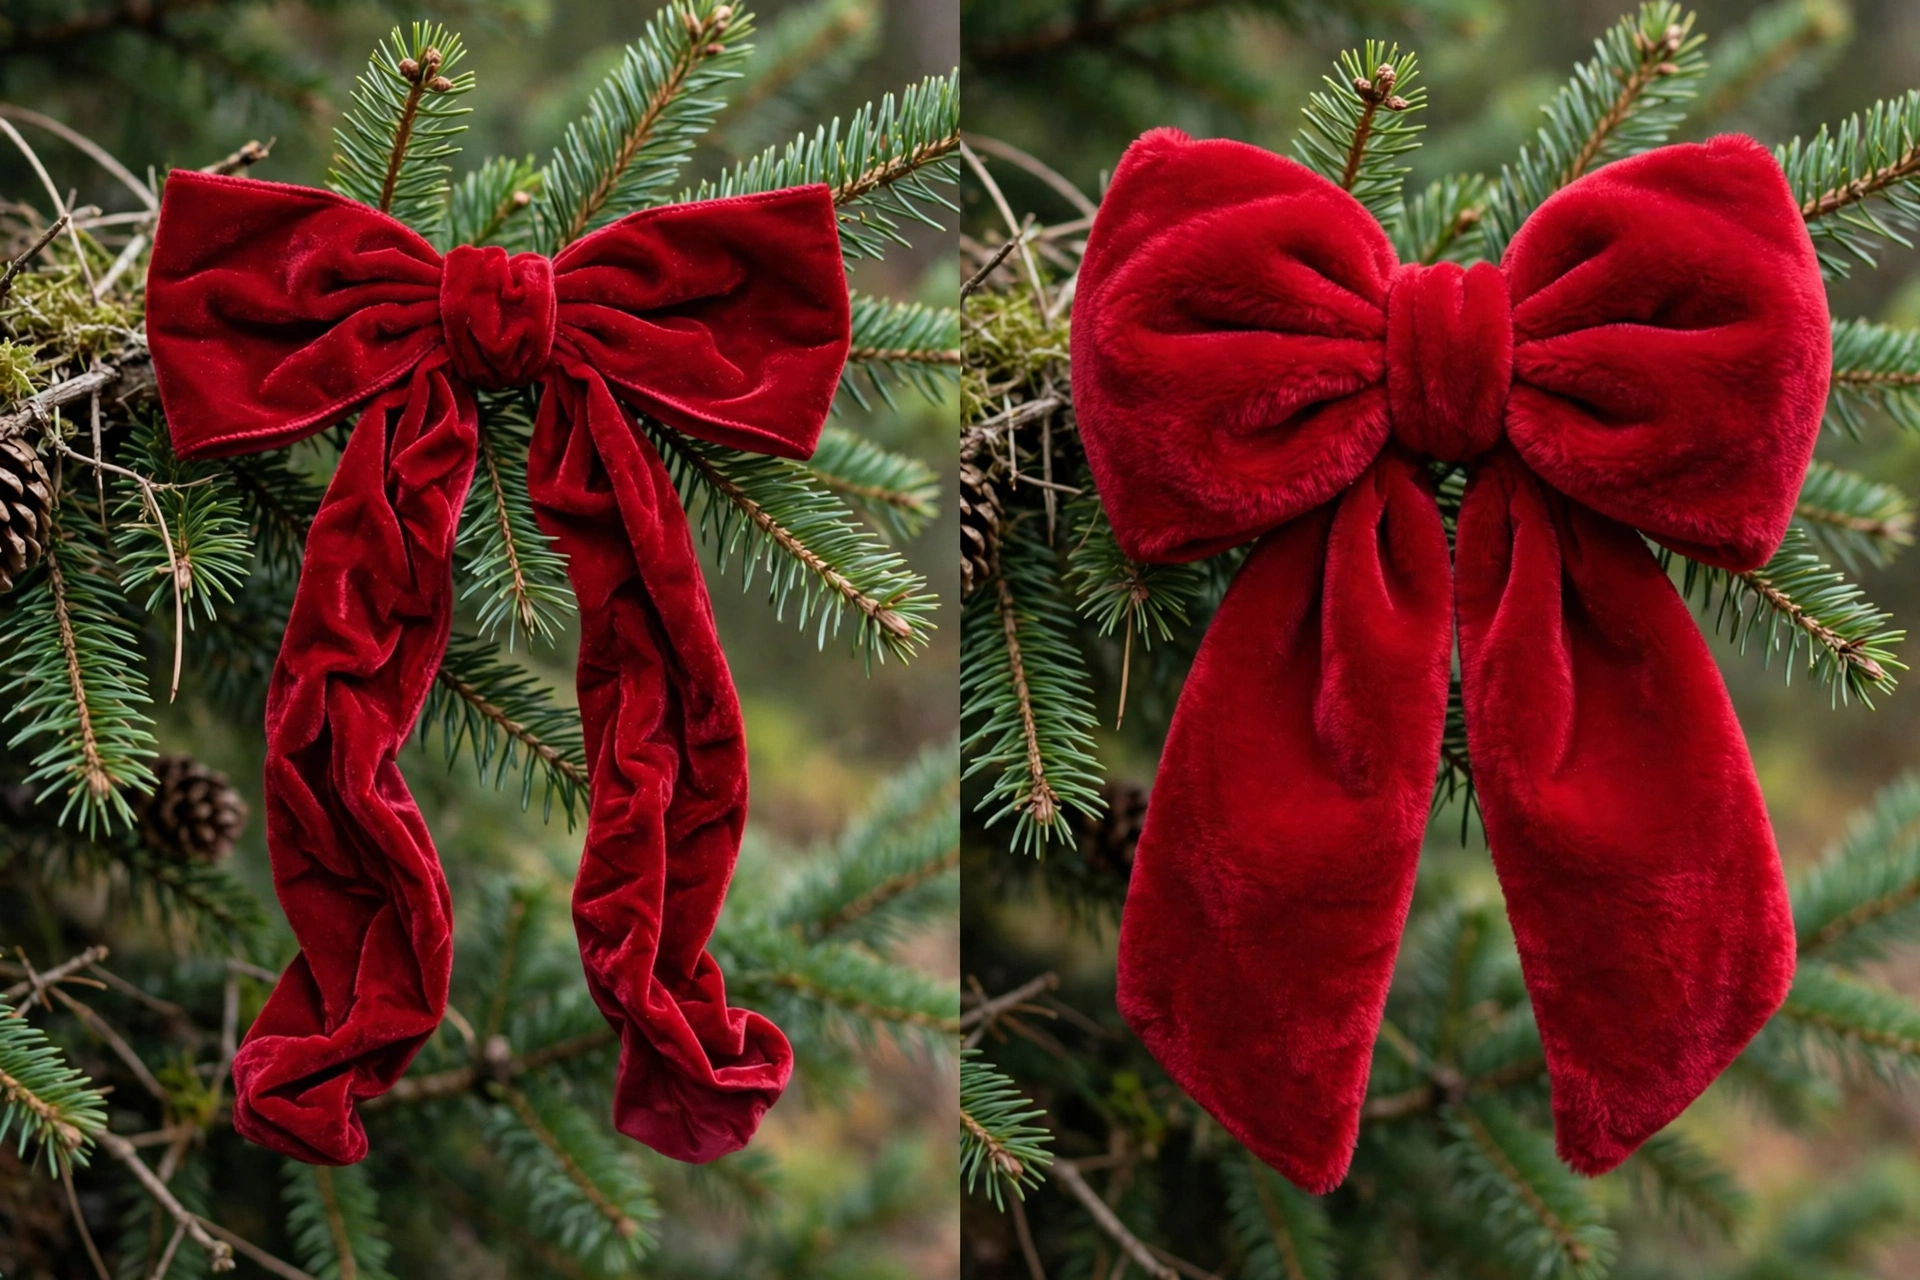
Wired ribbon has a thin wire sewn into each edge, which means loops stay where you put them and tails can be shaped into curves. For any bow larger than a gift box, wired is non-negotiable — unwired ribbon collapses under its own weight and looks sad within a day. Unwired ribbon has its place: simple flat bows on gifts, delicate tied details on ornaments, and anywhere you want a soft, floppy look. Velvet ribbon (almost always wired in the good versions), grosgrain, satin, burlap, and sheer organza each give a different mood — velvet reads luxe, burlap reads rustic, organza reads airy.
The Toolkit
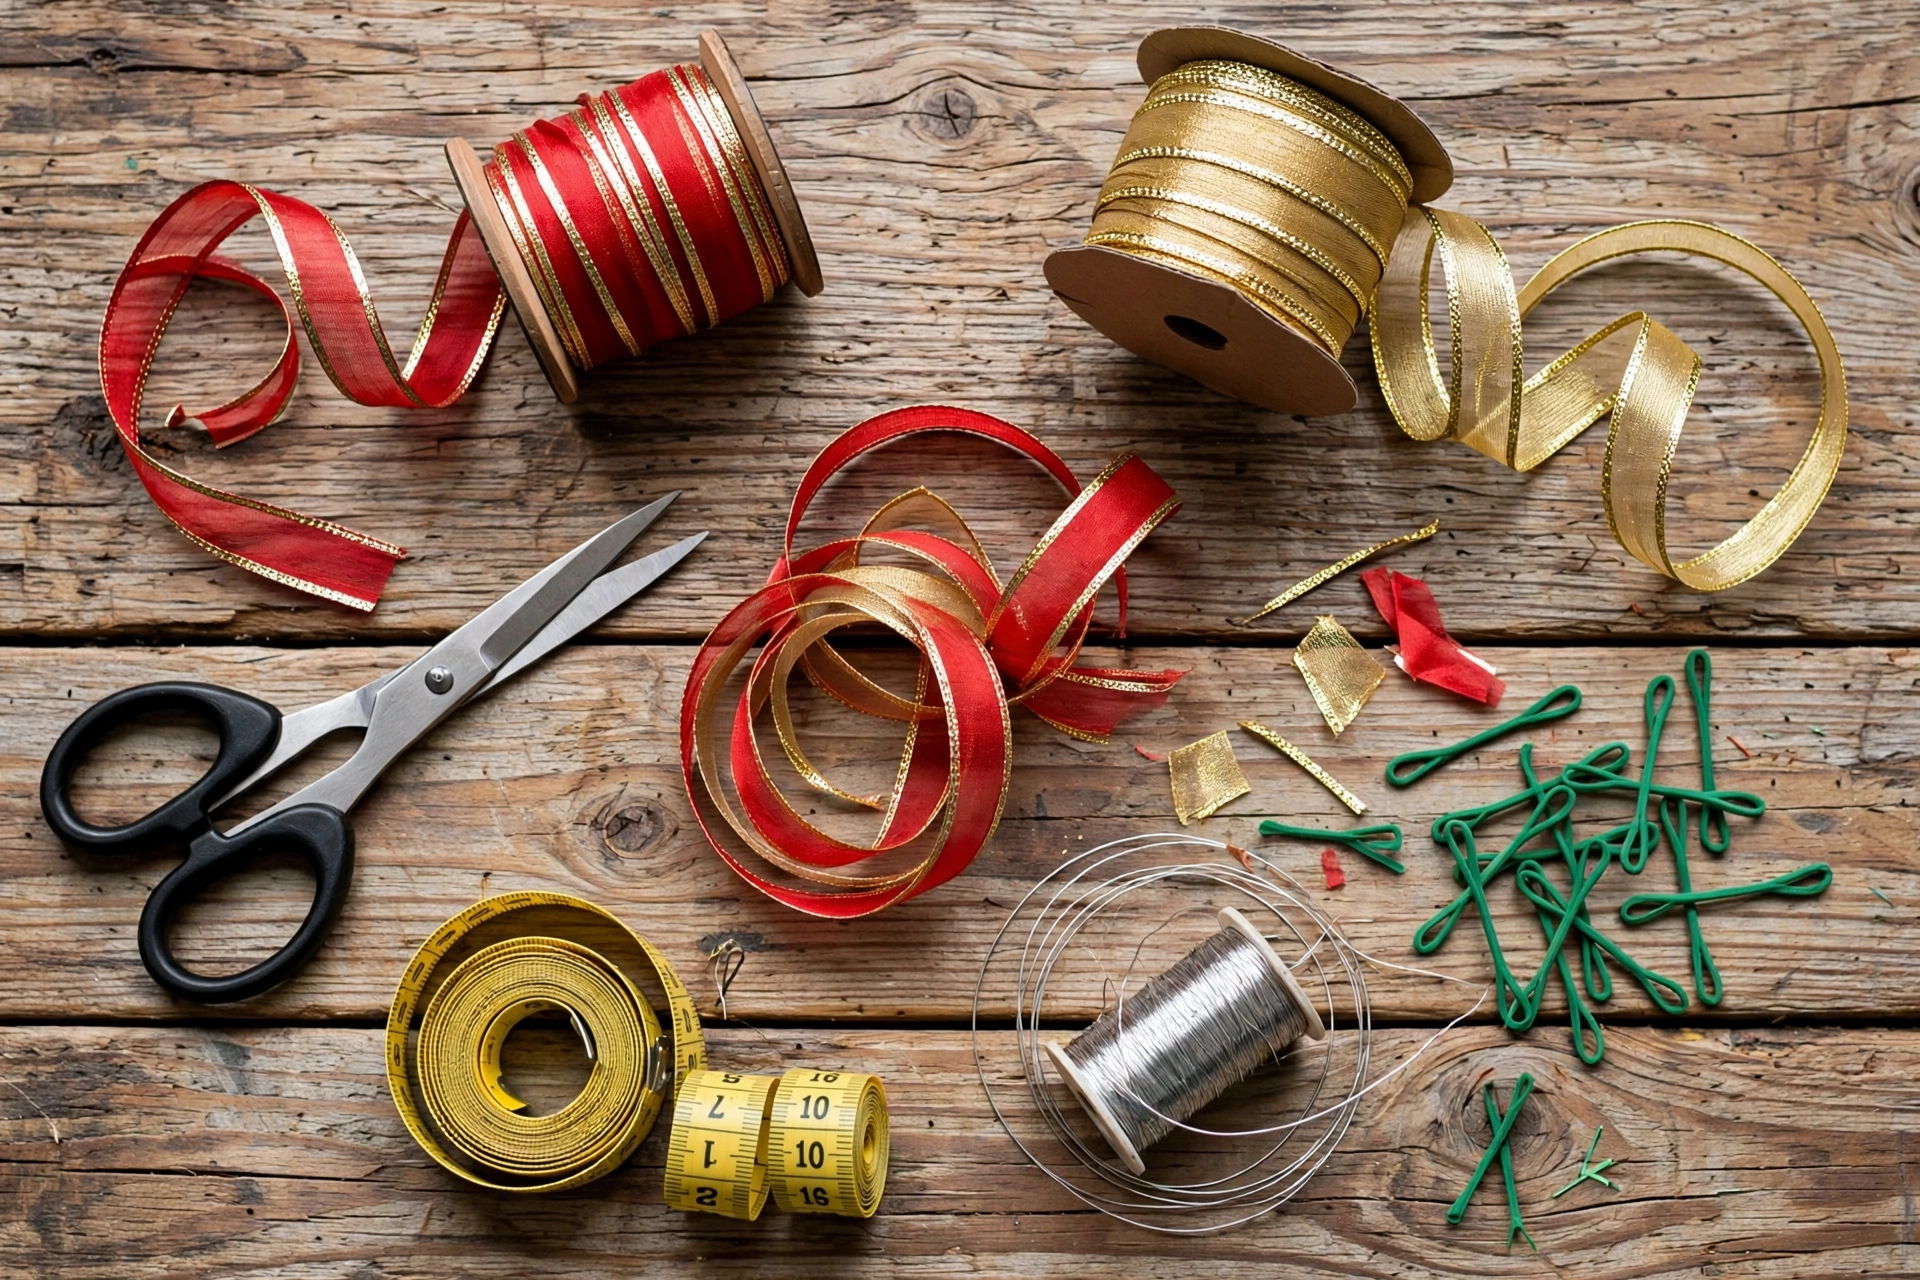
- Sharp fabric scissors: dull scissors chew ribbon edges. A dedicated $12 pair that never cuts paper will last years.
- Floral wire (24-26 gauge): for securing bow centers and attaching bows to branches, wreaths, and garlands. Green or gold blends in.
- Measuring tape: consistent bow sizes look professional. A tree topper bow needs 4-6 yards of ribbon; a wreath bow needs 2-3 yards; a chair bow needs 1.5-2 yards.
- Wire cutters: small ones for trimming floral wire cleanly.
- A lighter or fray-check: quickly seal cut ribbon ends to prevent fraying — pass the edge near (not through) the flame for synthetics.
How to Tie the Classic Bow (Step by Step)
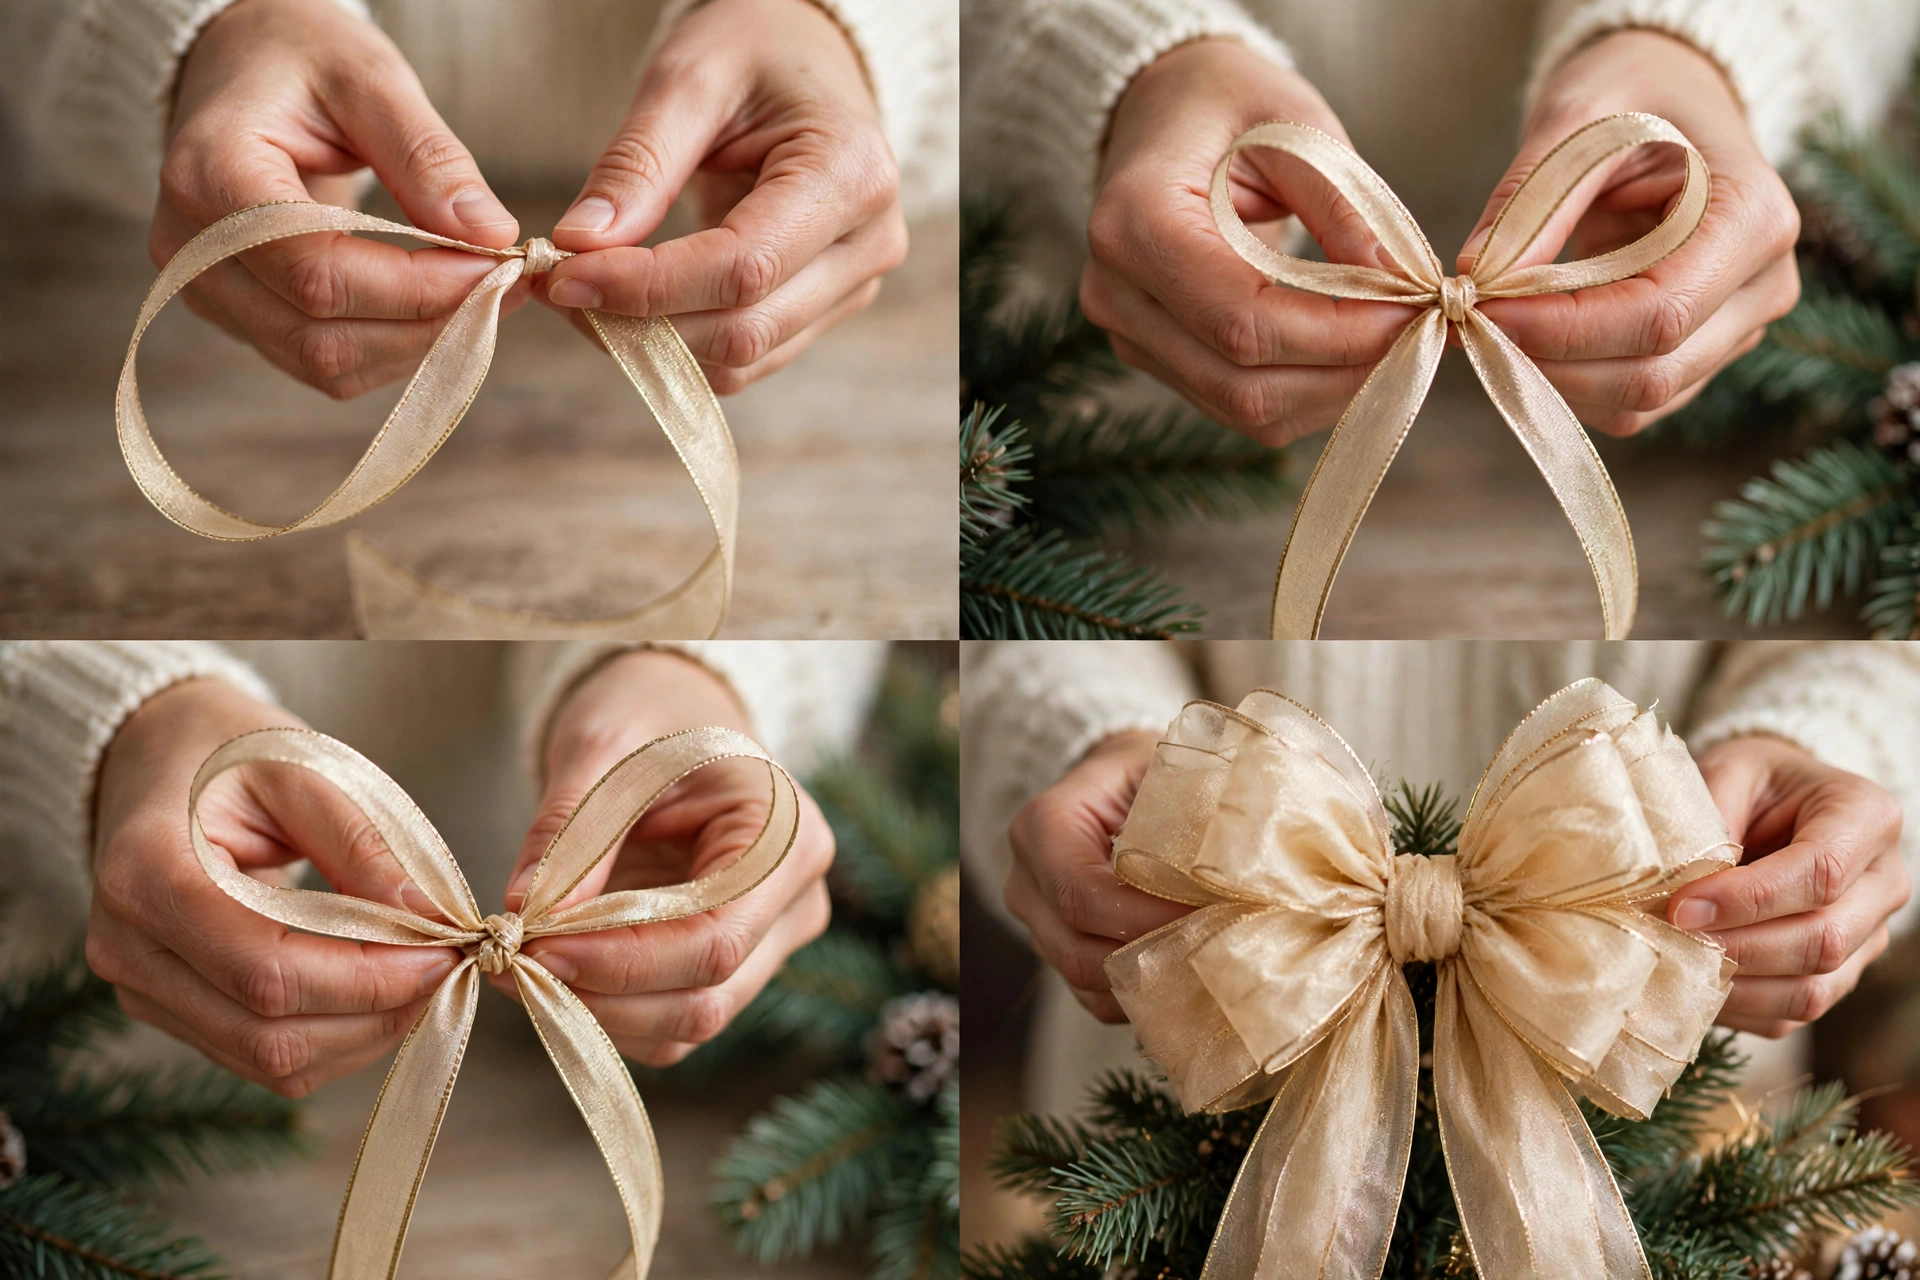
The direct answer: the classic bow is two loops, two tails, and a cinched center — and the secret is making the loops first, then pulling the center tight with wire rather than trying to tie the ribbon itself into a knot. Wire does the holding; the ribbon does the looking pretty.
- Cut your ribbon. For a standard 6-inch-wide bow, cut 36 inches of 2.5-inch wired ribbon. Longer ribbon makes a fuller bow; this length is the sweet spot for wreaths and garlands.
- Make the first loop. Form a loop about 6 inches across at one end, pinching the ribbon between thumb and forefinger at the base of the loop. The “right” side of the ribbon should face out.
- Make the second loop. Bring the long end around to form a matching loop on the other side, pinching at the same center point. You now hold an X shape — two loops, two tails hanging down.
- Cinch the center. Wrap a 10-inch piece of floral wire tightly around the pinched center, twisting it at the back. This is the structural moment — pull it genuinely tight.
- Fluff and shape. Pull the loops apart, twist them so the ribbon’s right side faces forward, and fan the wire edges into curves. Trim the tails at an angle or in a dovetail (fold the tail in half lengthwise and cut diagonally toward the fold).
- Attach. Use the wire ends at the back to fasten the bow to a branch, wreath form, or garland. Never glue a bow you might want to reuse — wire it.
Practice with cheap ribbon first. Your first three bows will look homemade in the bad way; bows four through ten will look handmade in the good way. Muscle memory is the whole skill.
How to Tie a Fluffy Tree Topper Bow
The direct answer: a tree topper bow is just the classic bow scaled up with more loops — six to eight loops instead of two — built on a long wire “stem” that anchors into the top of the tree. Plan on 5-6 yards of 2.5-inch wired ribbon.
- Cut one long piece — 5-6 yards — rather than multiple pieces. Continuous ribbon makes a more cohesive topper.
- Build loops in pairs. Starting 12 inches from one end (this becomes your first tail), form 6-inch loops, alternating sides, pinching each at the center. Aim for 3-4 loops per side.
- Wire the center with floral wire, leaving 12-inch wire tails at the back.
- Create streamers: cut two additional 24-inch pieces, dovetail the ends, wire them to the back of the bow, and let them cascade down the tree — these give the topper its finished, professional drape.
- Anchor it: push the wire stem down into the top of the tree and wrap it around the central pole or a sturdy top branch. Fluff the loops upward and outward so the bow sits like a crown, not a pancake.
How to Make a Simple Loop Bow for Gifts
The direct answer: for gifts, skip the wire and tie the ribbon directly around the package — wrap, cross, loop twice like a shoelace, and pull snug. A gift bow should take 60 seconds; anything fancier belongs on the tree, not the box.
- Wrap the ribbon around the gift box both directions and tie a snug knot on top — this anchors everything.
- Form two loops with the remaining ends, exactly like tying shoelaces.
- Pull the loops to equal size (4-5 inches for a standard gift), tighten the knot, and trim the tails in a dovetail.
- For extra fullness, tie a second small bow from a separate 18-inch piece and nest it on top of the first at a slight angle.
Match the bow ribbon to the wrapping paper’s accent color, not its main color — a red-and-gold paper gets a deep green bow, a kraft-paper wrap gets a velvet red bow. Contrast is what makes a gift look designed.
20 Ways to Style Bows Around Your Home
The direct answer: bows work everywhere Christmas decor goes — and several places it usually does not. Work through this list in order and you will have a bow in every zone of the house, each one scaled to its spot. Ribbon width is the scaling rule: 2.5-inch for tree, mantel, and wreath; 1.5-inch for chairs, gifts, and garland accents; 0.75-inch or narrower for ornaments and napkins.
1. The Tree Topper Bow
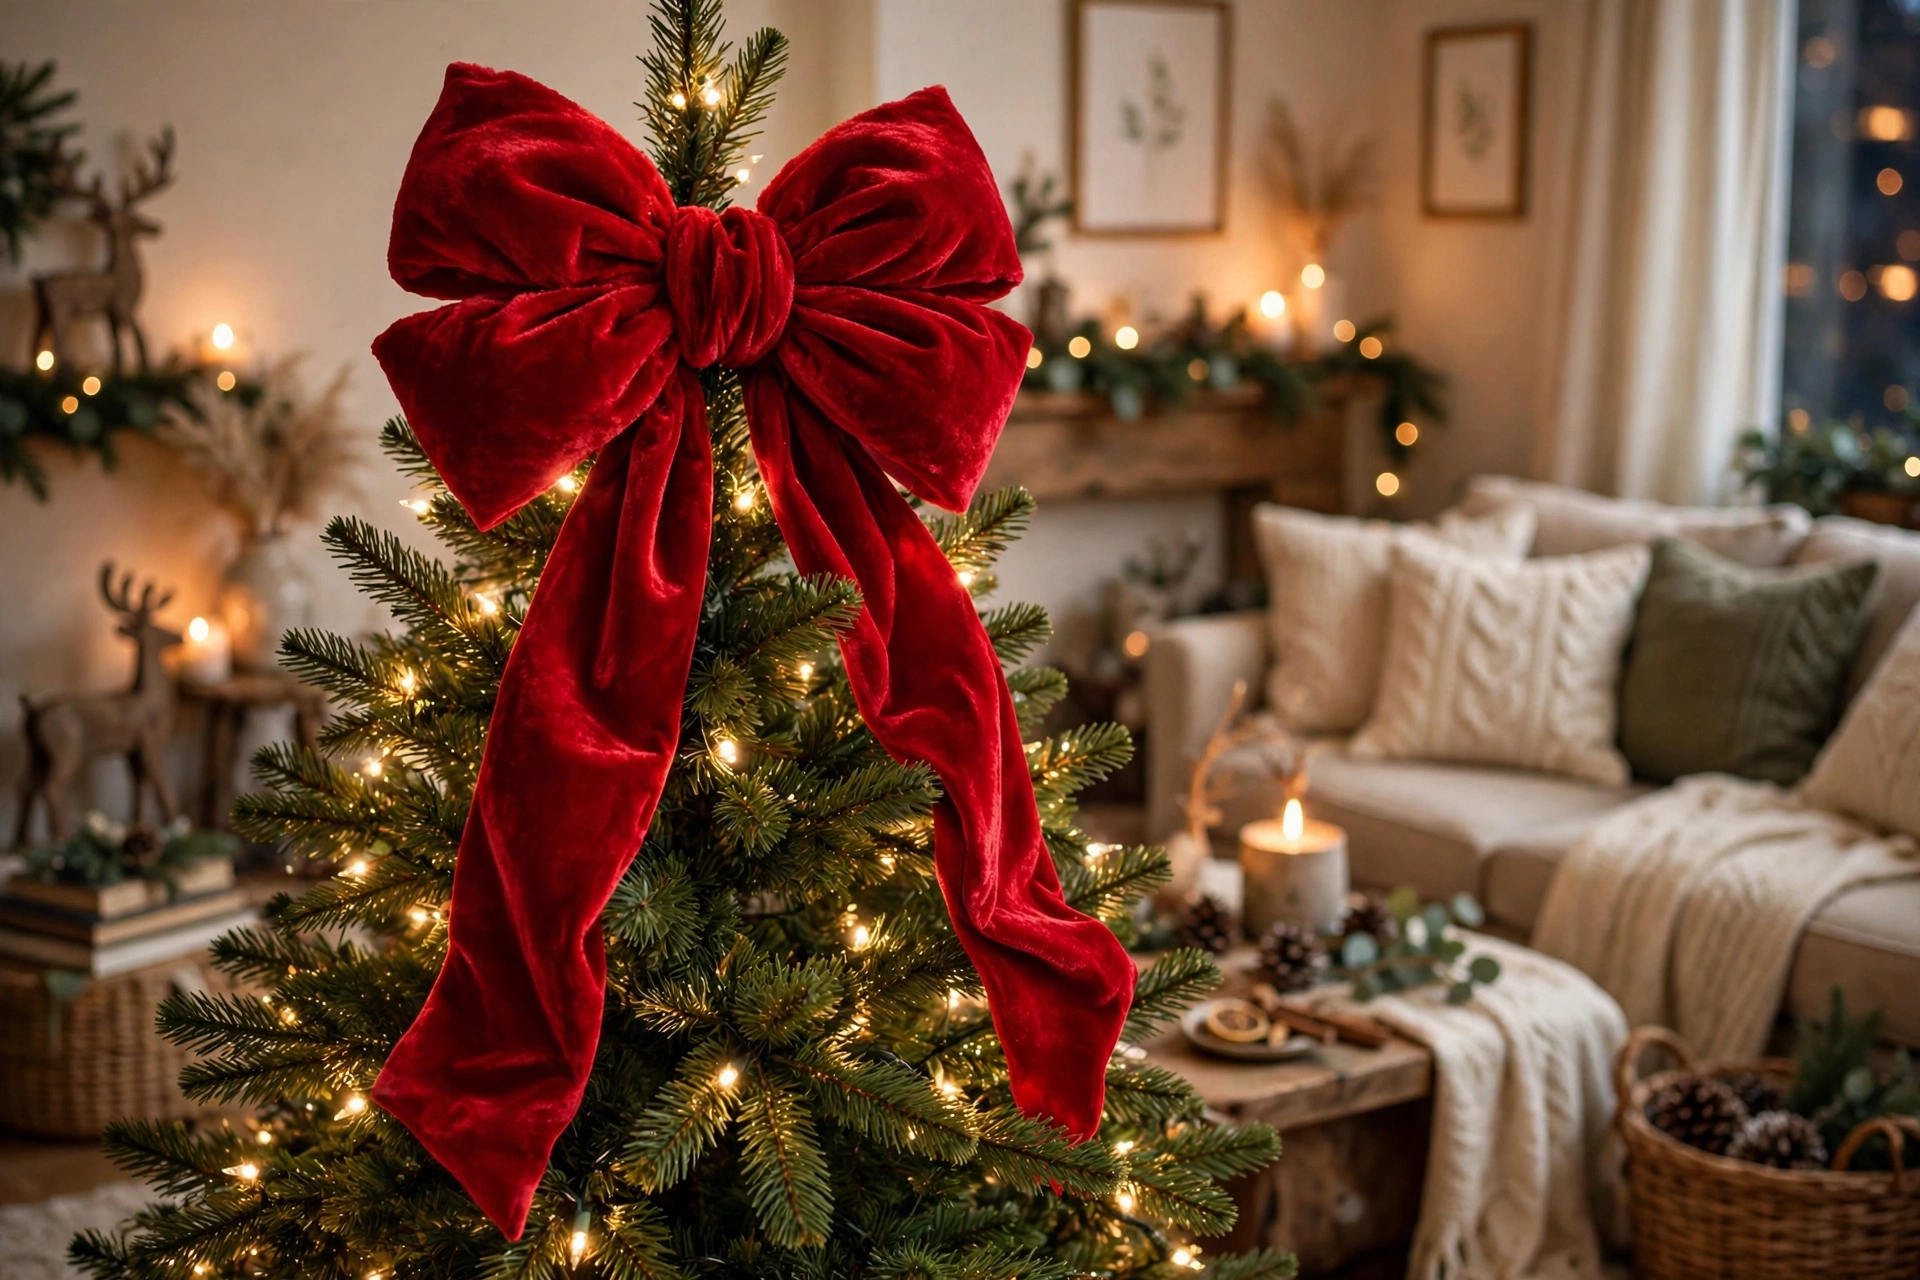
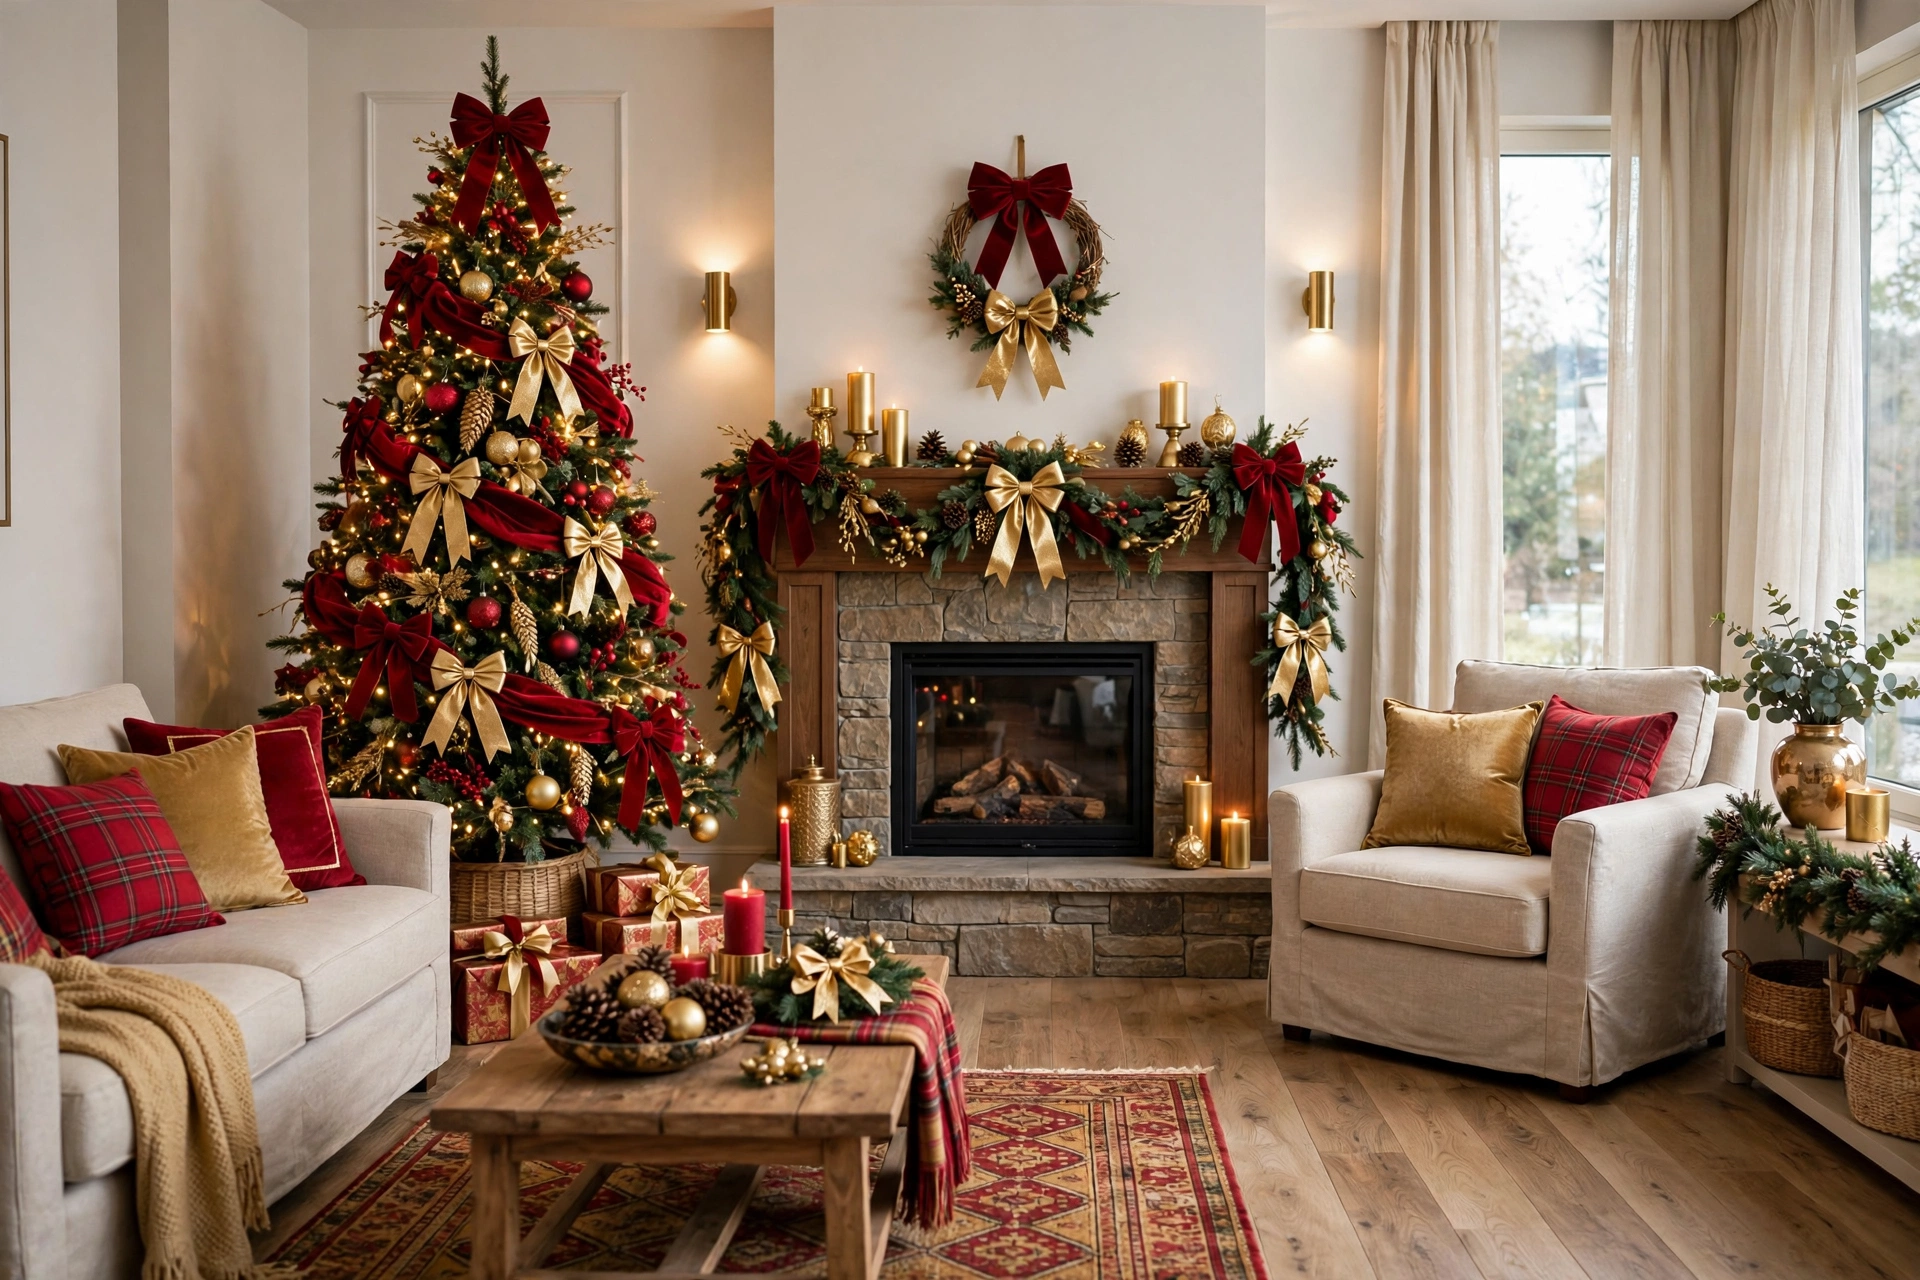
The classic for a reason. A 10-12 inch fluffy bow in wired velvet or satin replaces a star or angel and ties the whole tree’s color story together — literally. Build it with the multi-loop method above, anchor the wire stem into the treetop, and let two long streamers cascade 18-24 inches down the front. For a 7-foot tree, the bow should span roughly 12-14 inches wide; undersized toppers are the most common tree styling mistake.
2. Bow Garland on the Tree
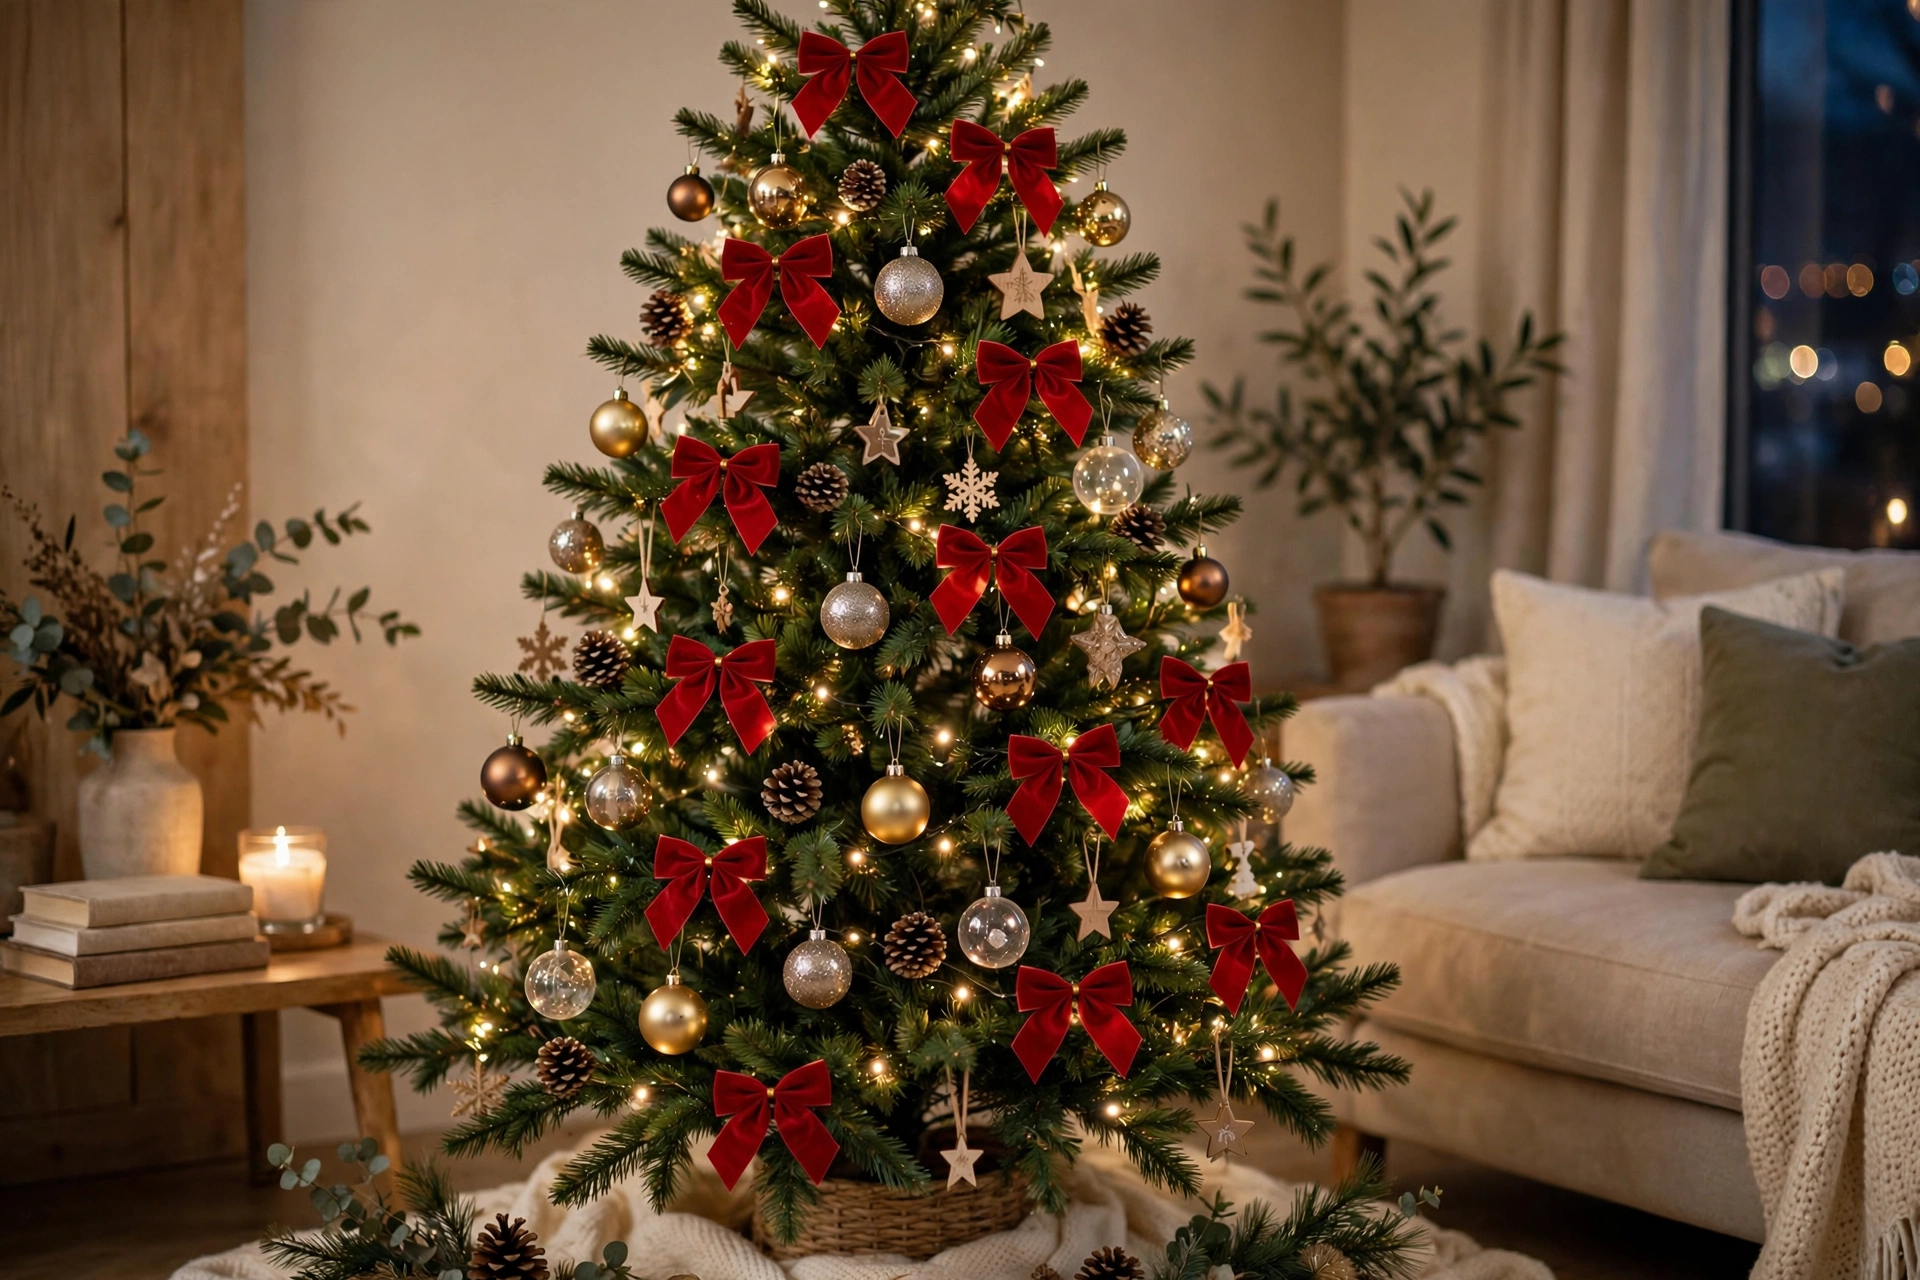
Instead of (or in addition to) a bead or ribbon garland, wire 8-12 small 4-inch bows evenly around the tree in a spiral. This was a designer trick long before it was a trend: the repeated bows create rhythm and let you use less ornament density elsewhere. Use one ribbon for all of them — mixed ribbons in this application look chaotic rather than collected.
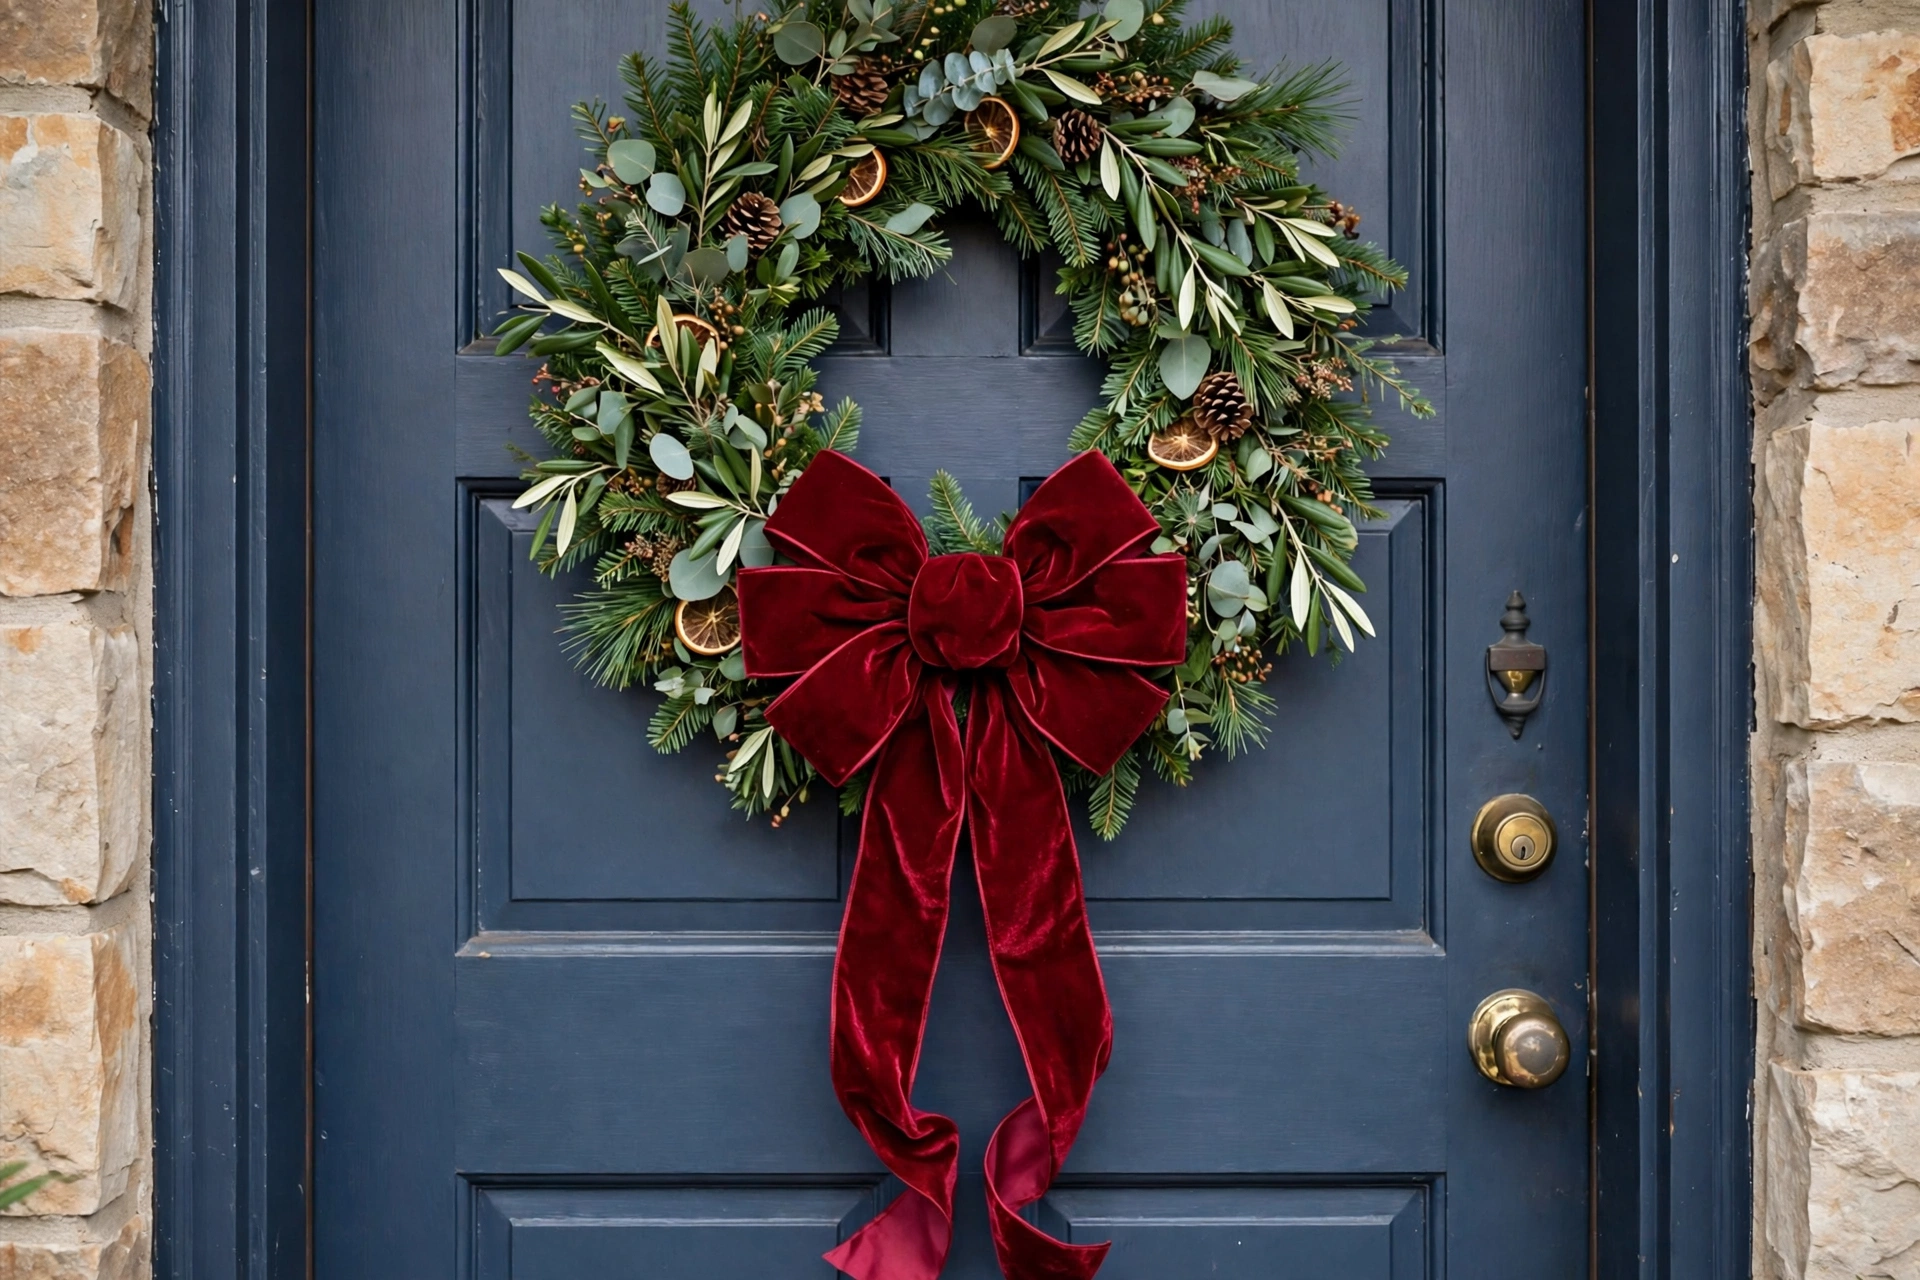
3. The Statement Wreath Bow
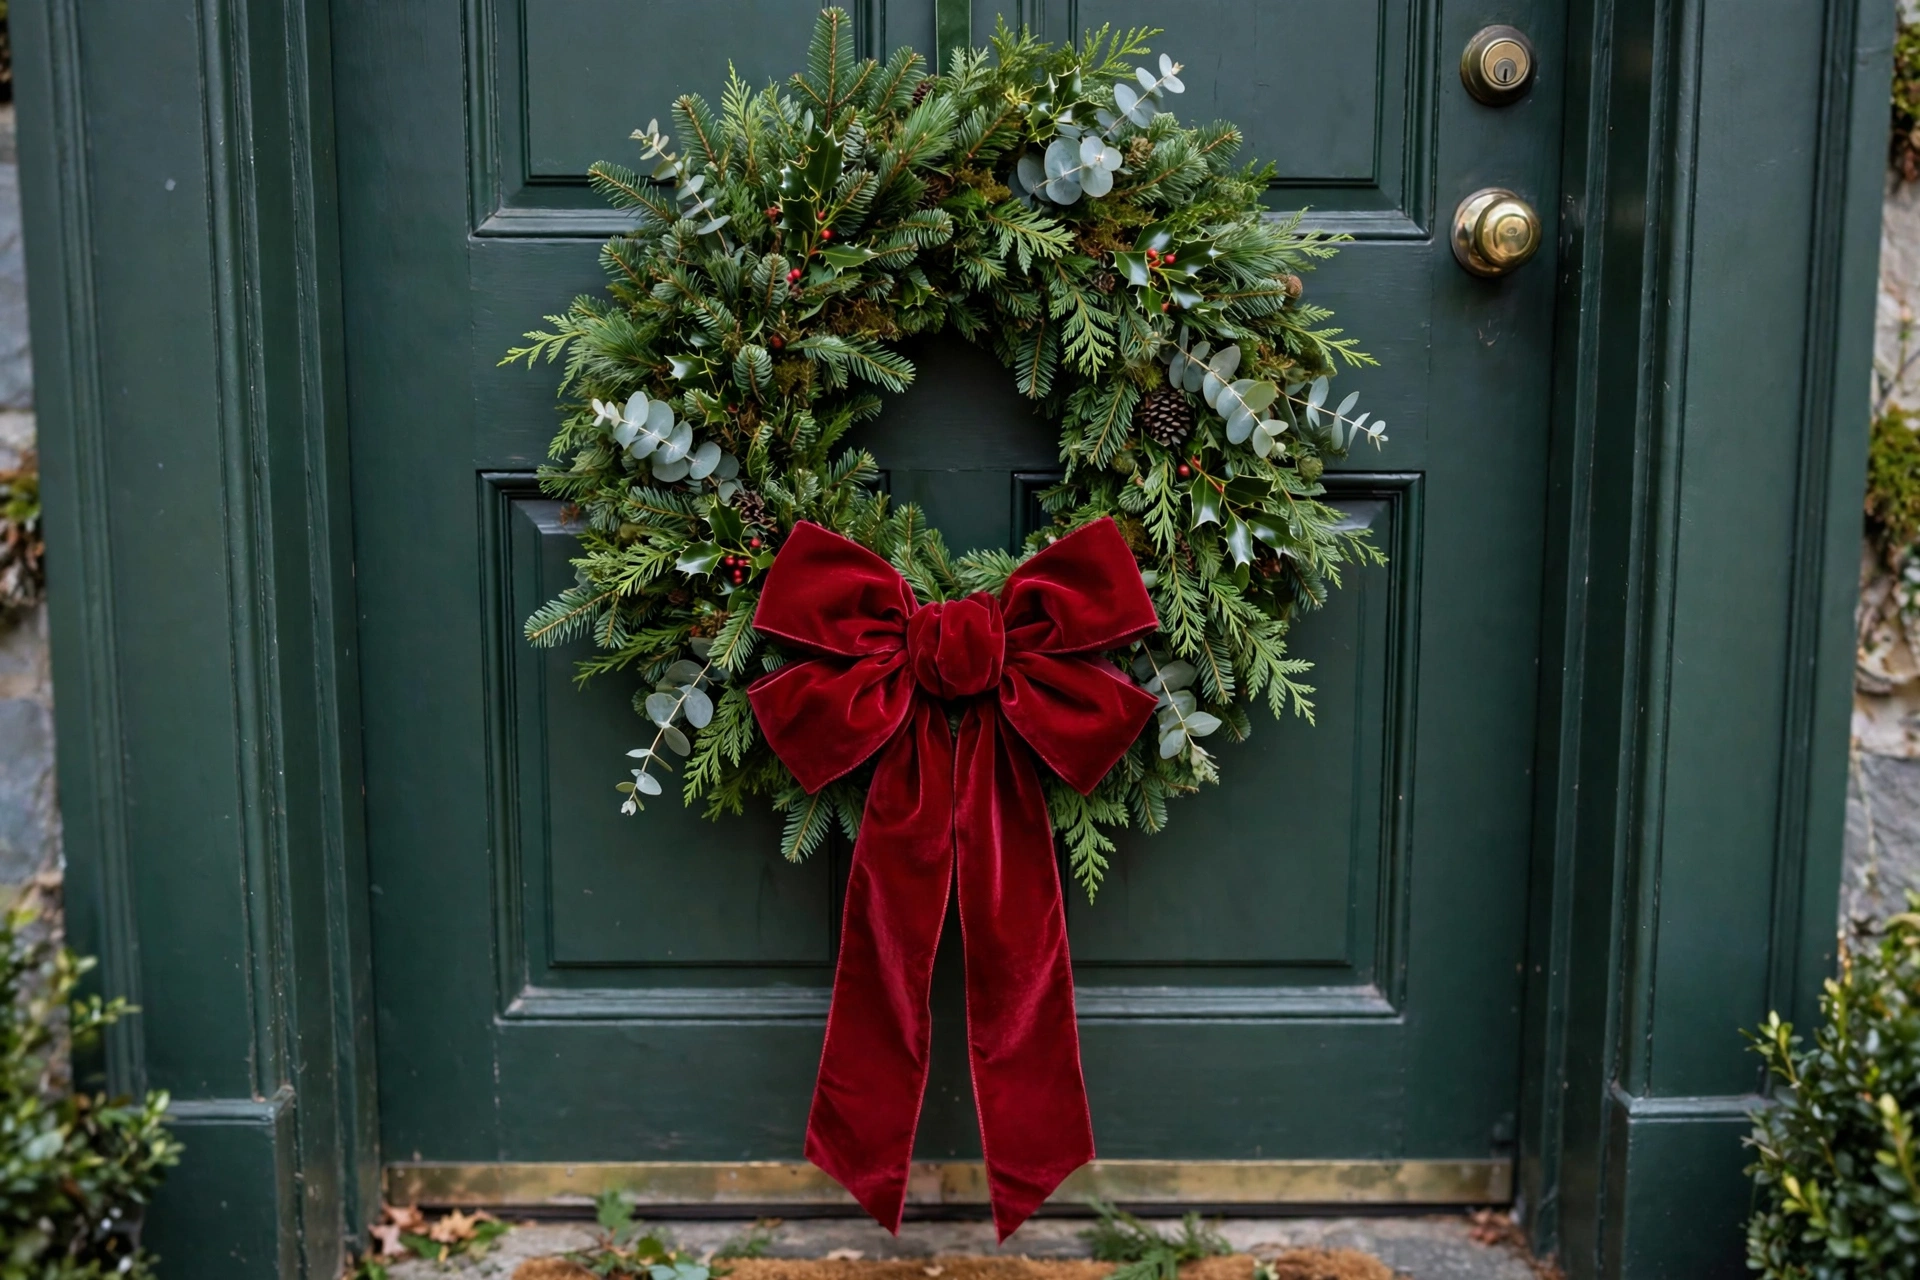
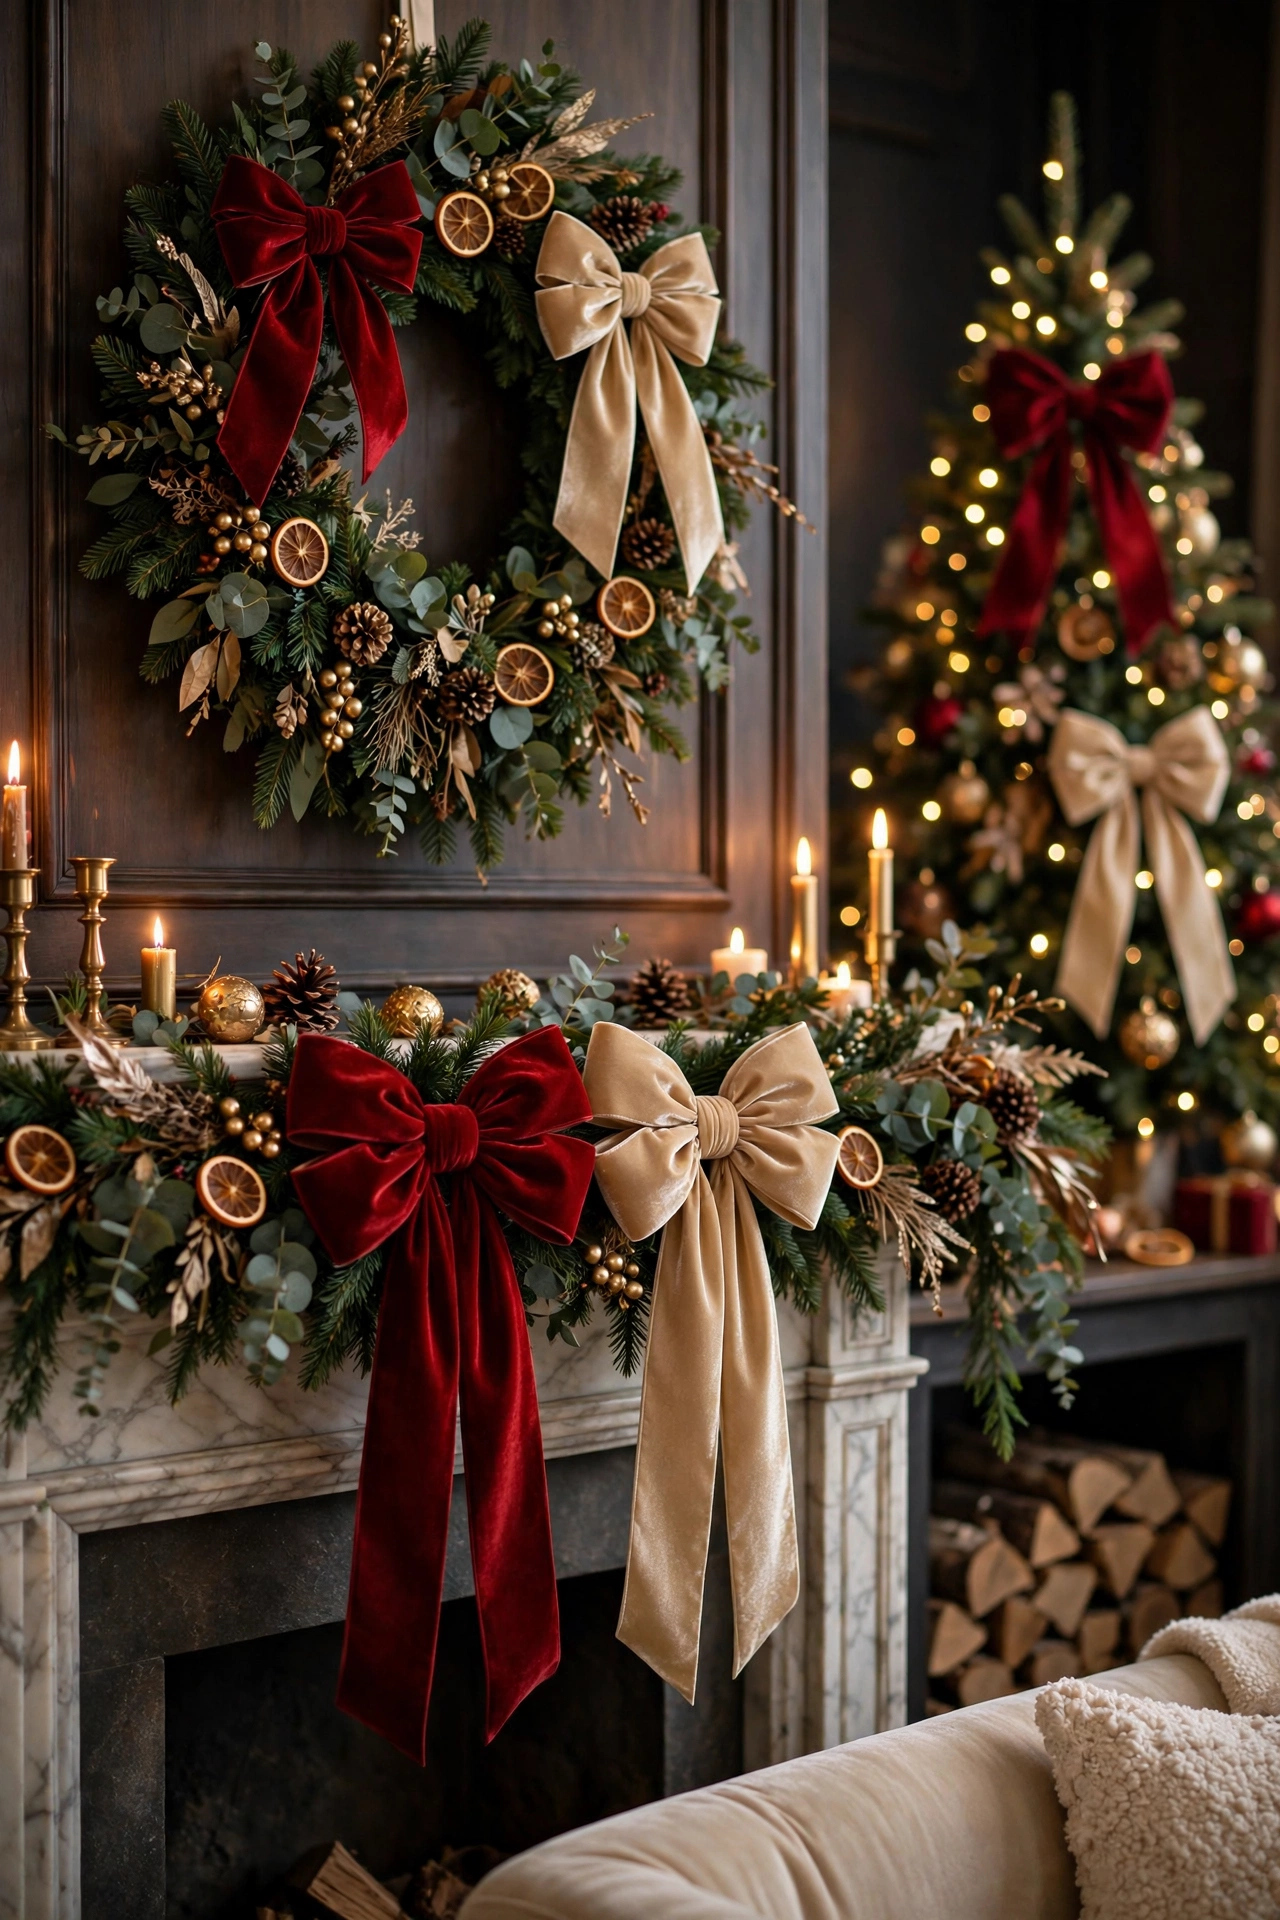
A wreath without a bow is a donut; a wreath with a bow is a decoration. Tie a 7-8 inch classic bow and wire it to the bottom center (traditional) or the top (modern) of the wreath. For double-door wreaths, mirror the bows exactly. The bow should be proportional — on a 24-inch wreath, a 6-inch bow looks lost; go 8-9 inches.
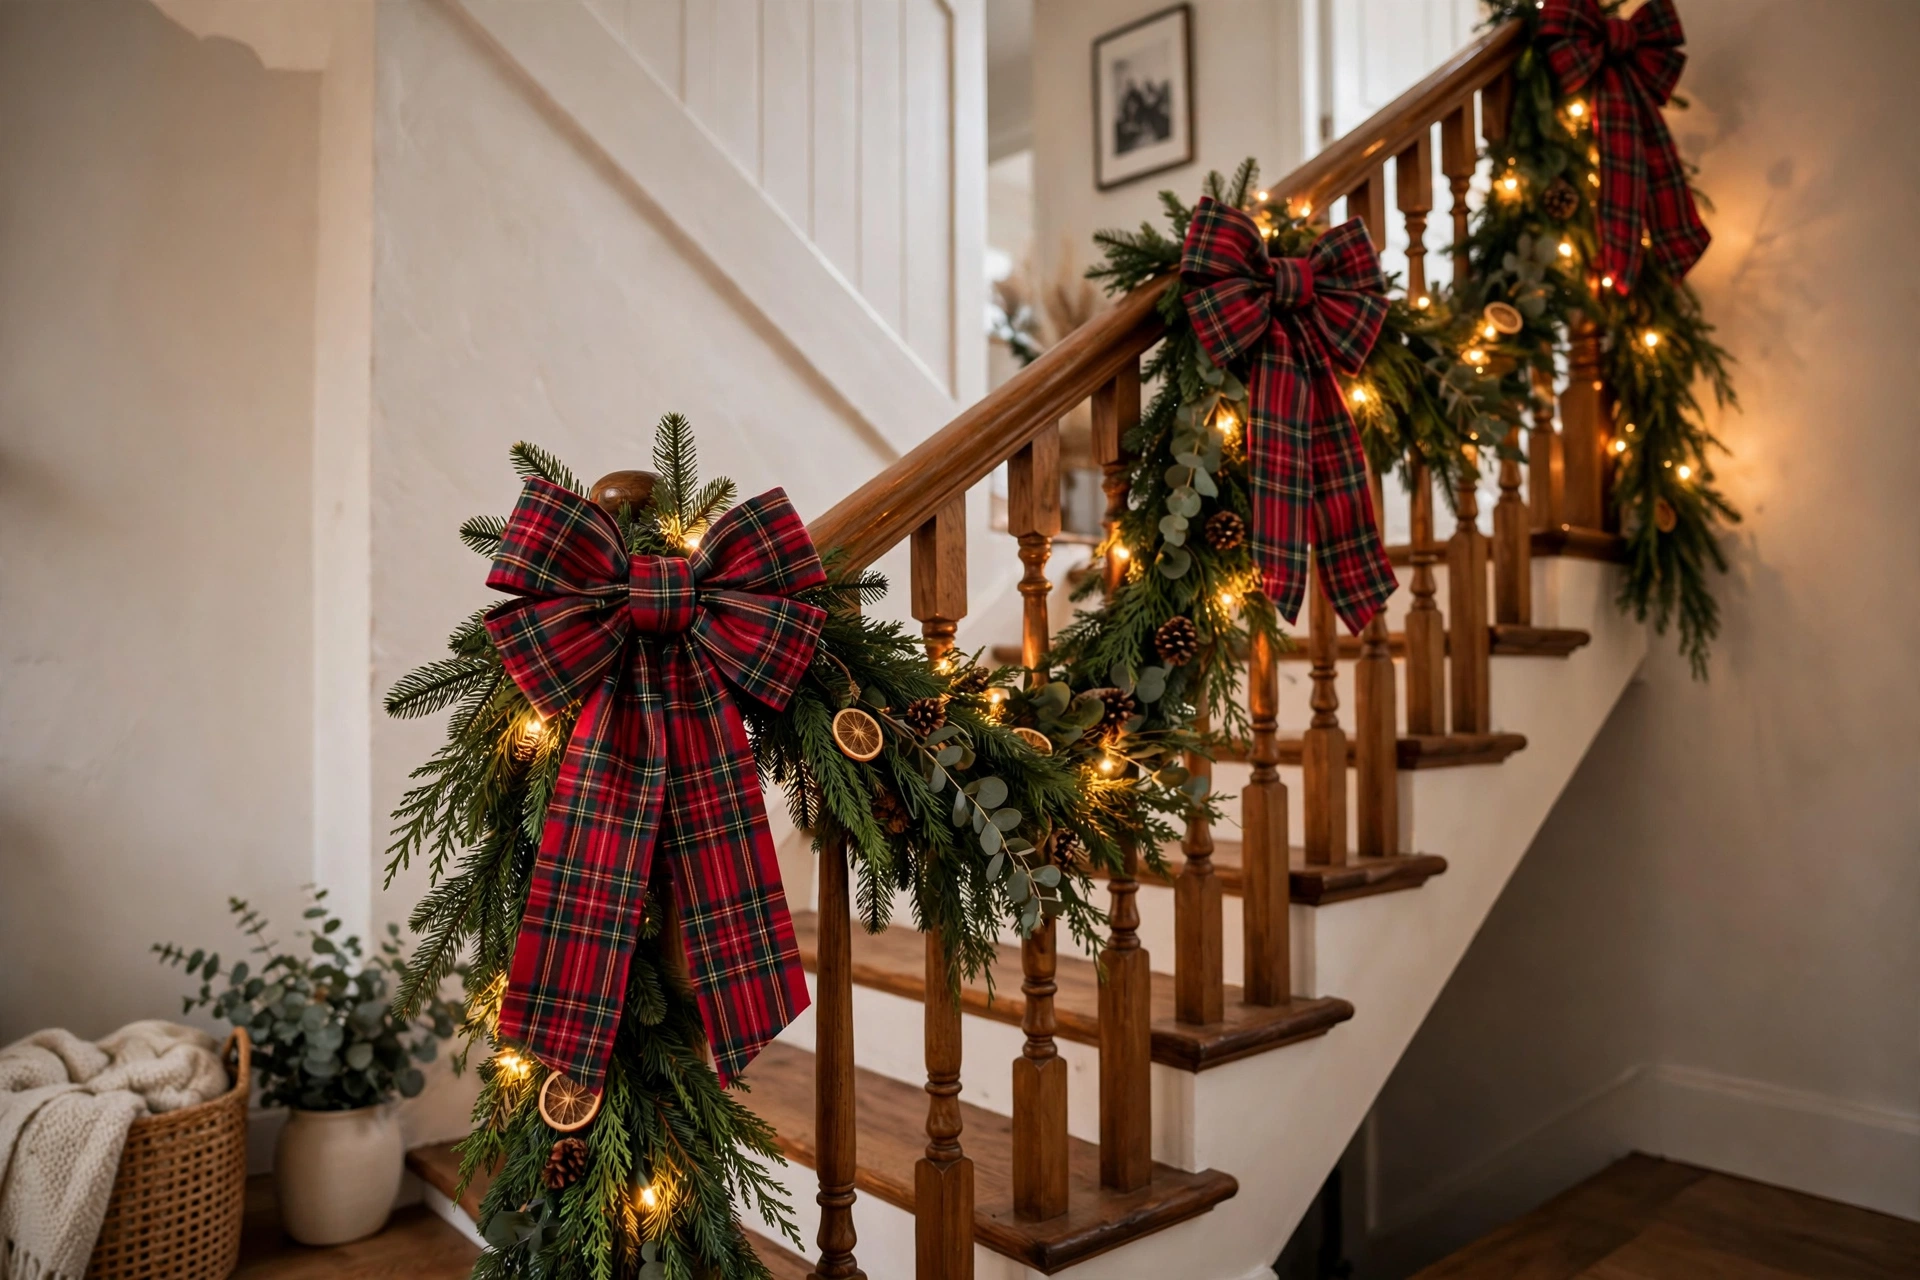
4. Garland Swag Bows
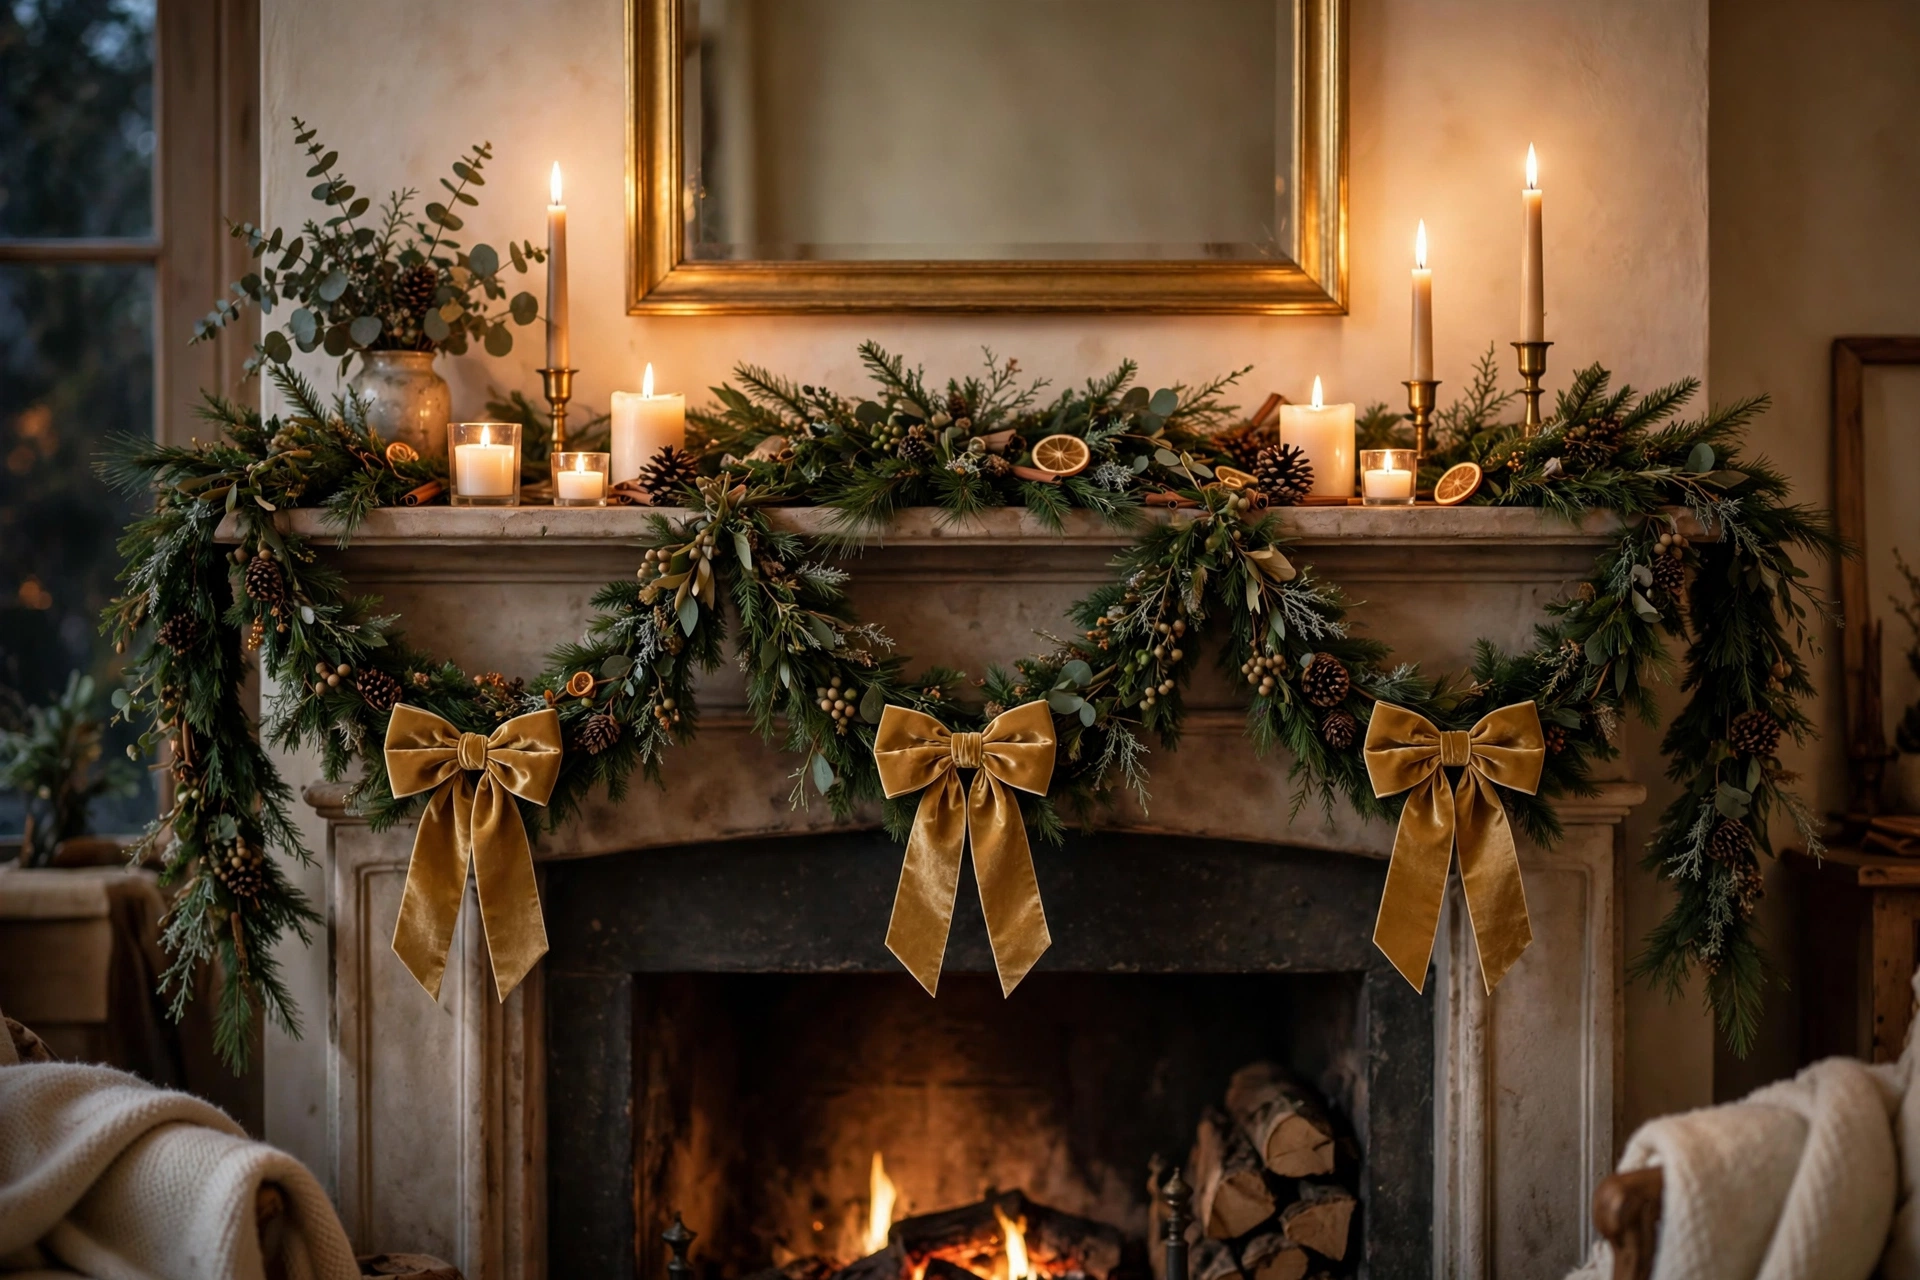
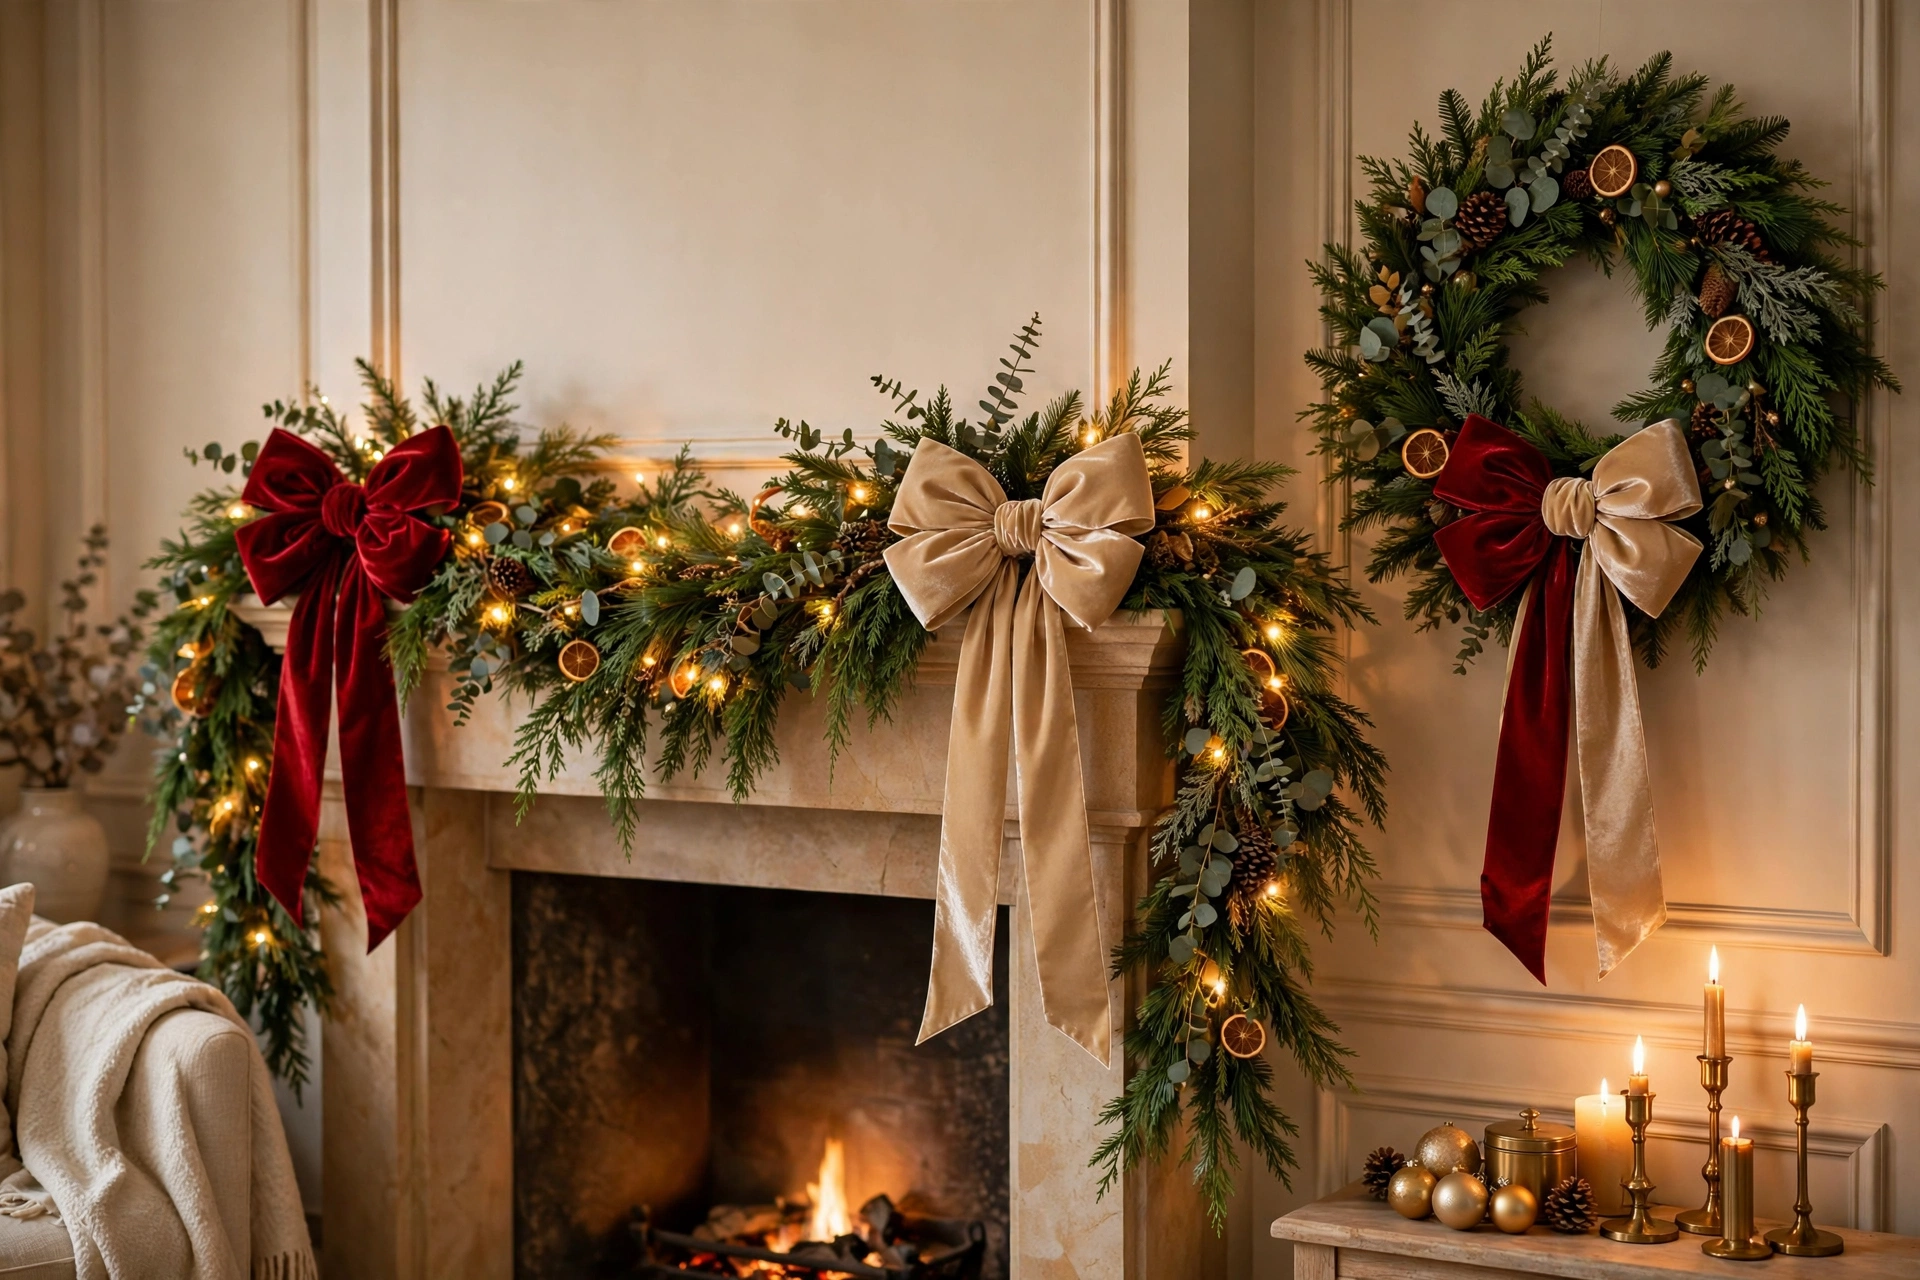
Wherever garland swags — mantel, doorway, staircase — mark each swag point with a bow. Space them 24-30 inches apart, wire each bow’s center directly into the garland’s wire frame, and let the tails mingle with the greenery. This is the single fastest way to make store-bought garland look custom.
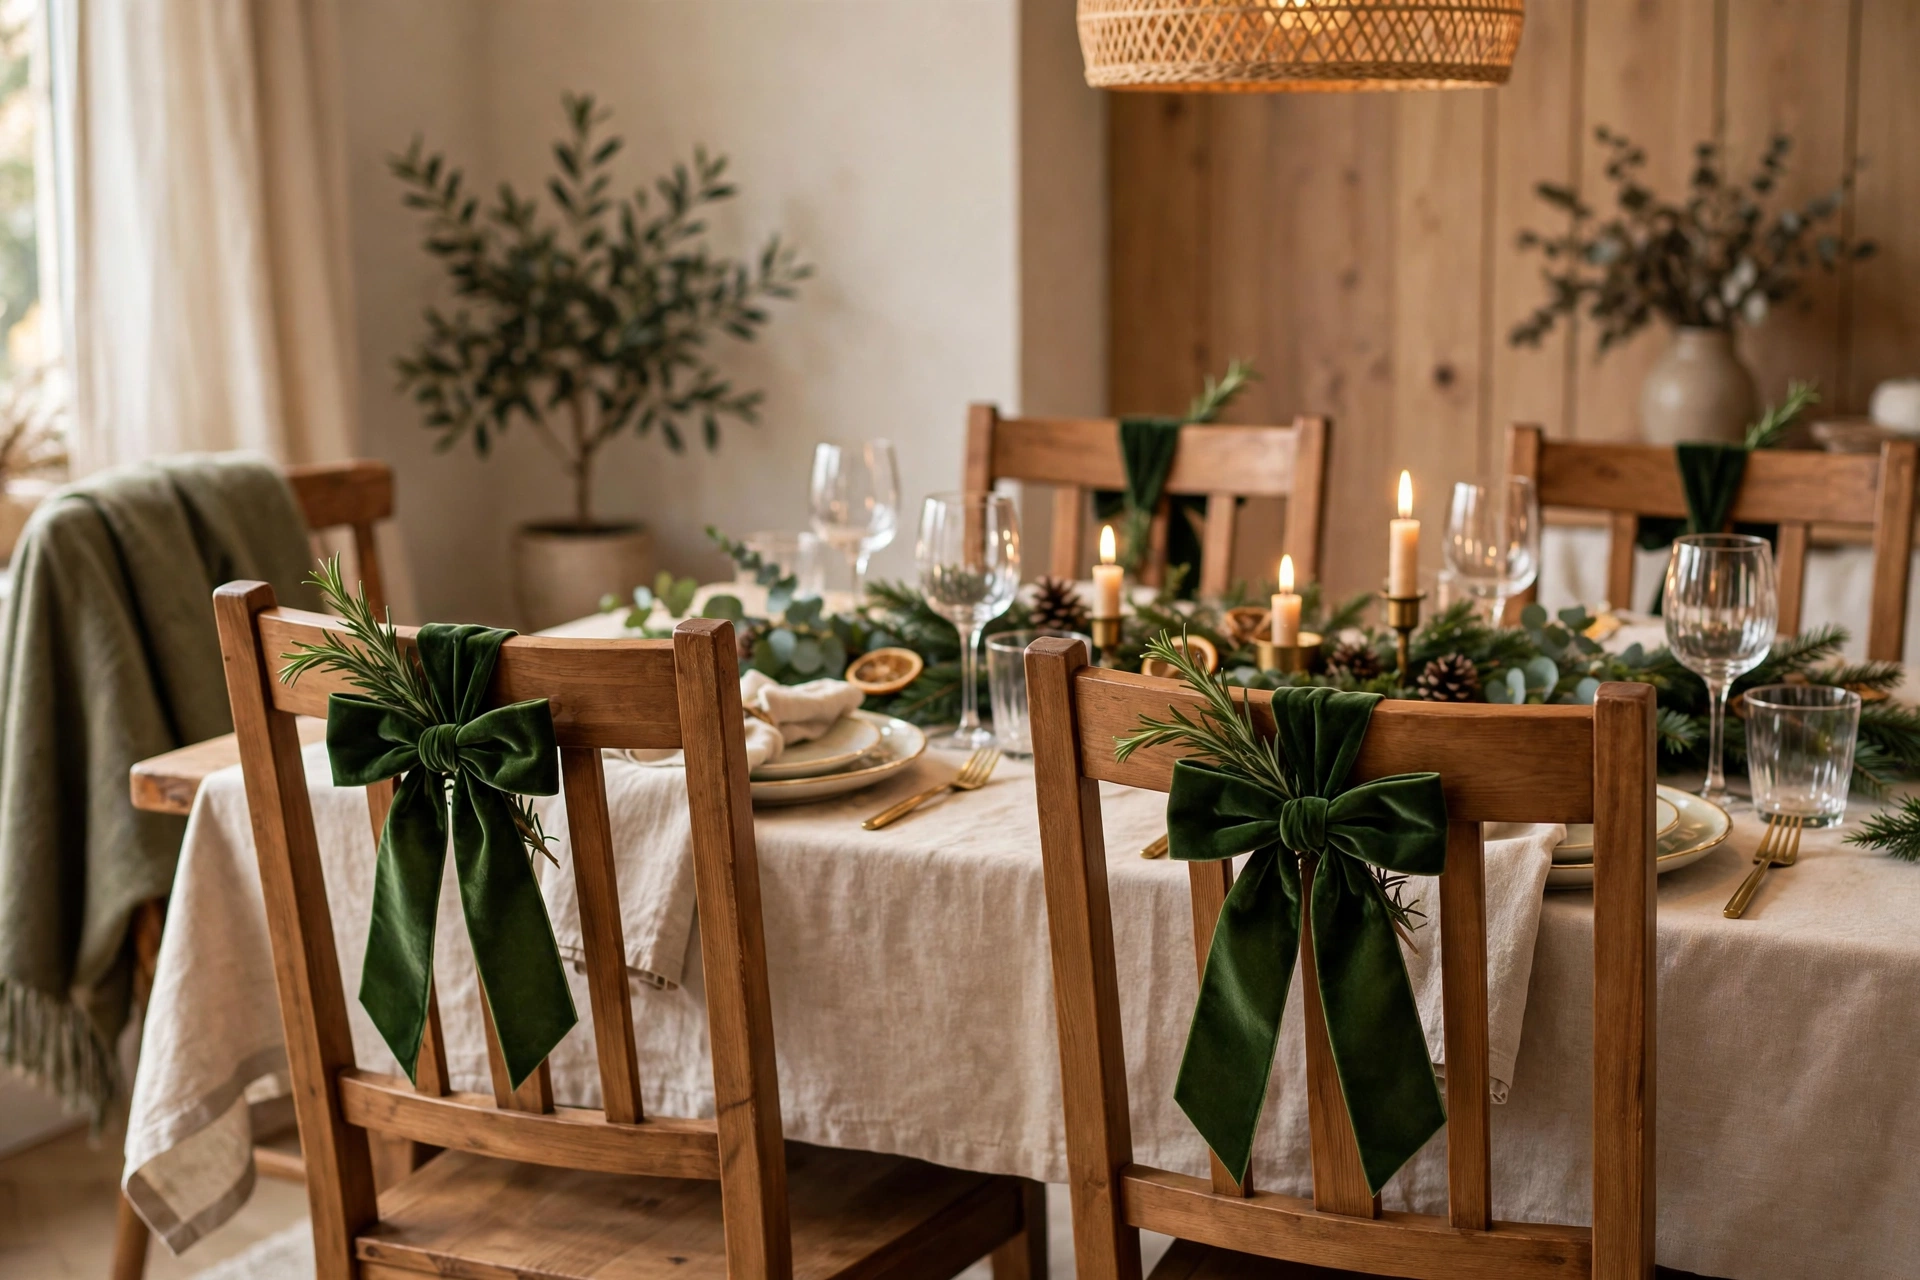
5. Chair-Back Bows
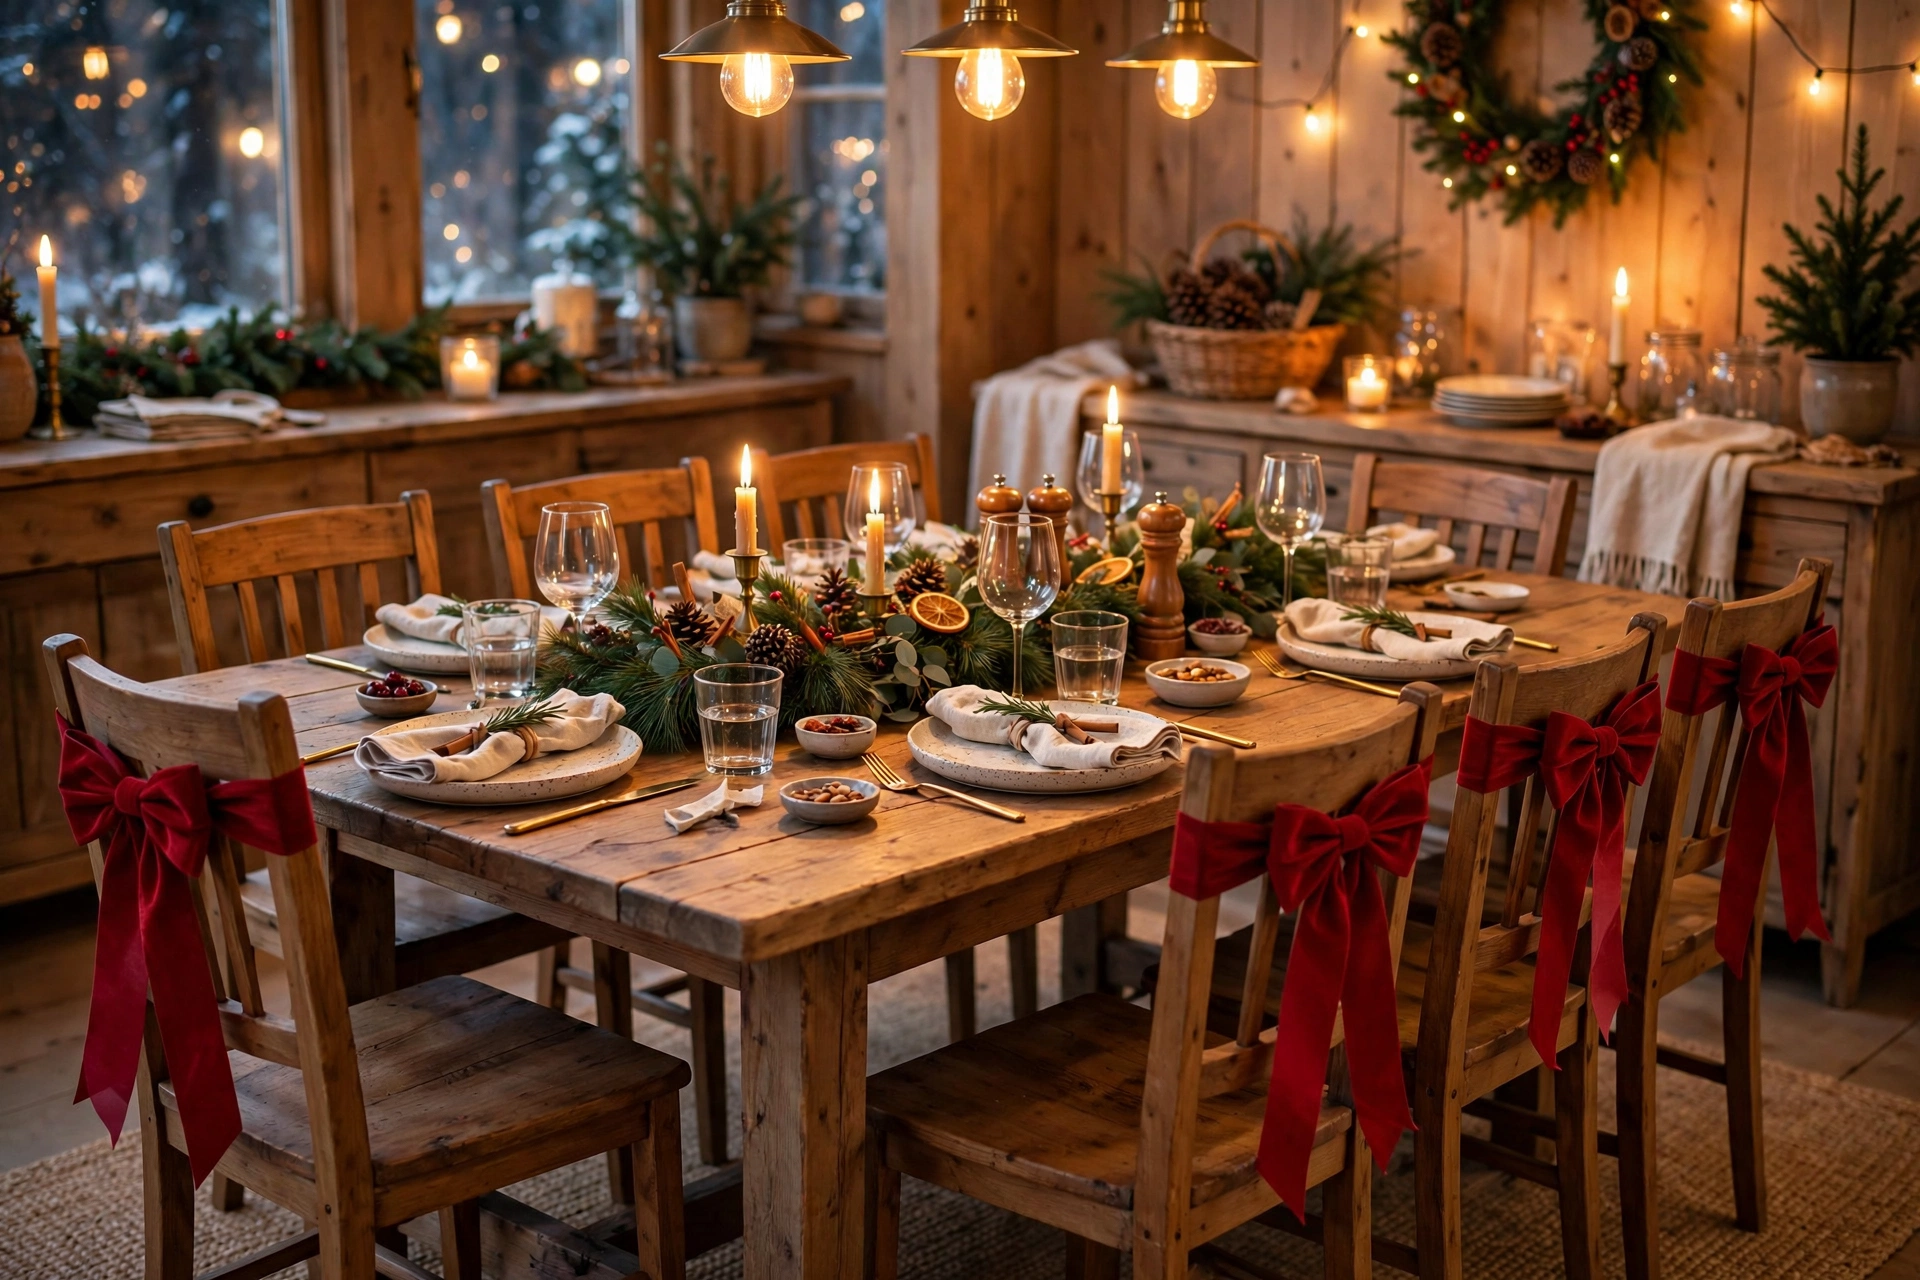
Tie 1.5-inch ribbon into simple bows and wire or tie them to the back of each dining chair, positioned at the top rail. For a set of six chairs, this takes 30 minutes and transforms the dining room more than a centerpiece does. Slip a small sprig of greenery or a single ornament into each bow’s center for a finished look.
6. Gift Toppers That Outshine the Wrap
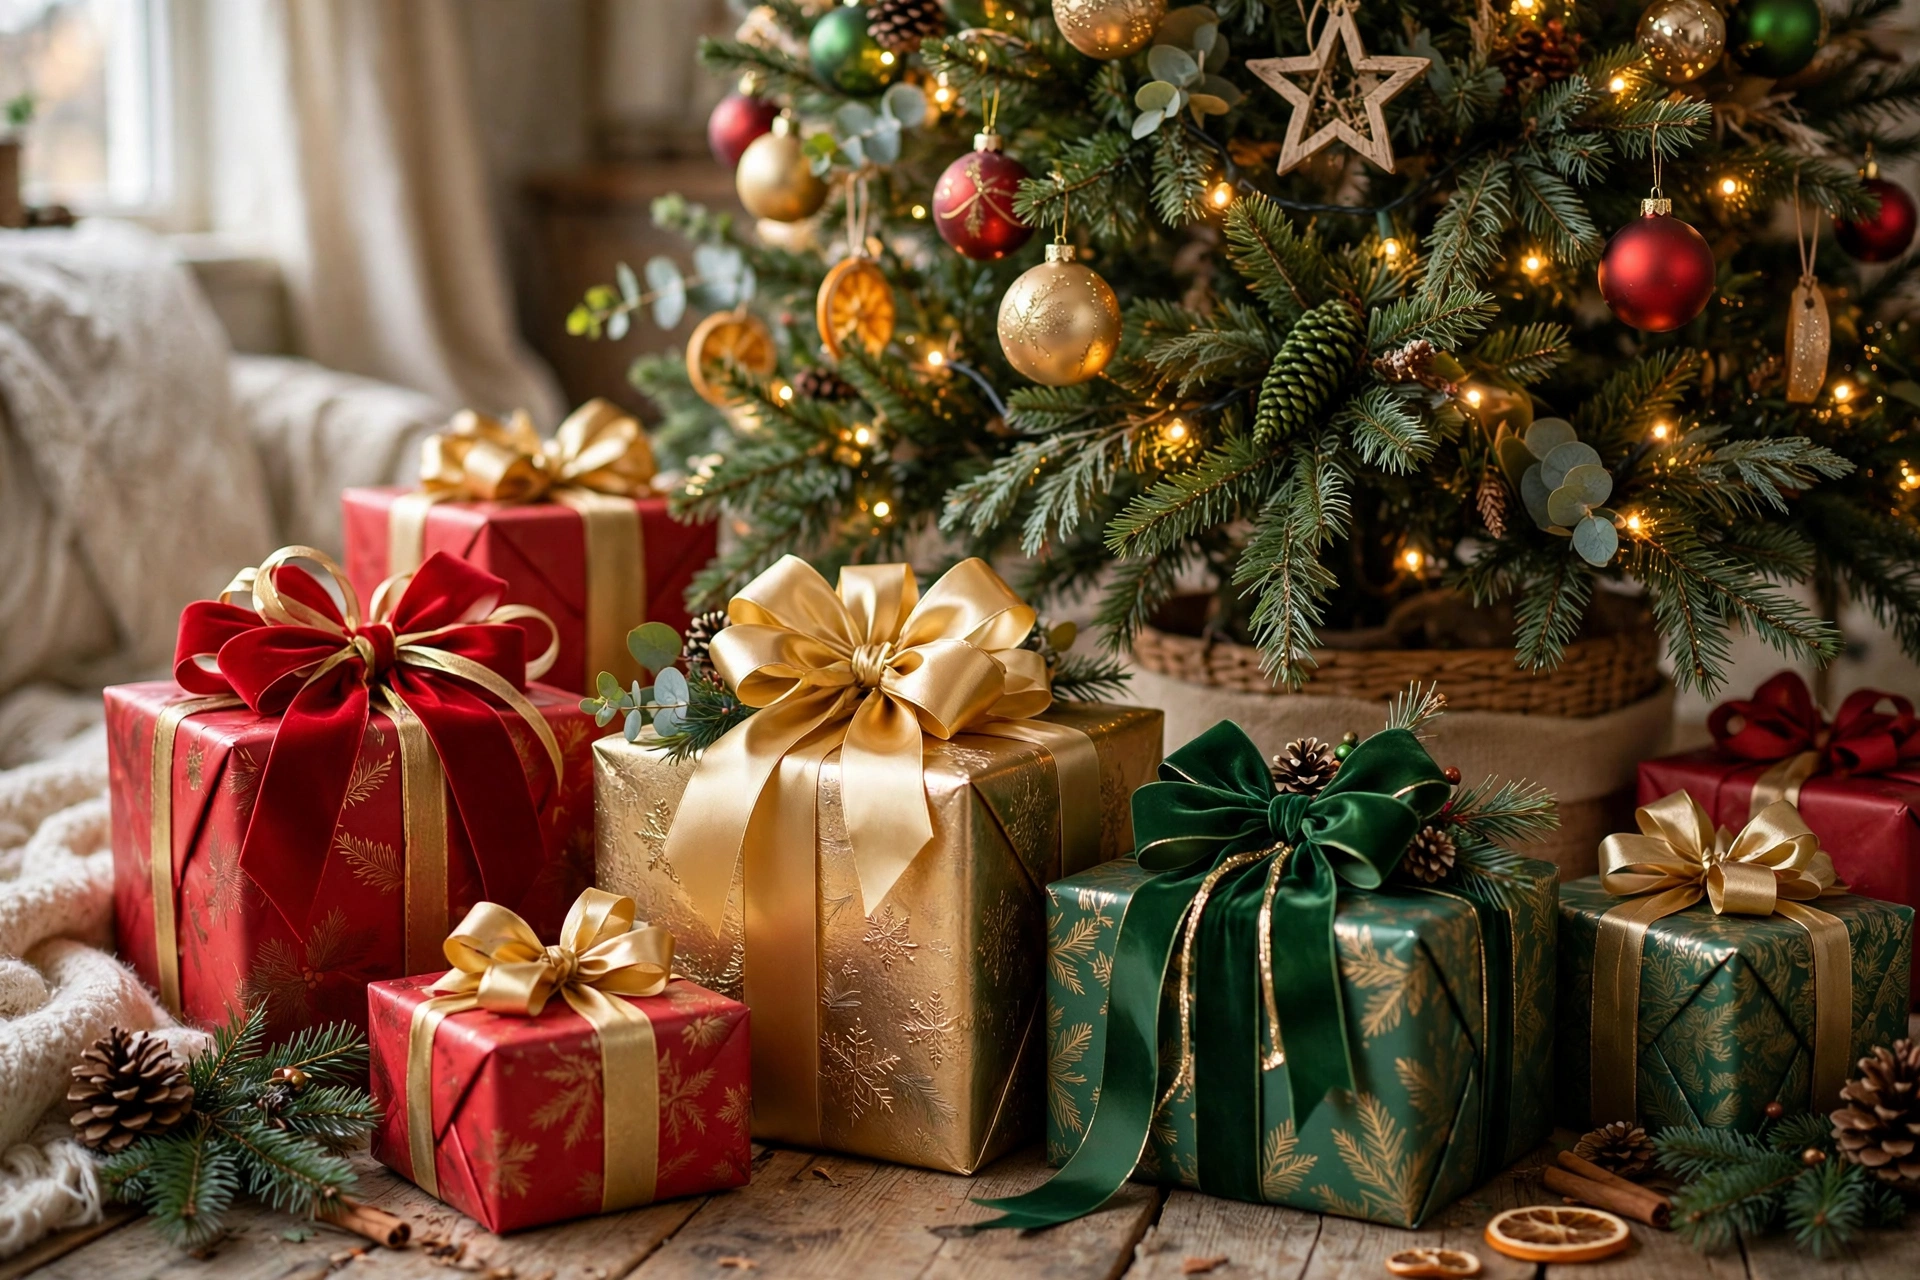
The gift bow technique above, upgraded: layer two ribbons (a 1.5-inch base plus a 0.75-inch contrast ribbon tied together as one bow) for a two-tone effect. Coordinate all your gift bows in one ribbon story — say, velvet red with gold edge — and the pile under the tree becomes part of the decor. For more on making gifts part of the overall scheme, see our personalized home decor ideas.
7. Stocking Cuff Bows
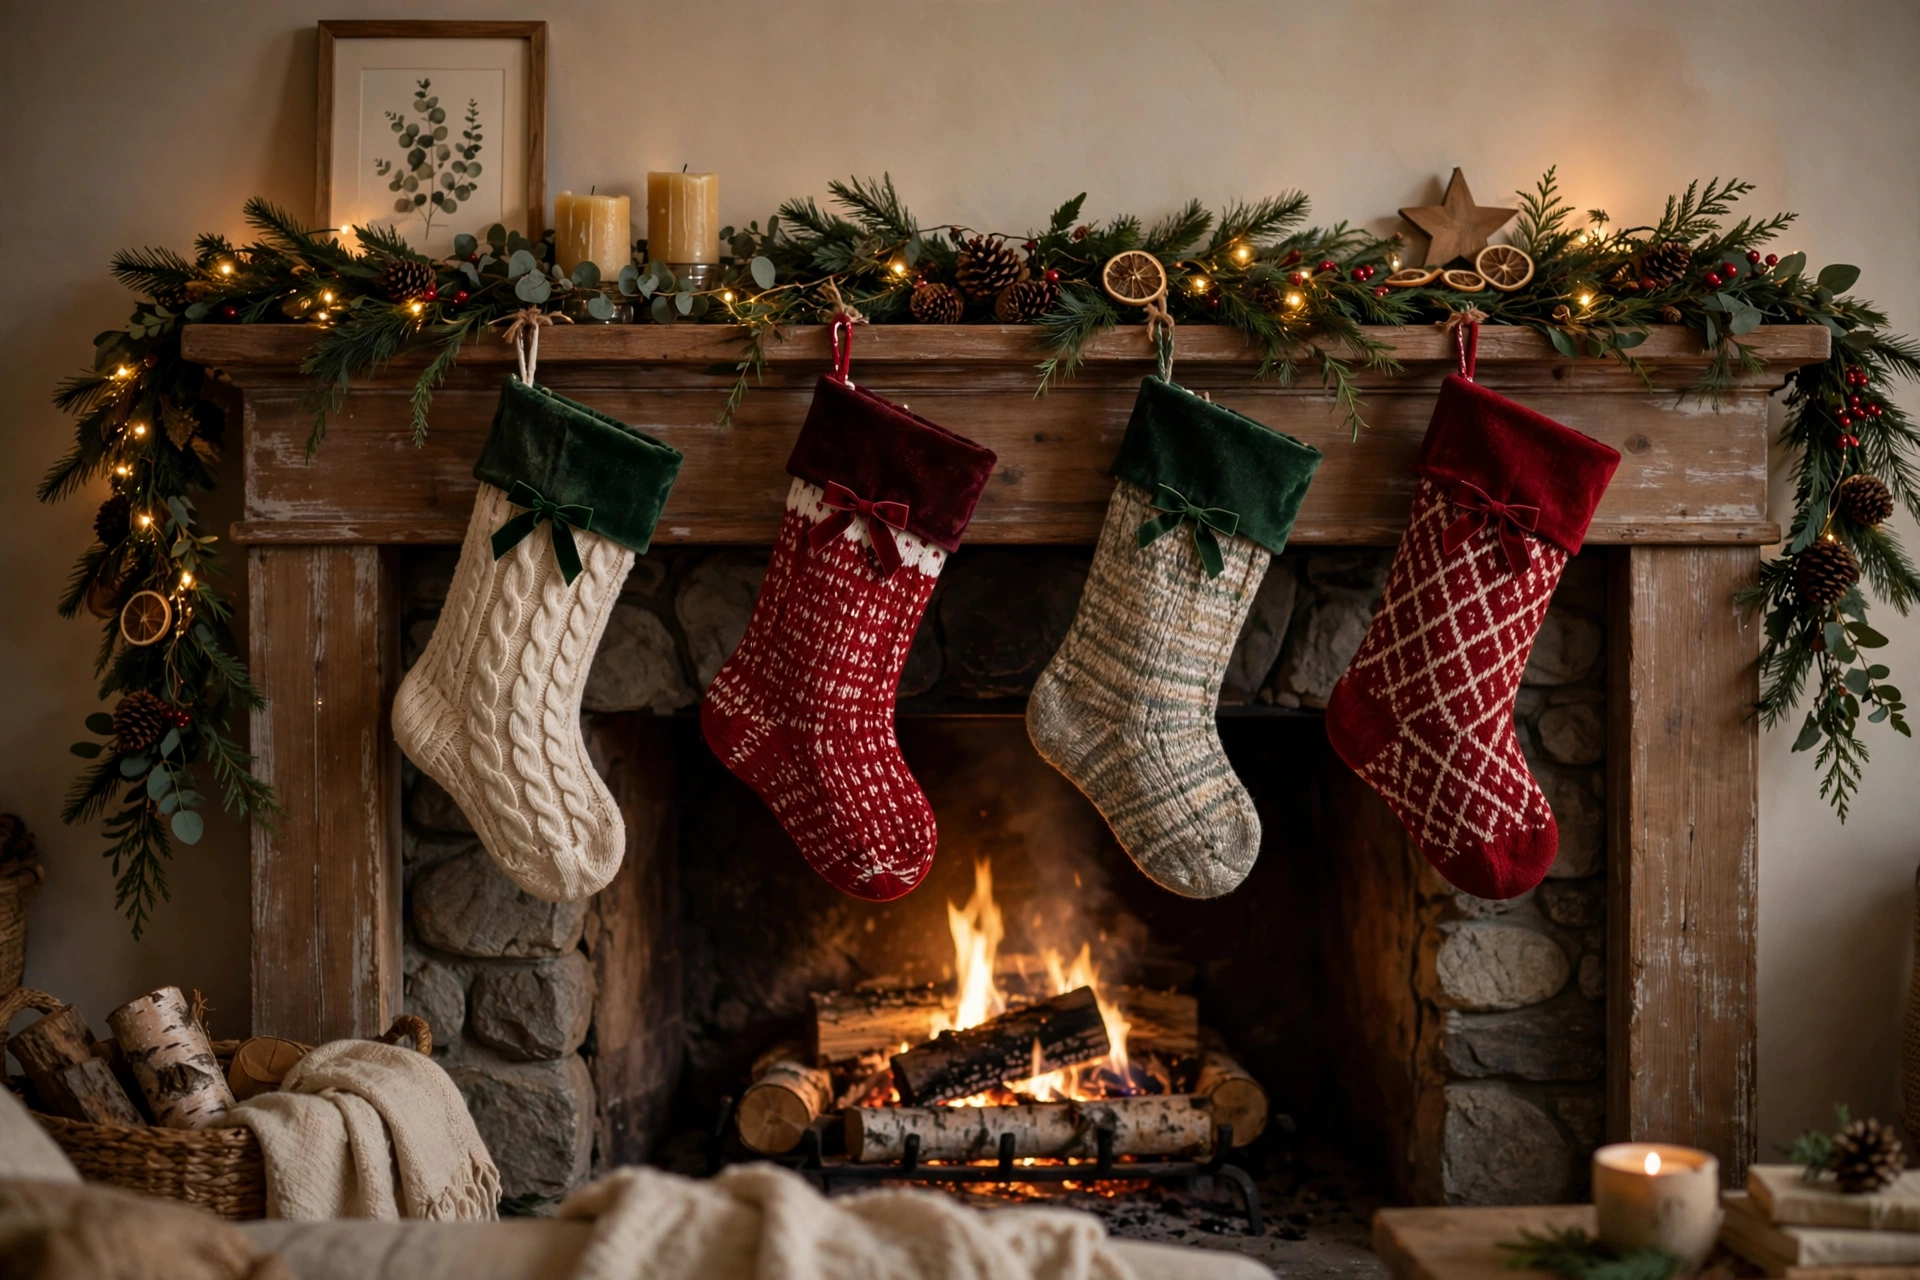
A small bow pinned or stitched to the cuff of each stocking personalizes matching stockings instantly. Use 1-inch ribbon, tie a simple flat bow, and attach with a safety pin hidden inside the cuff — no sewing required, and it is removable in January.
8. Staircase and Banister Bows
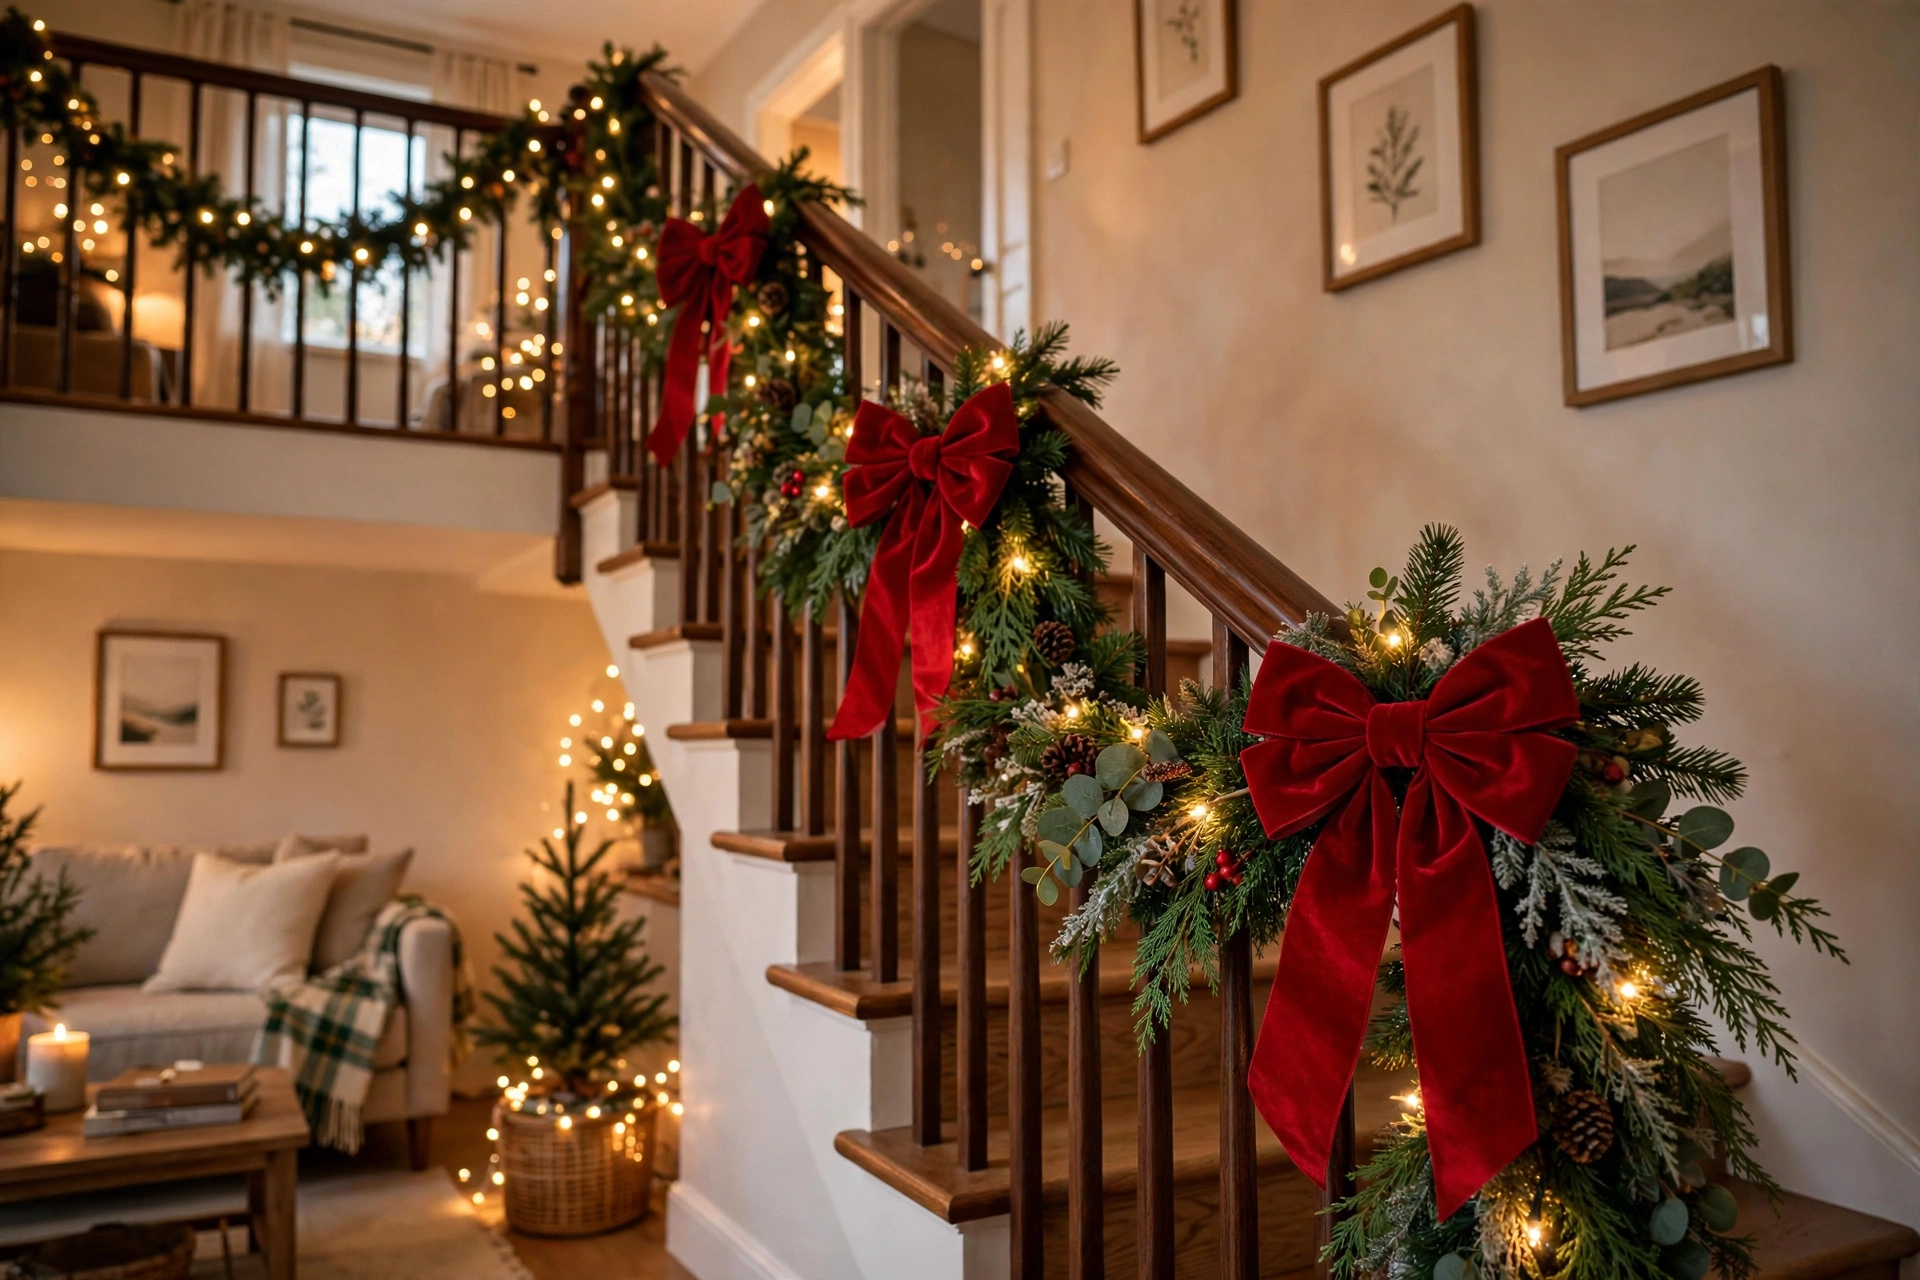
On a garland-draped banister, place a large 8-inch bow at the newel post and smaller 5-inch bows at every third baluster. The newel-post bow is the exclamation point of the whole staircase — make it the fullest bow in the house, with extra loops and the longest tails.
9. Window Bows
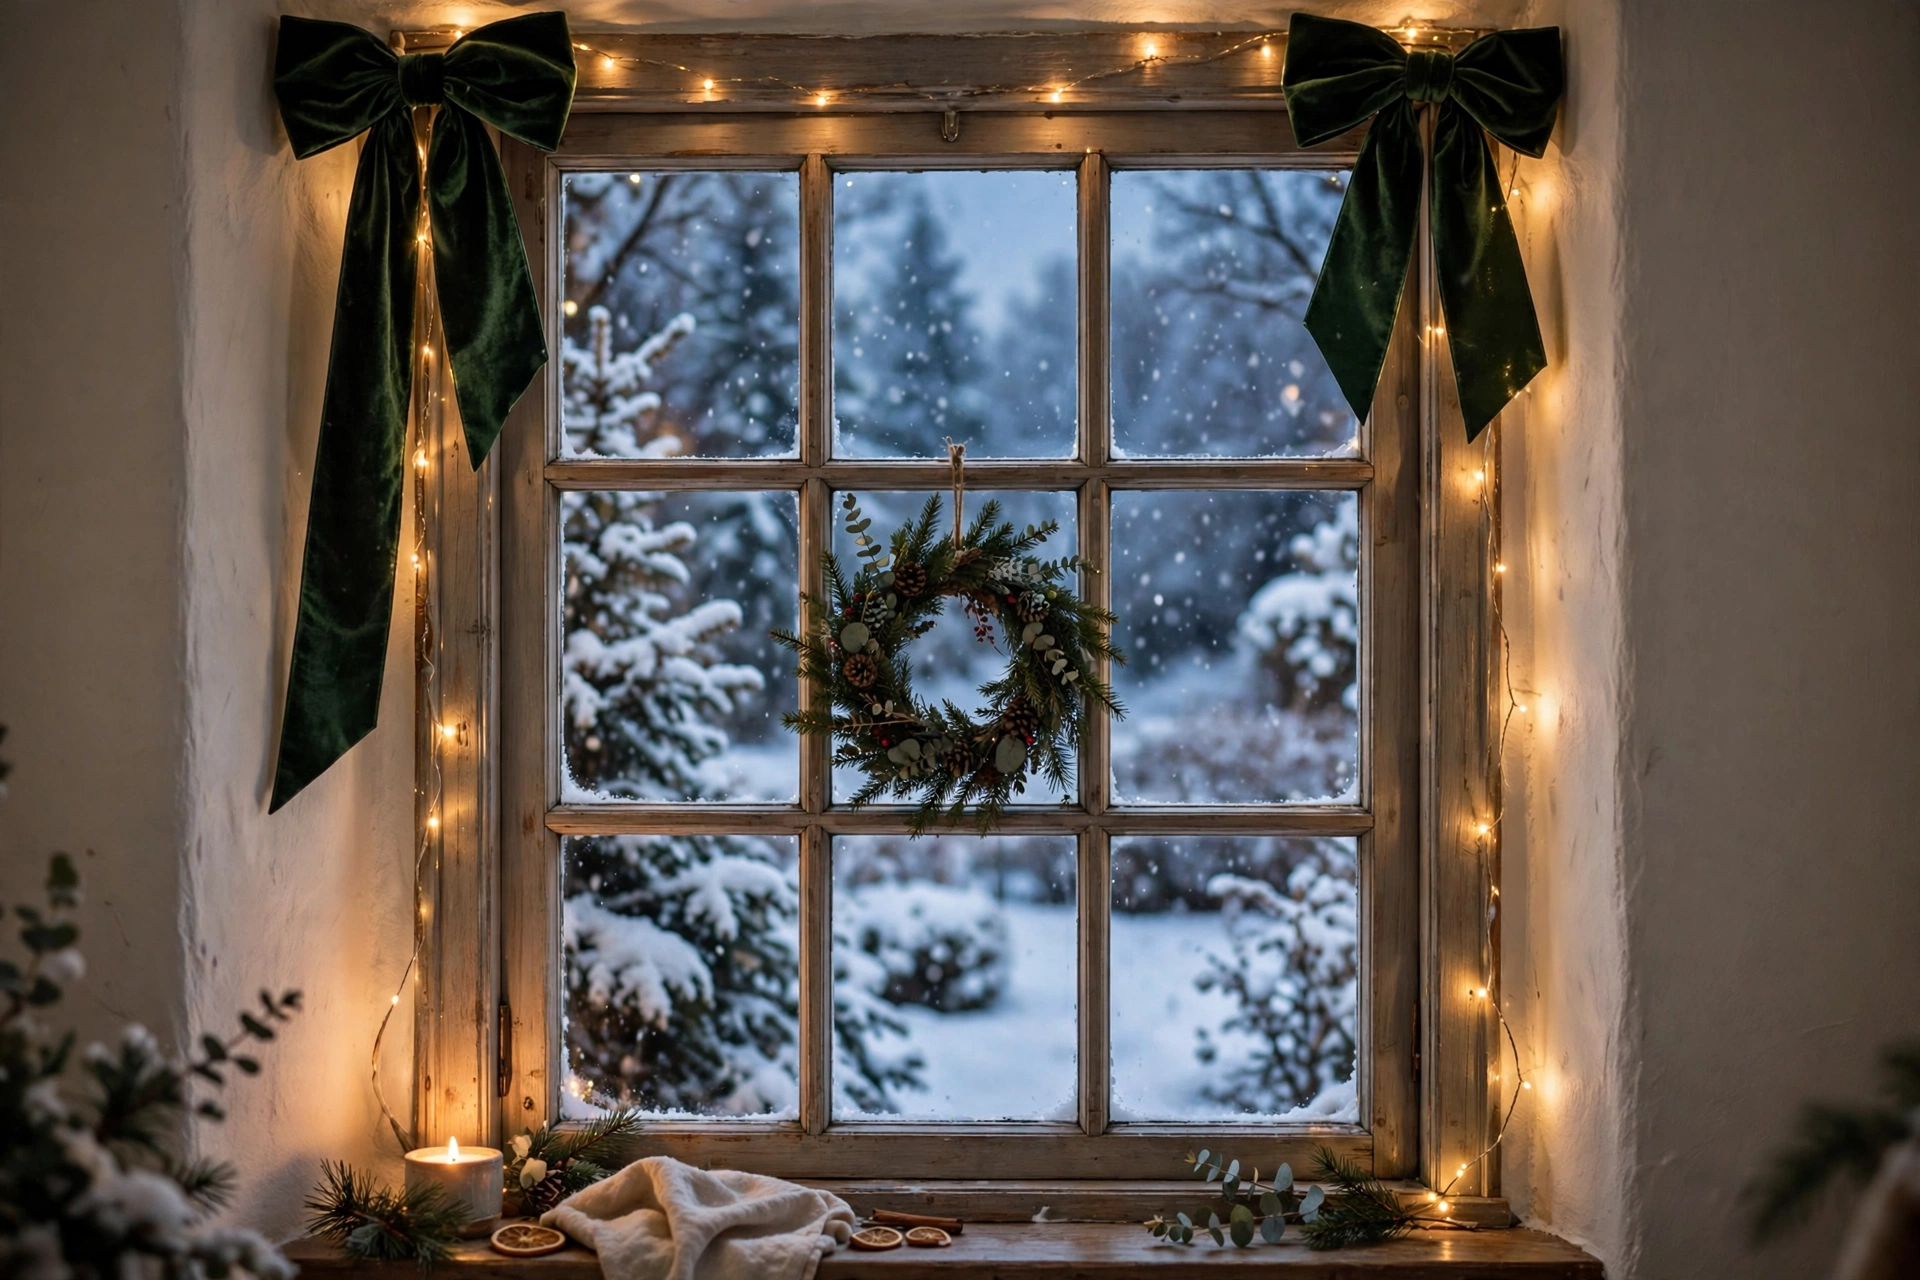
Hang a medium bow in the center of each front window from a suction cup hook and a length of ribbon, letting it float against the glass. From the street, a row of matching window bows reads as intentional and polished — it is the highest curb-appeal-per-dollar move on this list. Use weather-resistant ribbon if condensation is an issue.
10. Lantern and Hurrican Bows
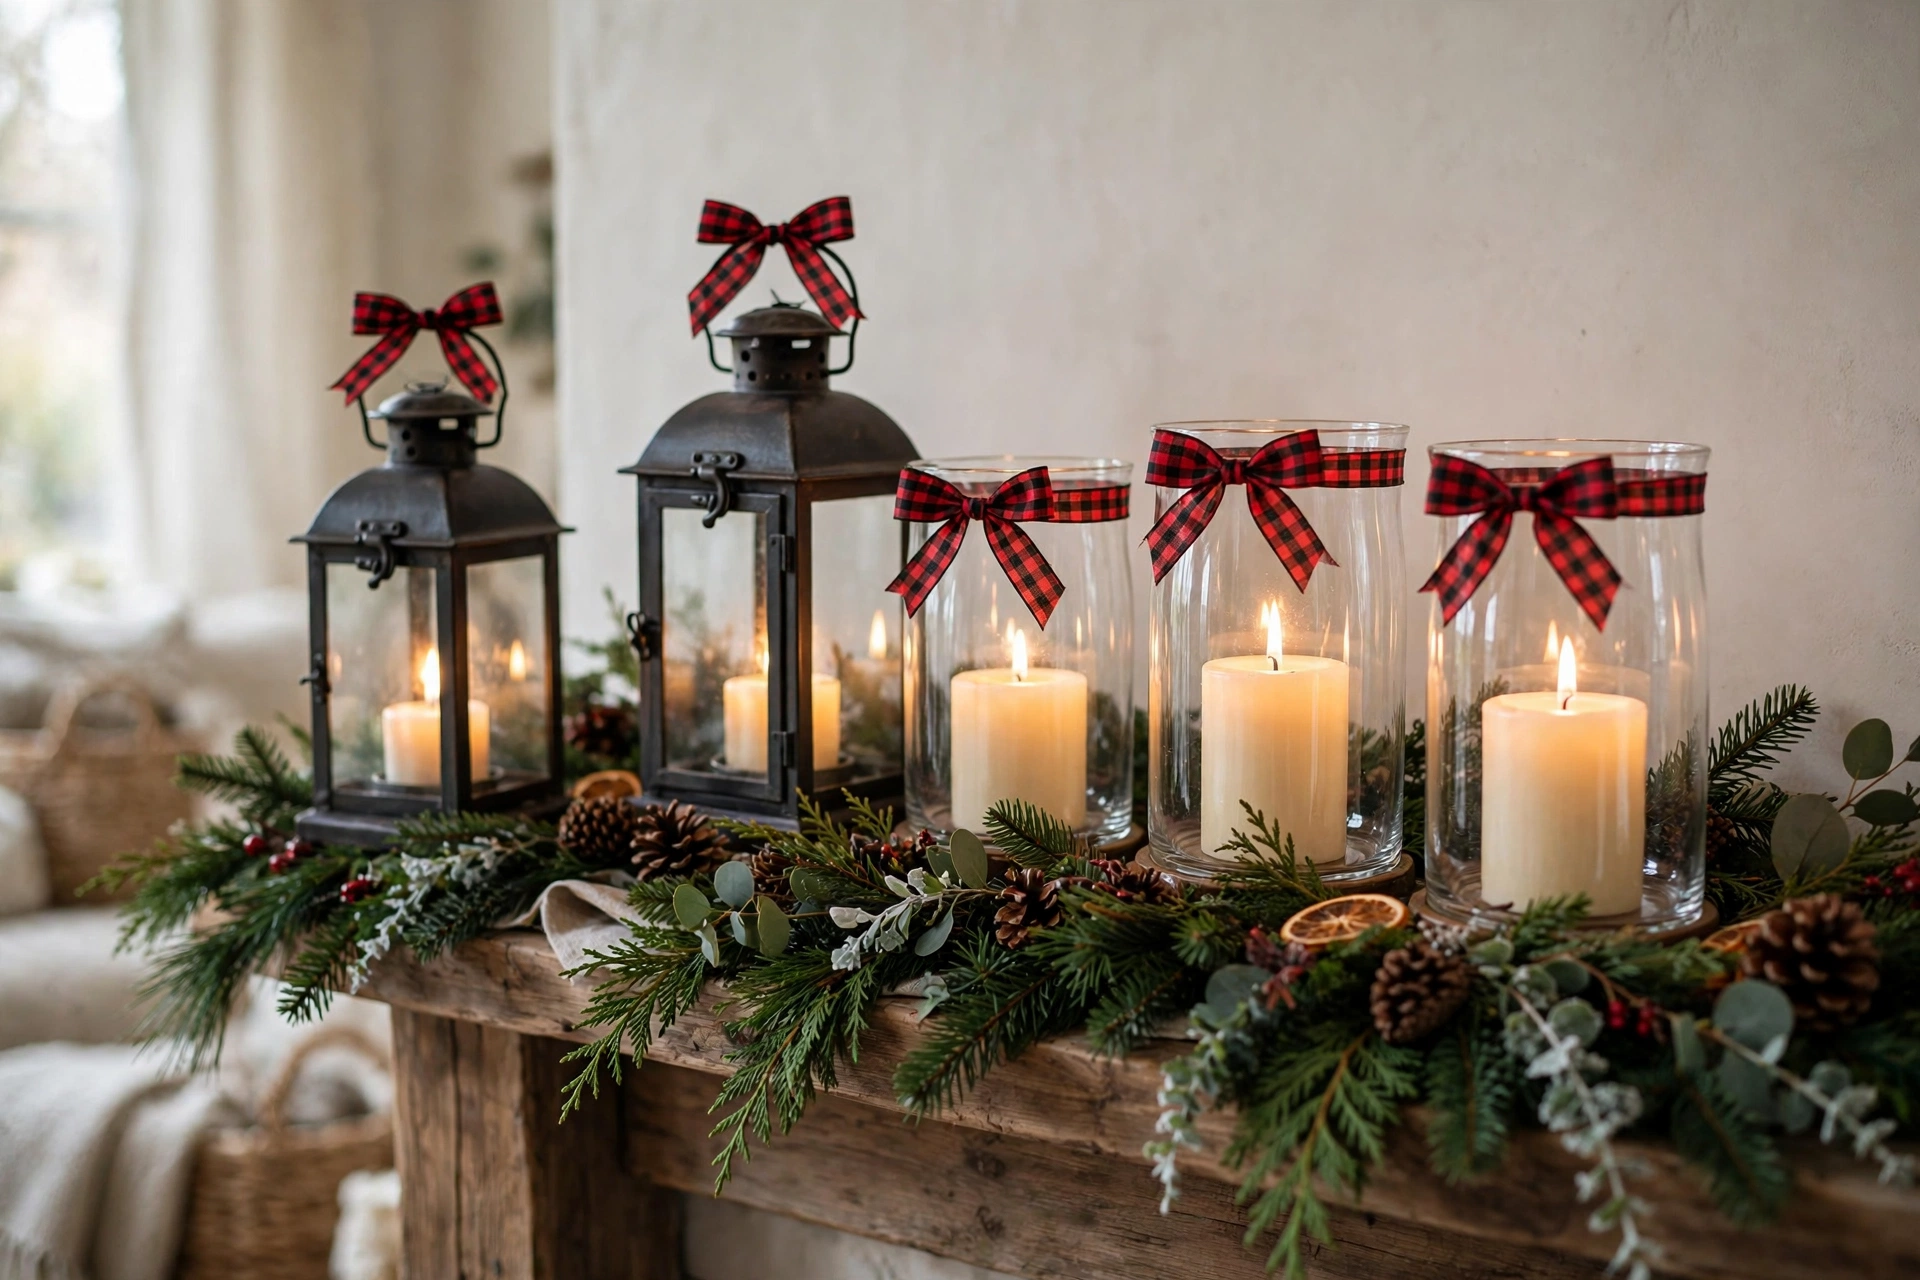
Tie a bow around the handle or neck of glass lanterns and hurricane candle holders, then set them along the mantel, entryway, or dining table. The bow turns a year-round object into a Christmas one in 60 seconds — this is the essence of efficient holiday decorating, and exactly the kind of small move our DIY home decor ideas celebrate.
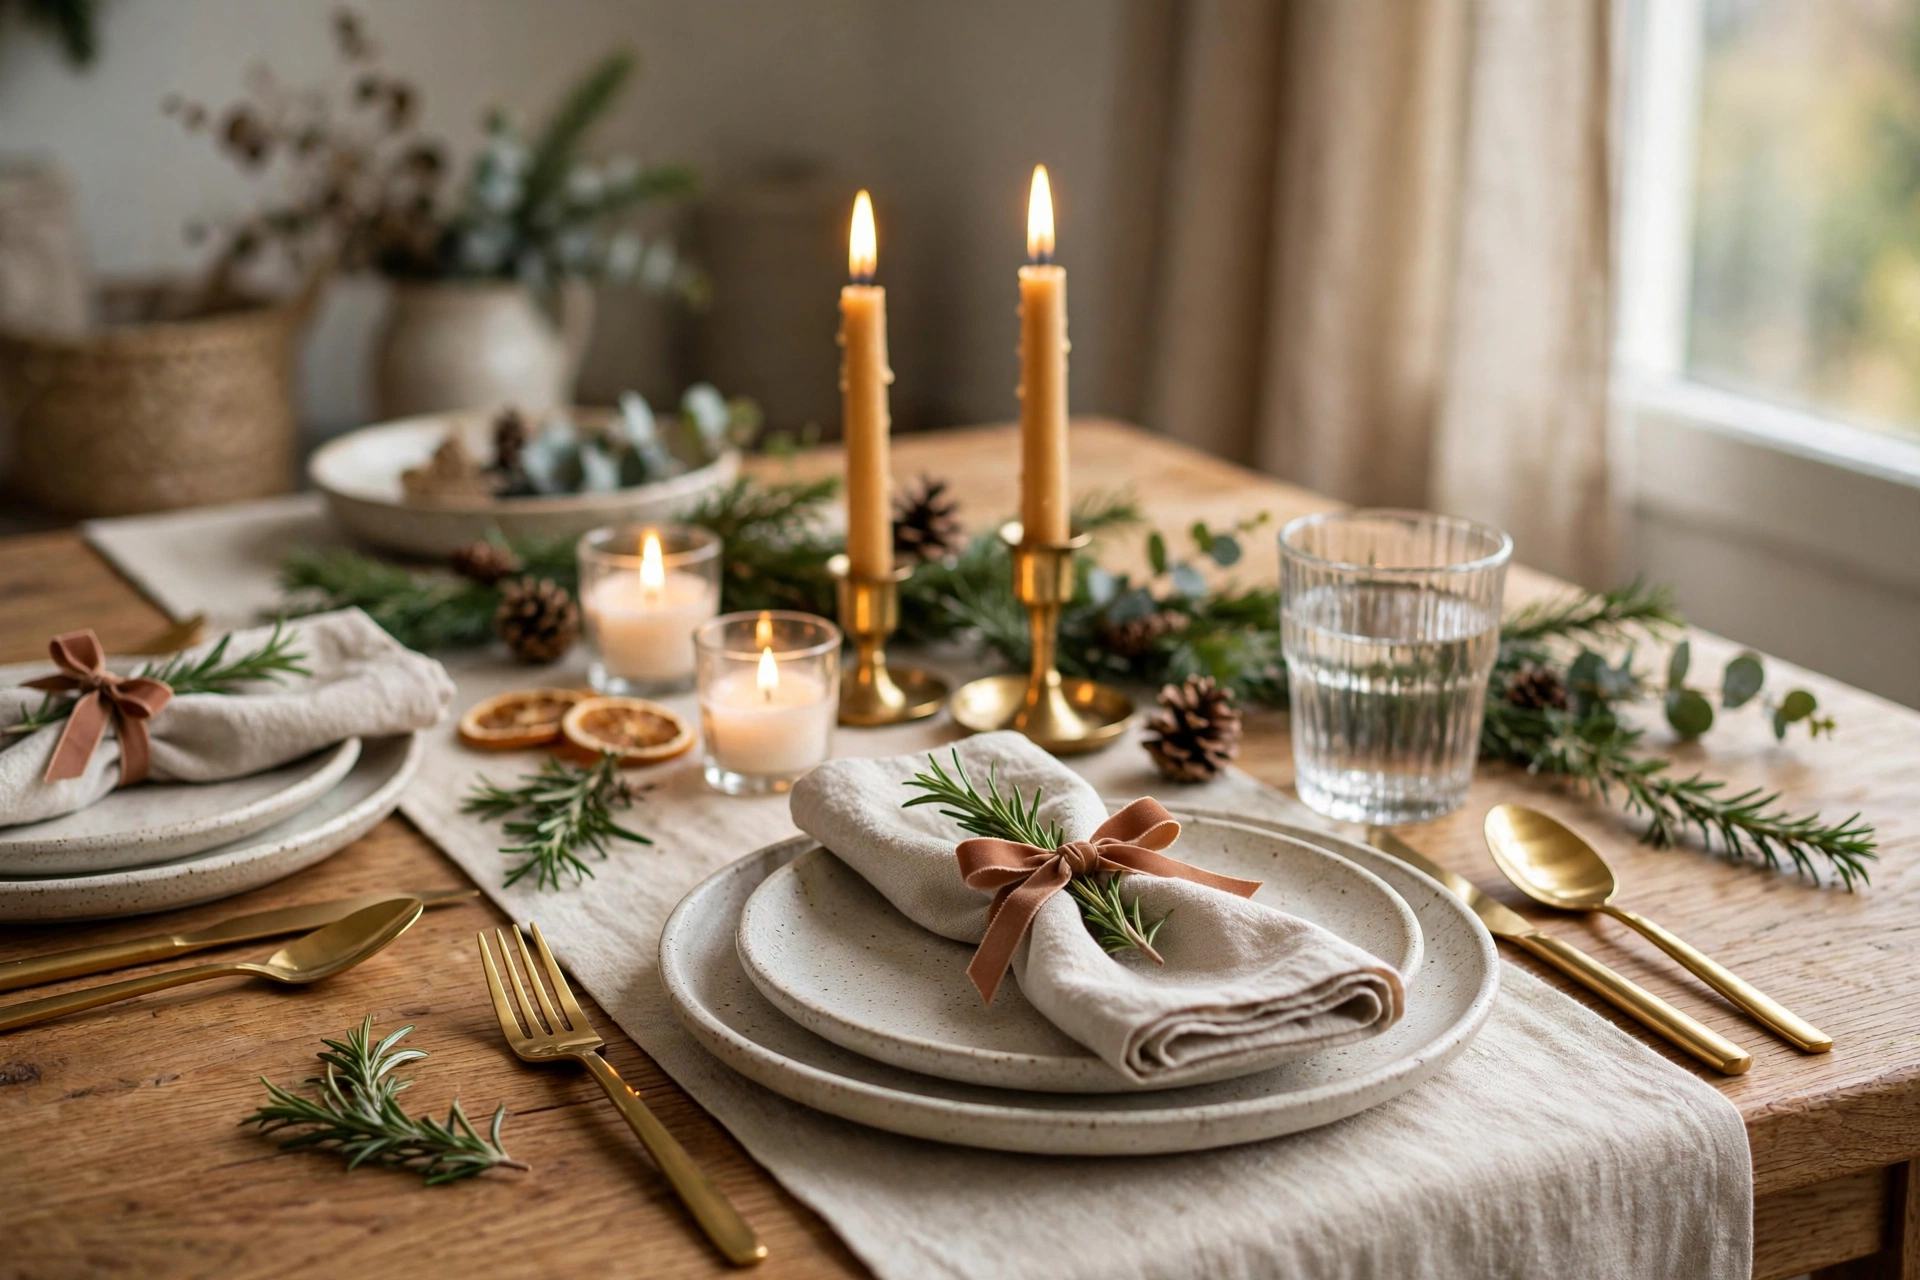
11. Napkin Bows at the Table
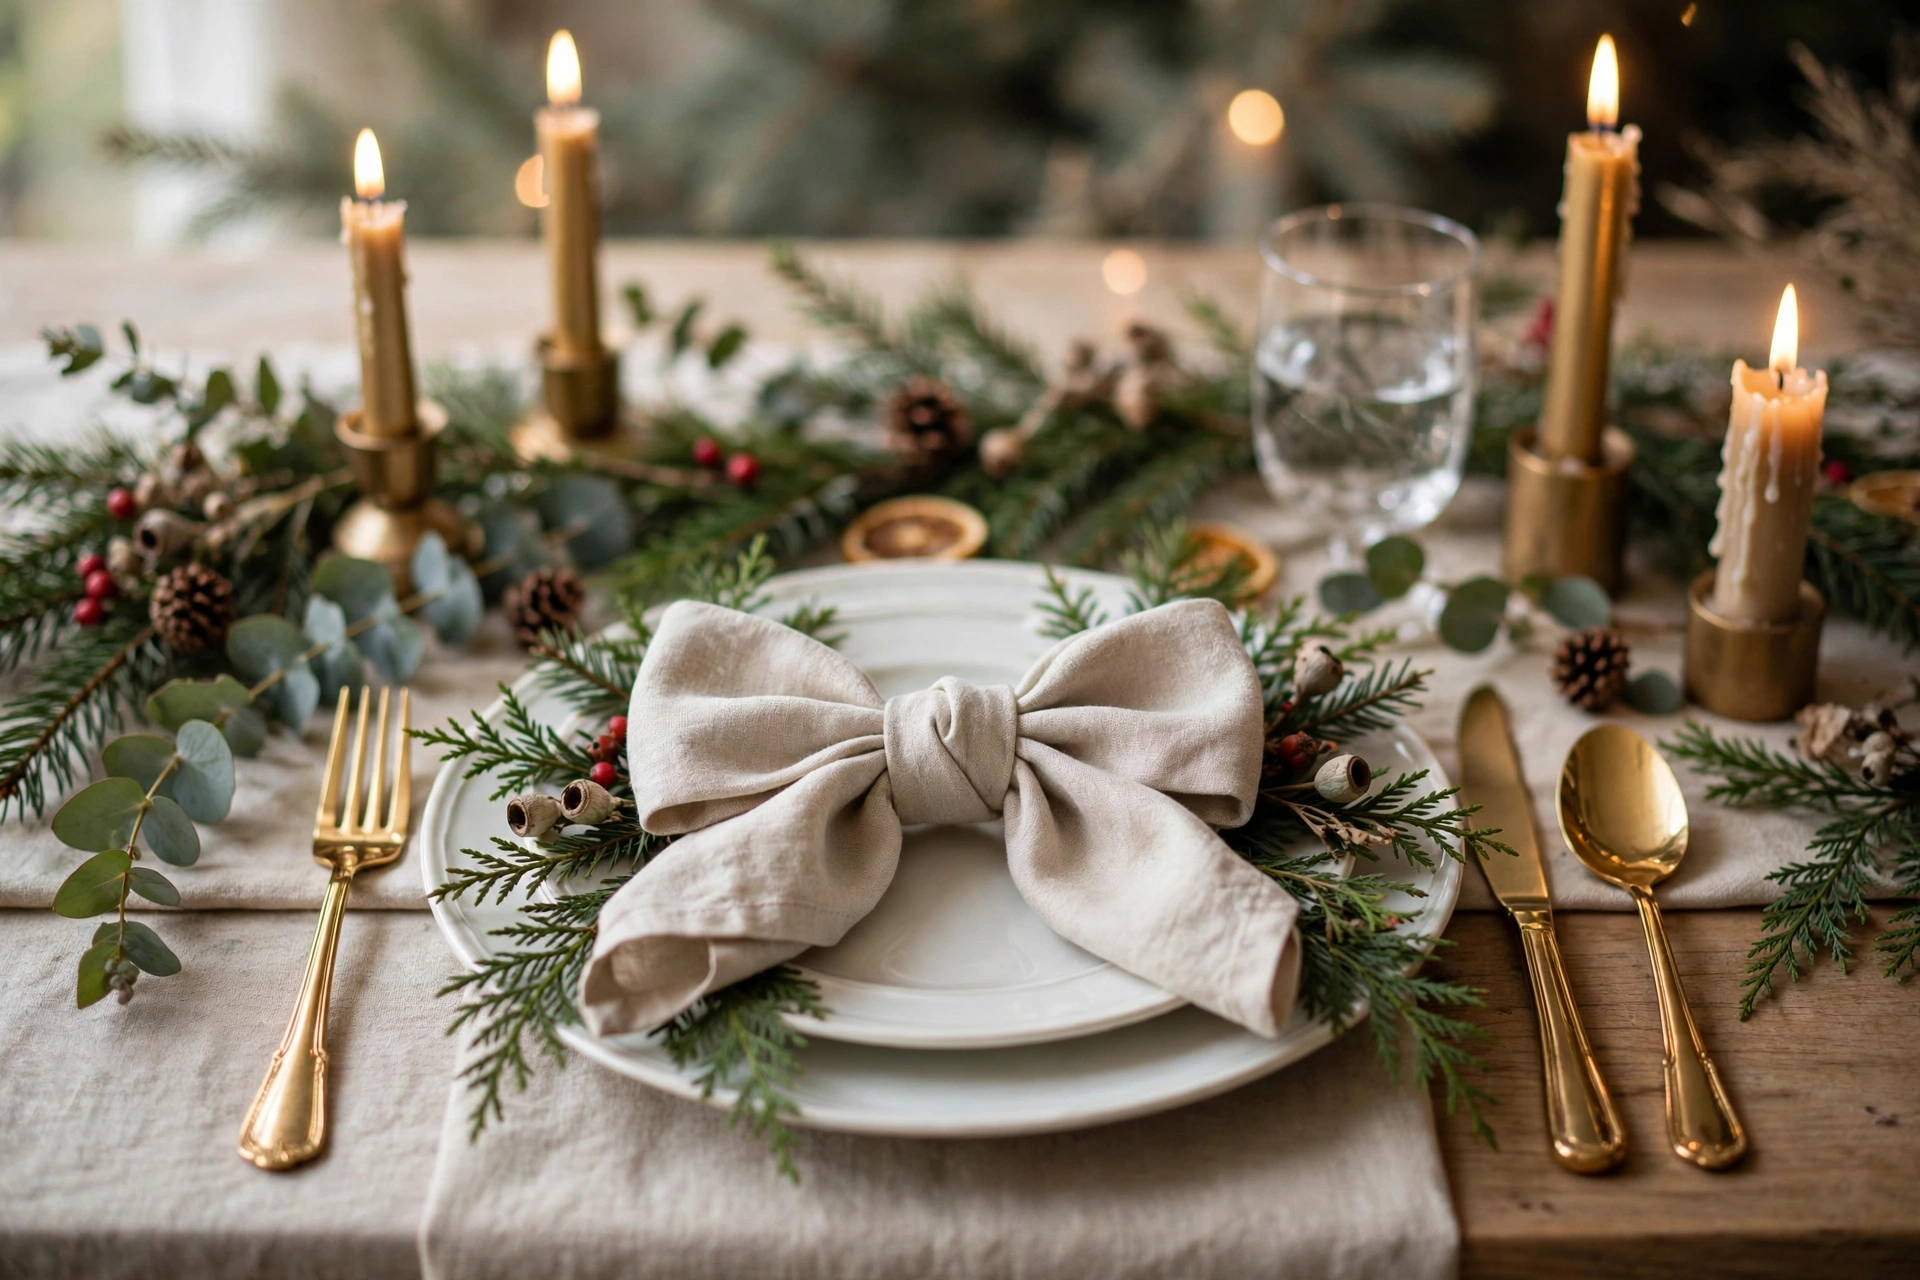
Roll or fold napkins and tie each with 0.75-inch ribbon in a simple knot-bow, tucking a sprig of rosemary or a cinnamon stick into the knot. It costs pennies per place setting and makes the table feel considered before anyone sits down. This is the detail guests photograph.
12. Candle Cluster Bows
Group three pillar candles of graduated heights on a tray, tie a wide ribbon around the whole cluster, and finish with a bow at the front. The ribbon unifies the cluster visually and keeps the arrangement from sliding around. Keep ribbon at least 2 inches below the flame line of the tallest candle — or use flameless candles and stop worrying.
13. Advent Calendar Bows
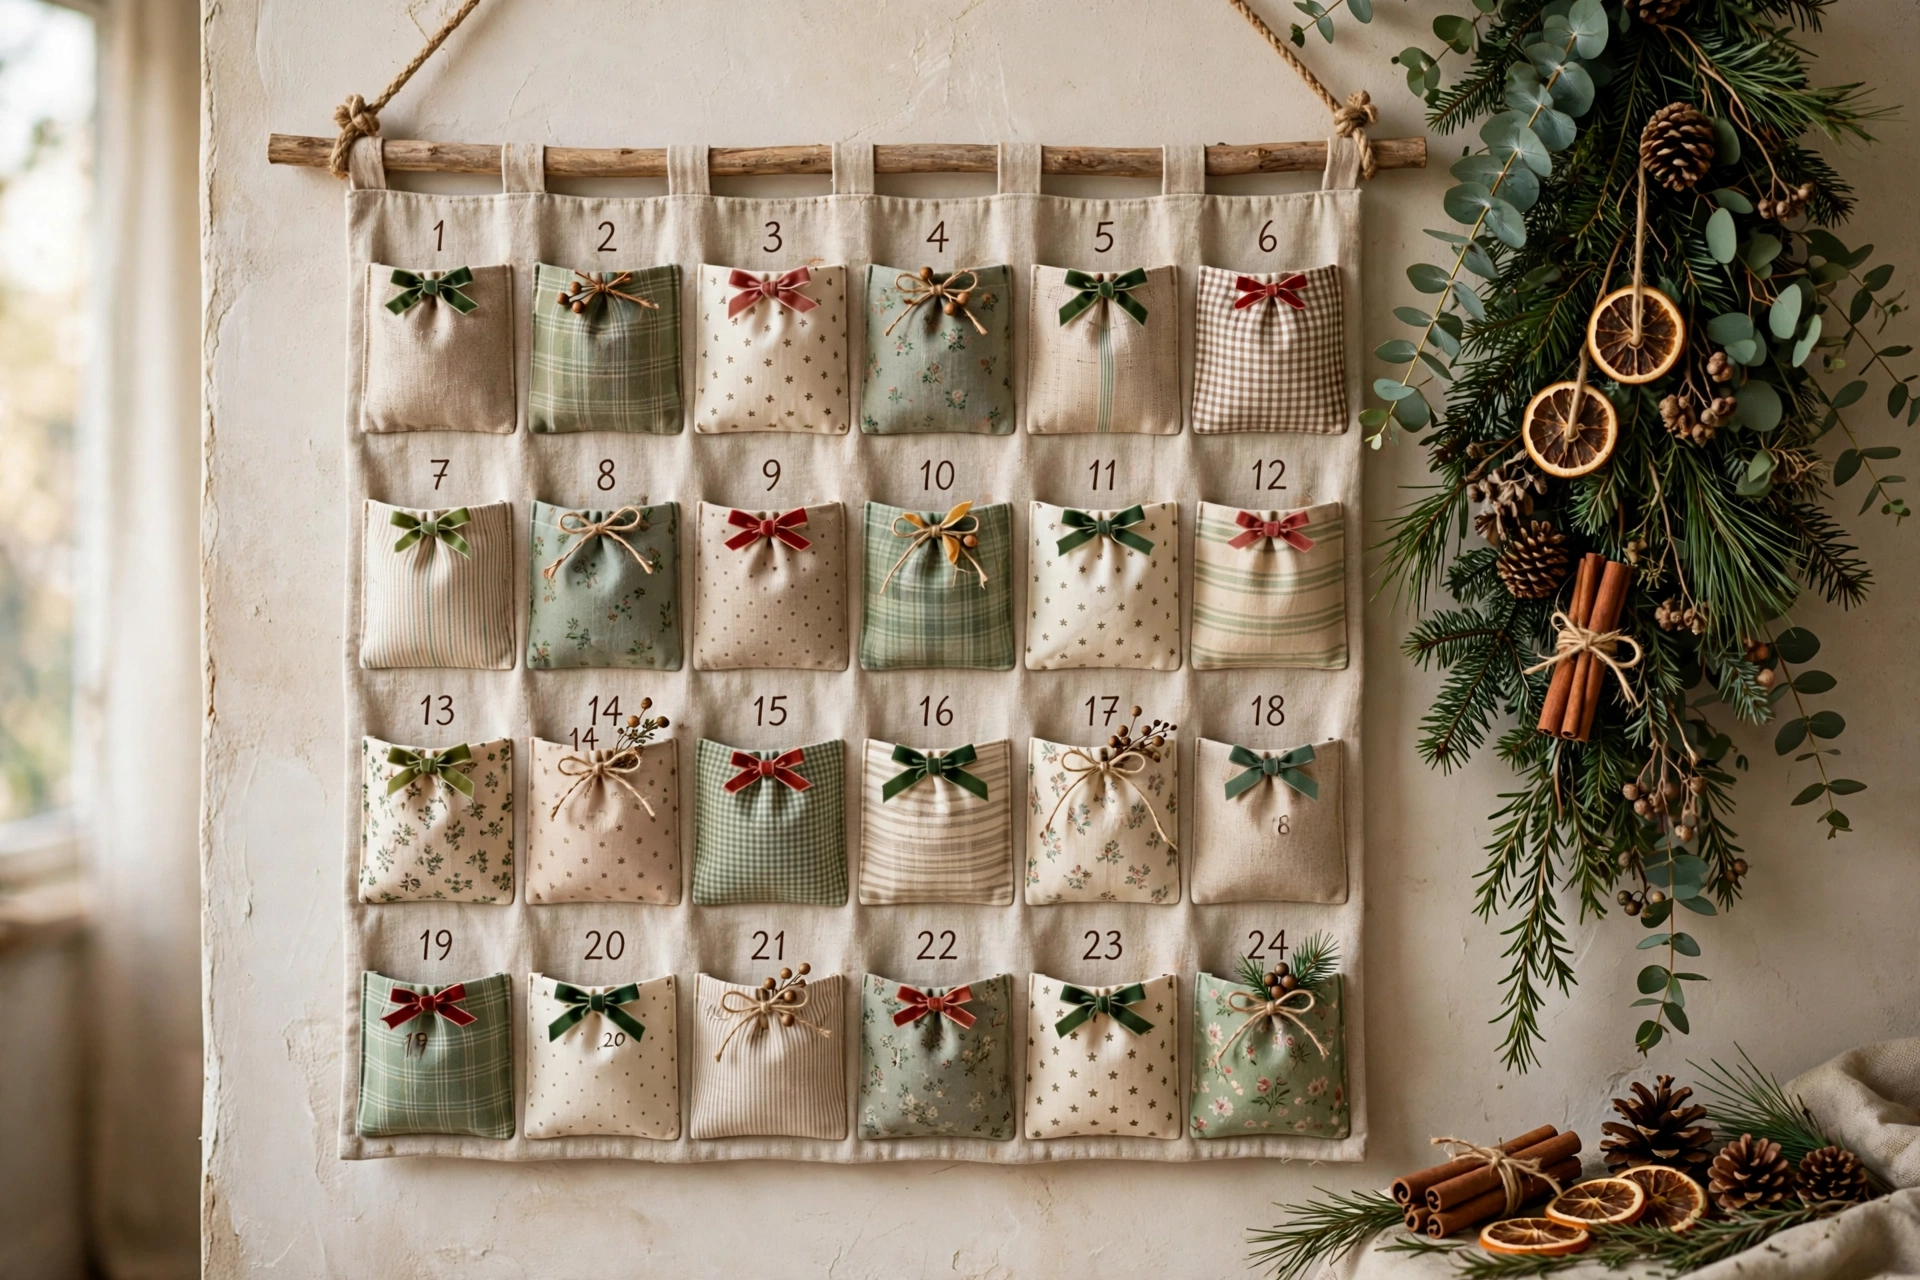
If you use a hanging advent calendar with pockets or boxes, tie a tiny bow on each day’s pull tab in alternating colors. It doubles the calendar’s decorative value and builds a small daily ritual of anticipation. Twenty-four 0.5-inch bows take an evening in front of the television.
14. Plant Pot Bows
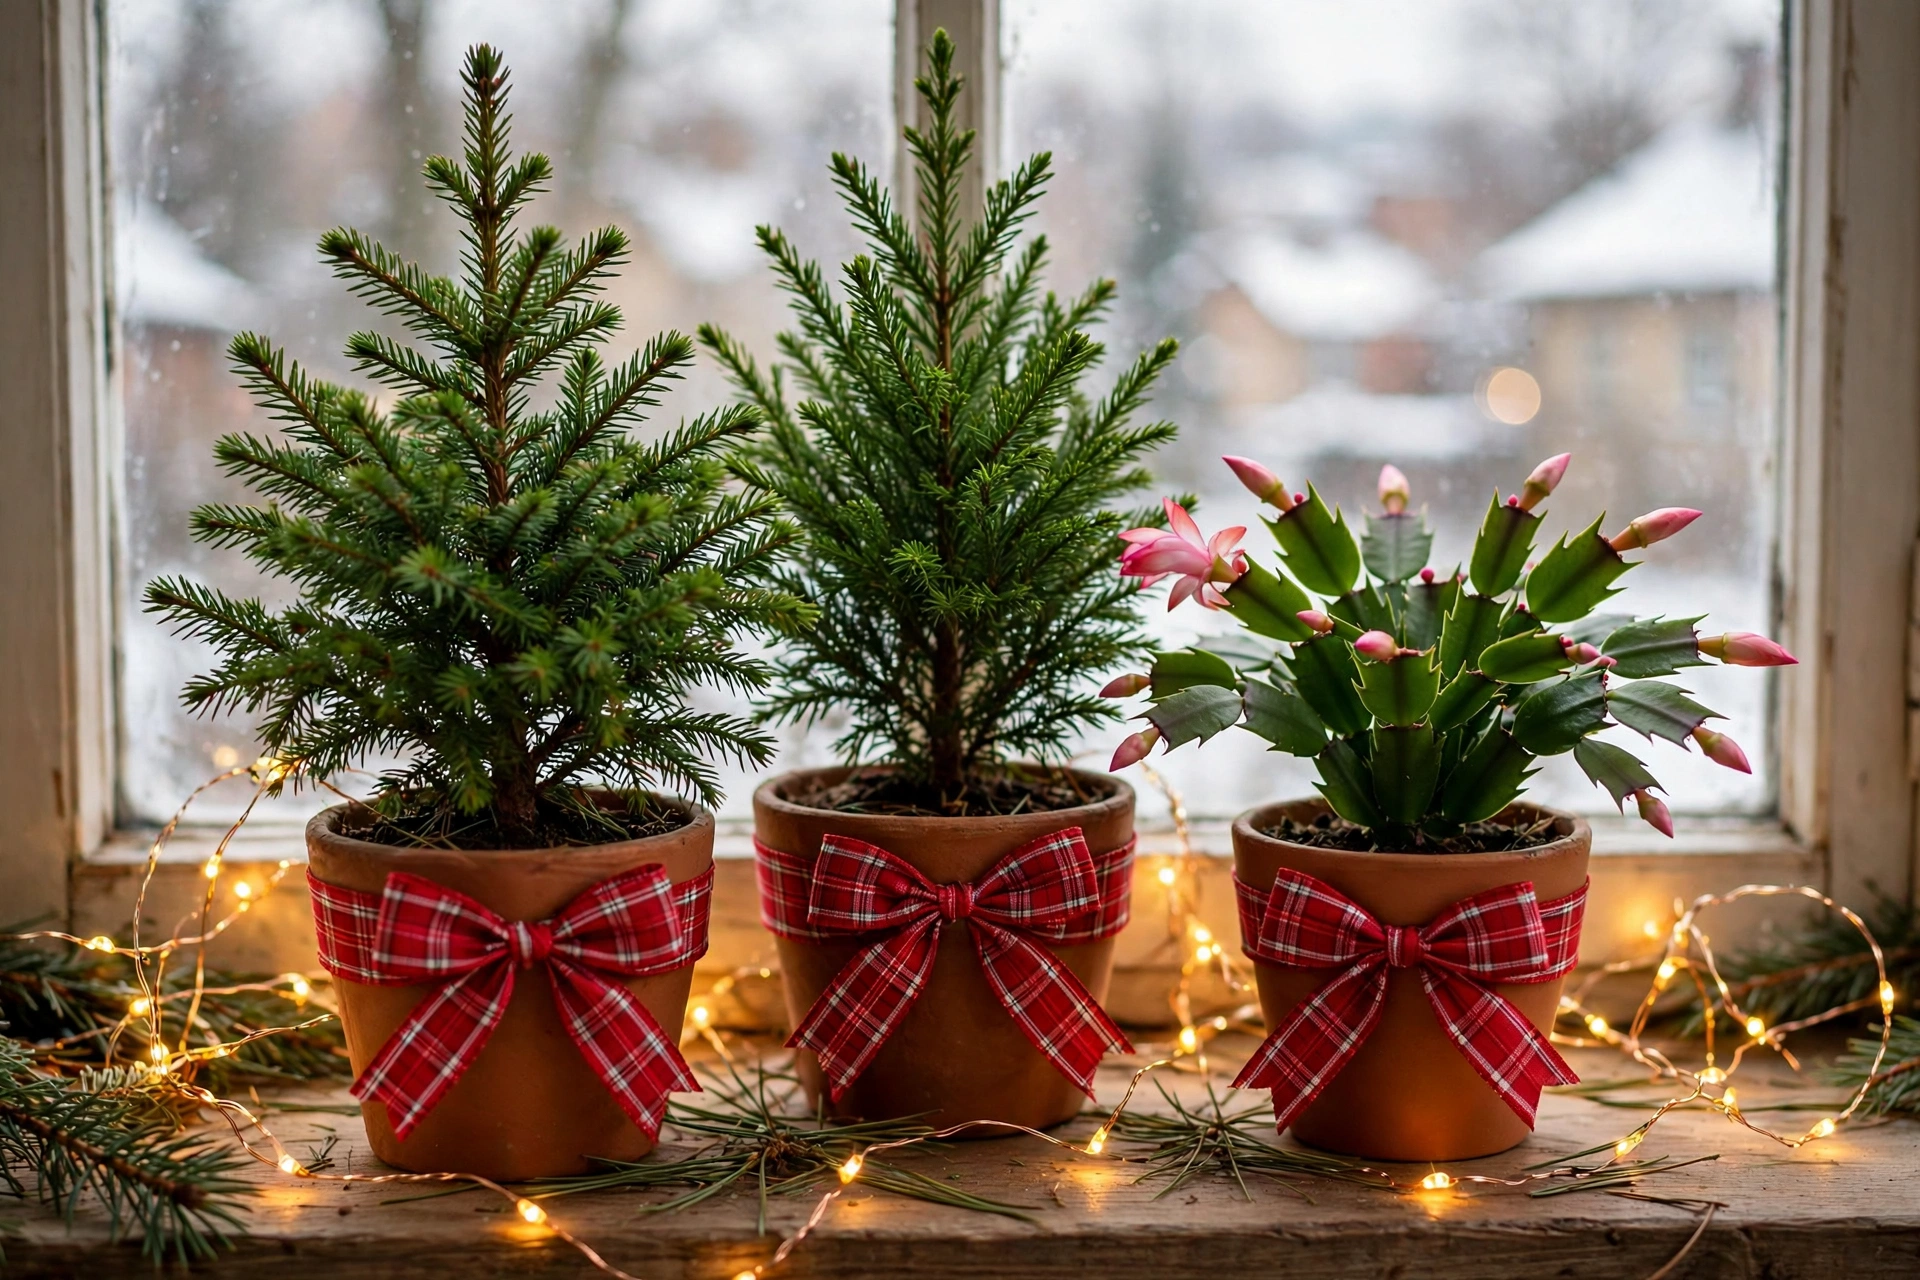
Your houseplants want in on Christmas too. Tie a festive bow around the pot of a large fiddle-leaf fig, olive tree, or even a humble pothos, and add a few small ornaments hung from the branches with thread. A bow-dressed houseplant reads as intentional holiday decor, not neglect.
15. Chandelier and Light Fixture Bows
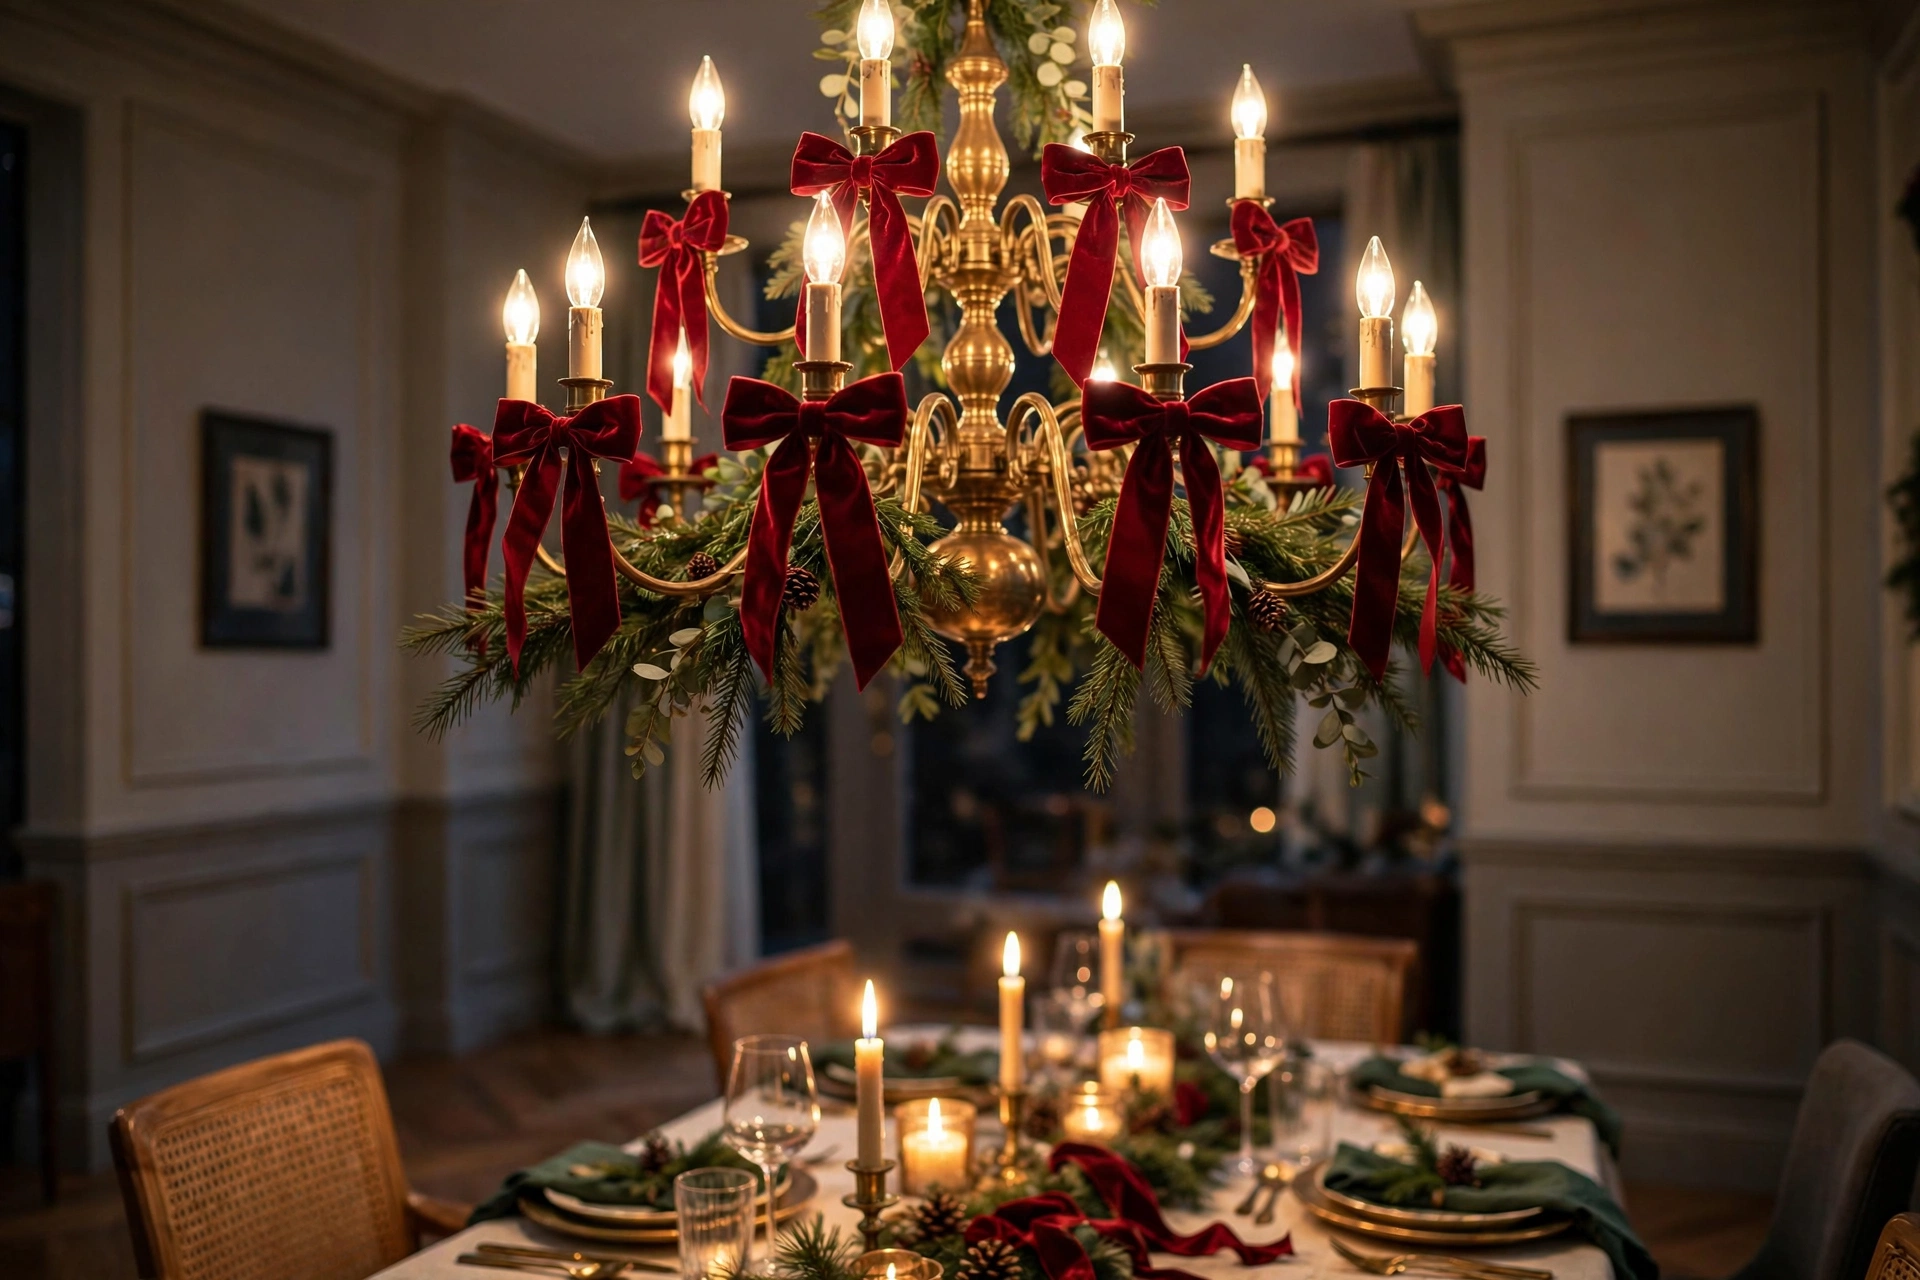
Wire small bows to the arms of a chandelier or tie one around a pendant light cord where it meets the ceiling. Keep bows at least 6 inches from any bulb, use LED bulbs that run cool, and never hang anything from a fixture that is not rated for the (minimal) weight. The overhead bow draws the eye up and makes the whole room feel dressed.
16. Front Door Bow (Beyond the Wreath)
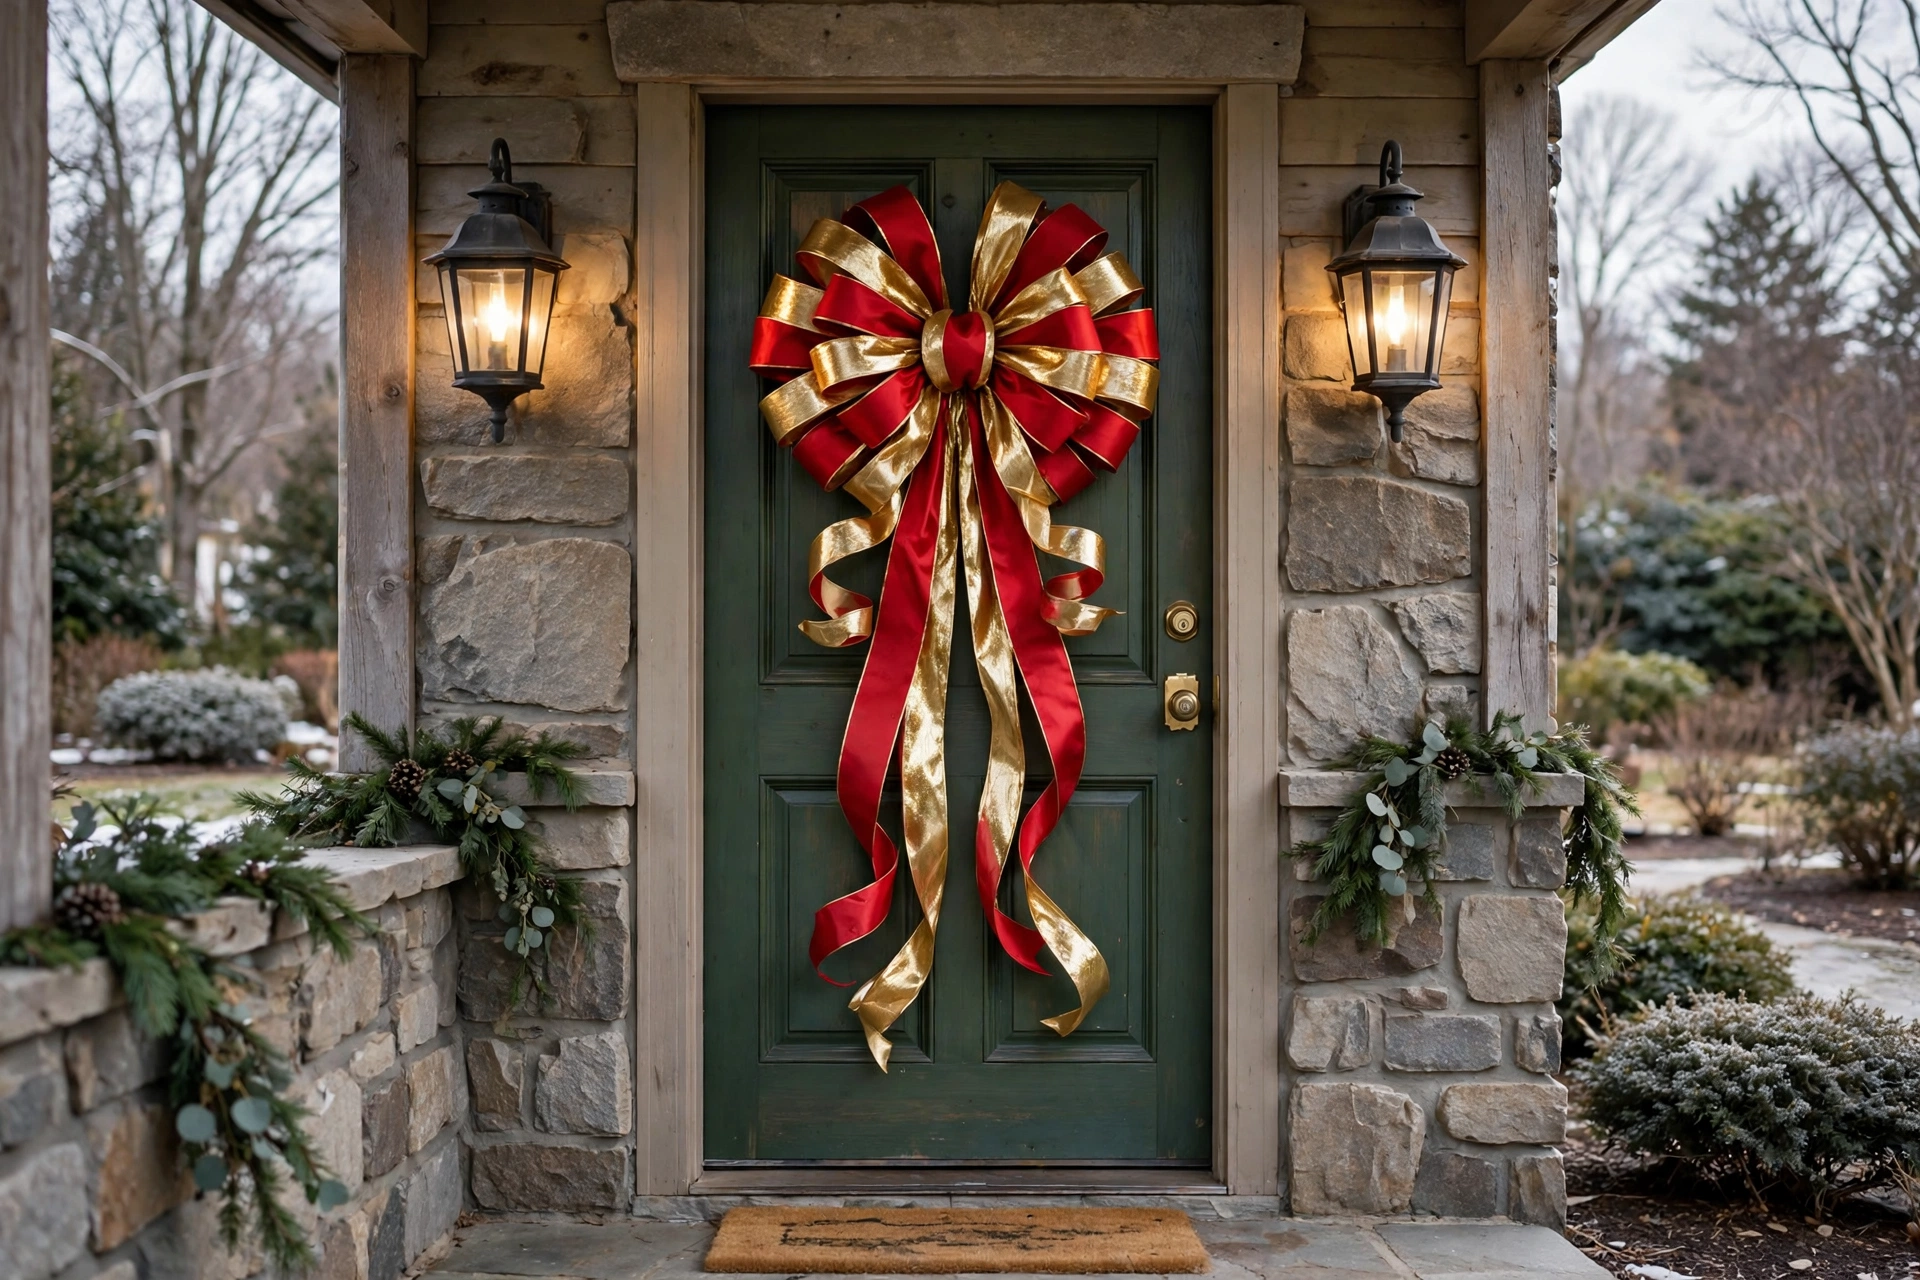
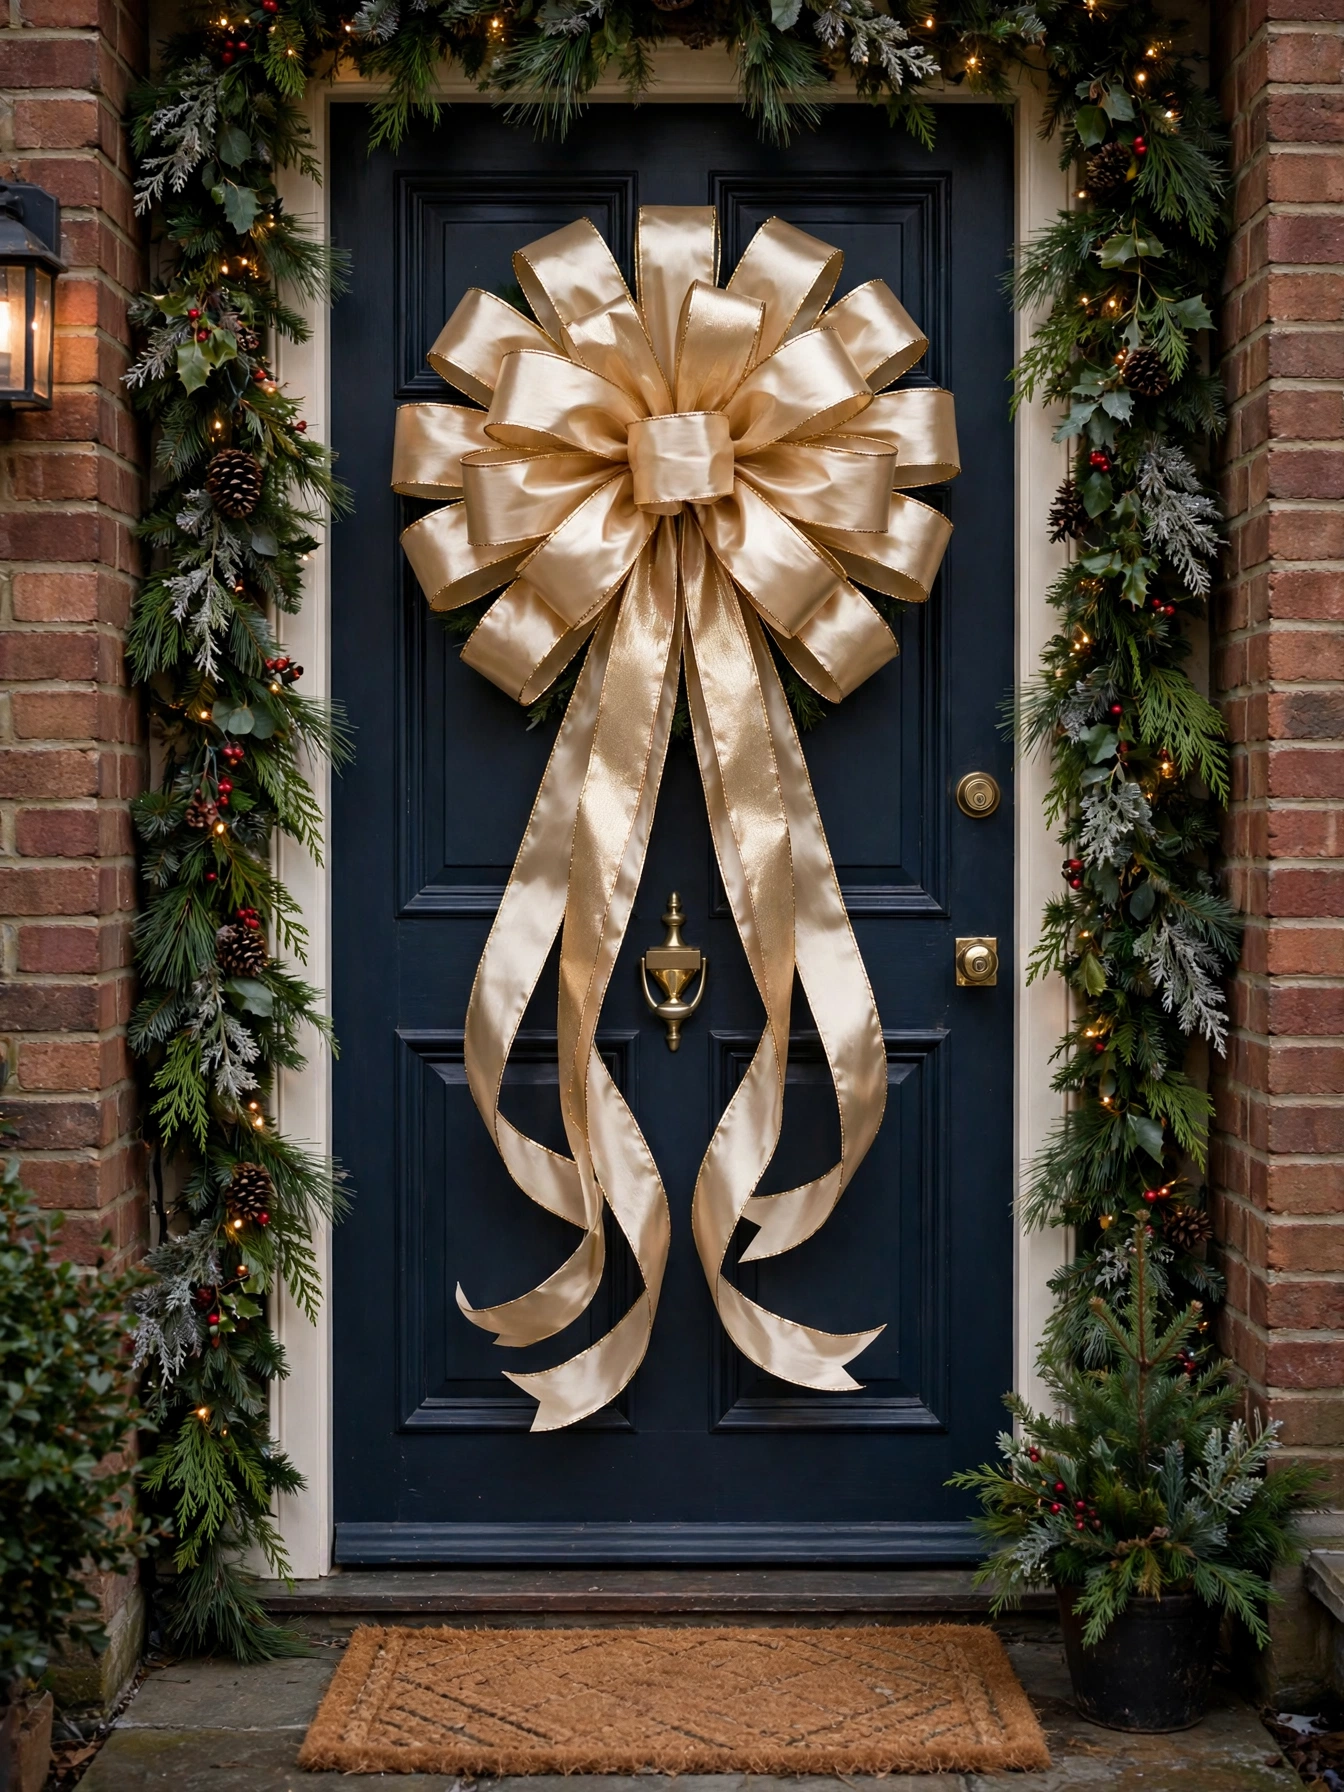
Skip the wreath entirely and hang one enormous 12-14 inch bow directly on the front door — wired ribbon holds its shape against weather far better than a fussy wreath, and from the street a single giant bow is strikingly modern. Mount on an over-door hanger with the bow wired to it, not glued, so wind does not claim it.
17. Gift Bag Handle Bows
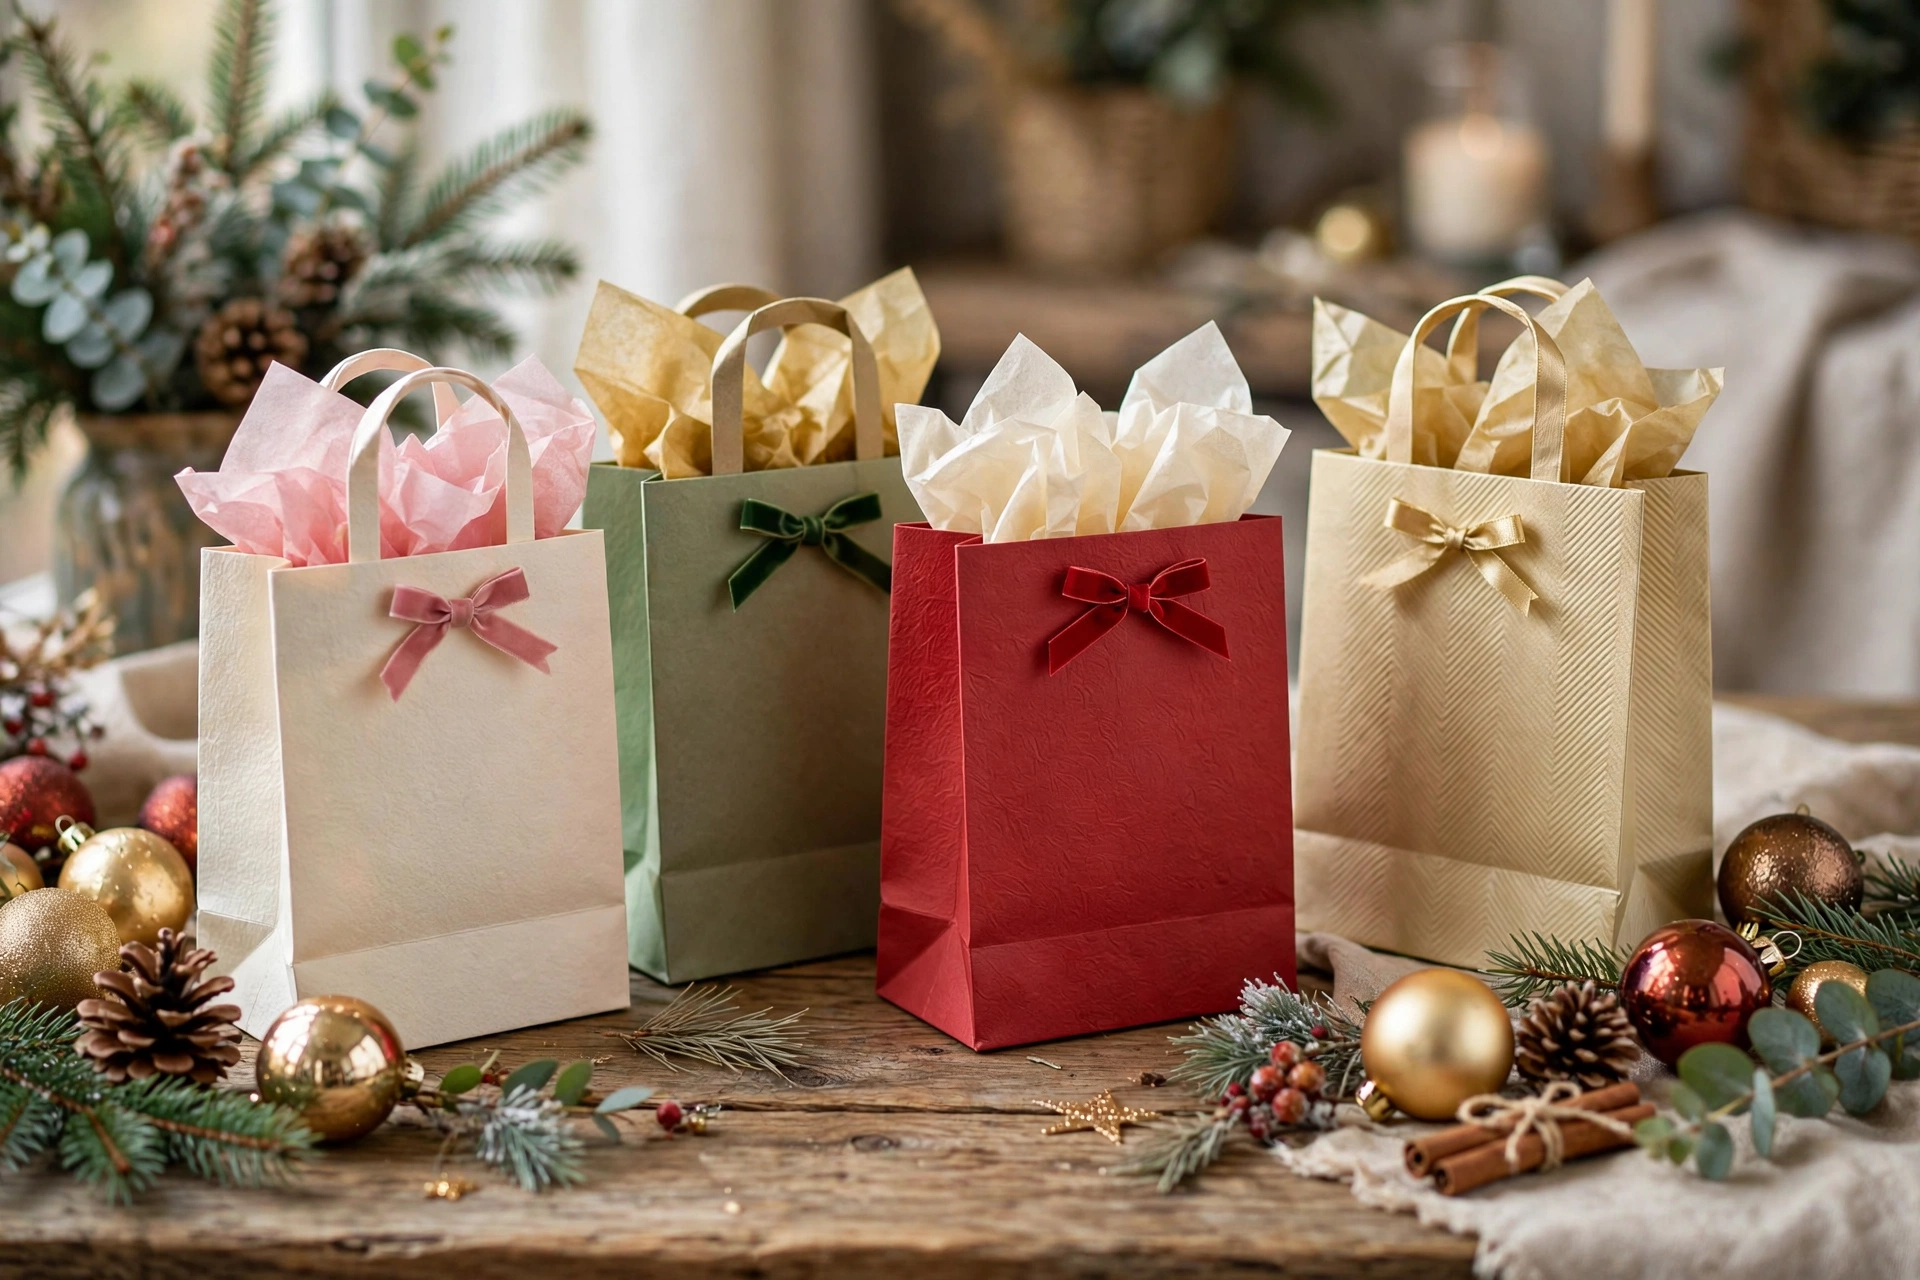
Gift bags look unfinished with bare handles. Tie a small bow around both handles where they meet, using ribbon that matches the bag’s print. It takes 30 seconds per bag and elevates the whole gift table. Buy ribbon in 10-yard spools for this — you will use more than you think.
18. Fireplace Screen and Tool Set Bows
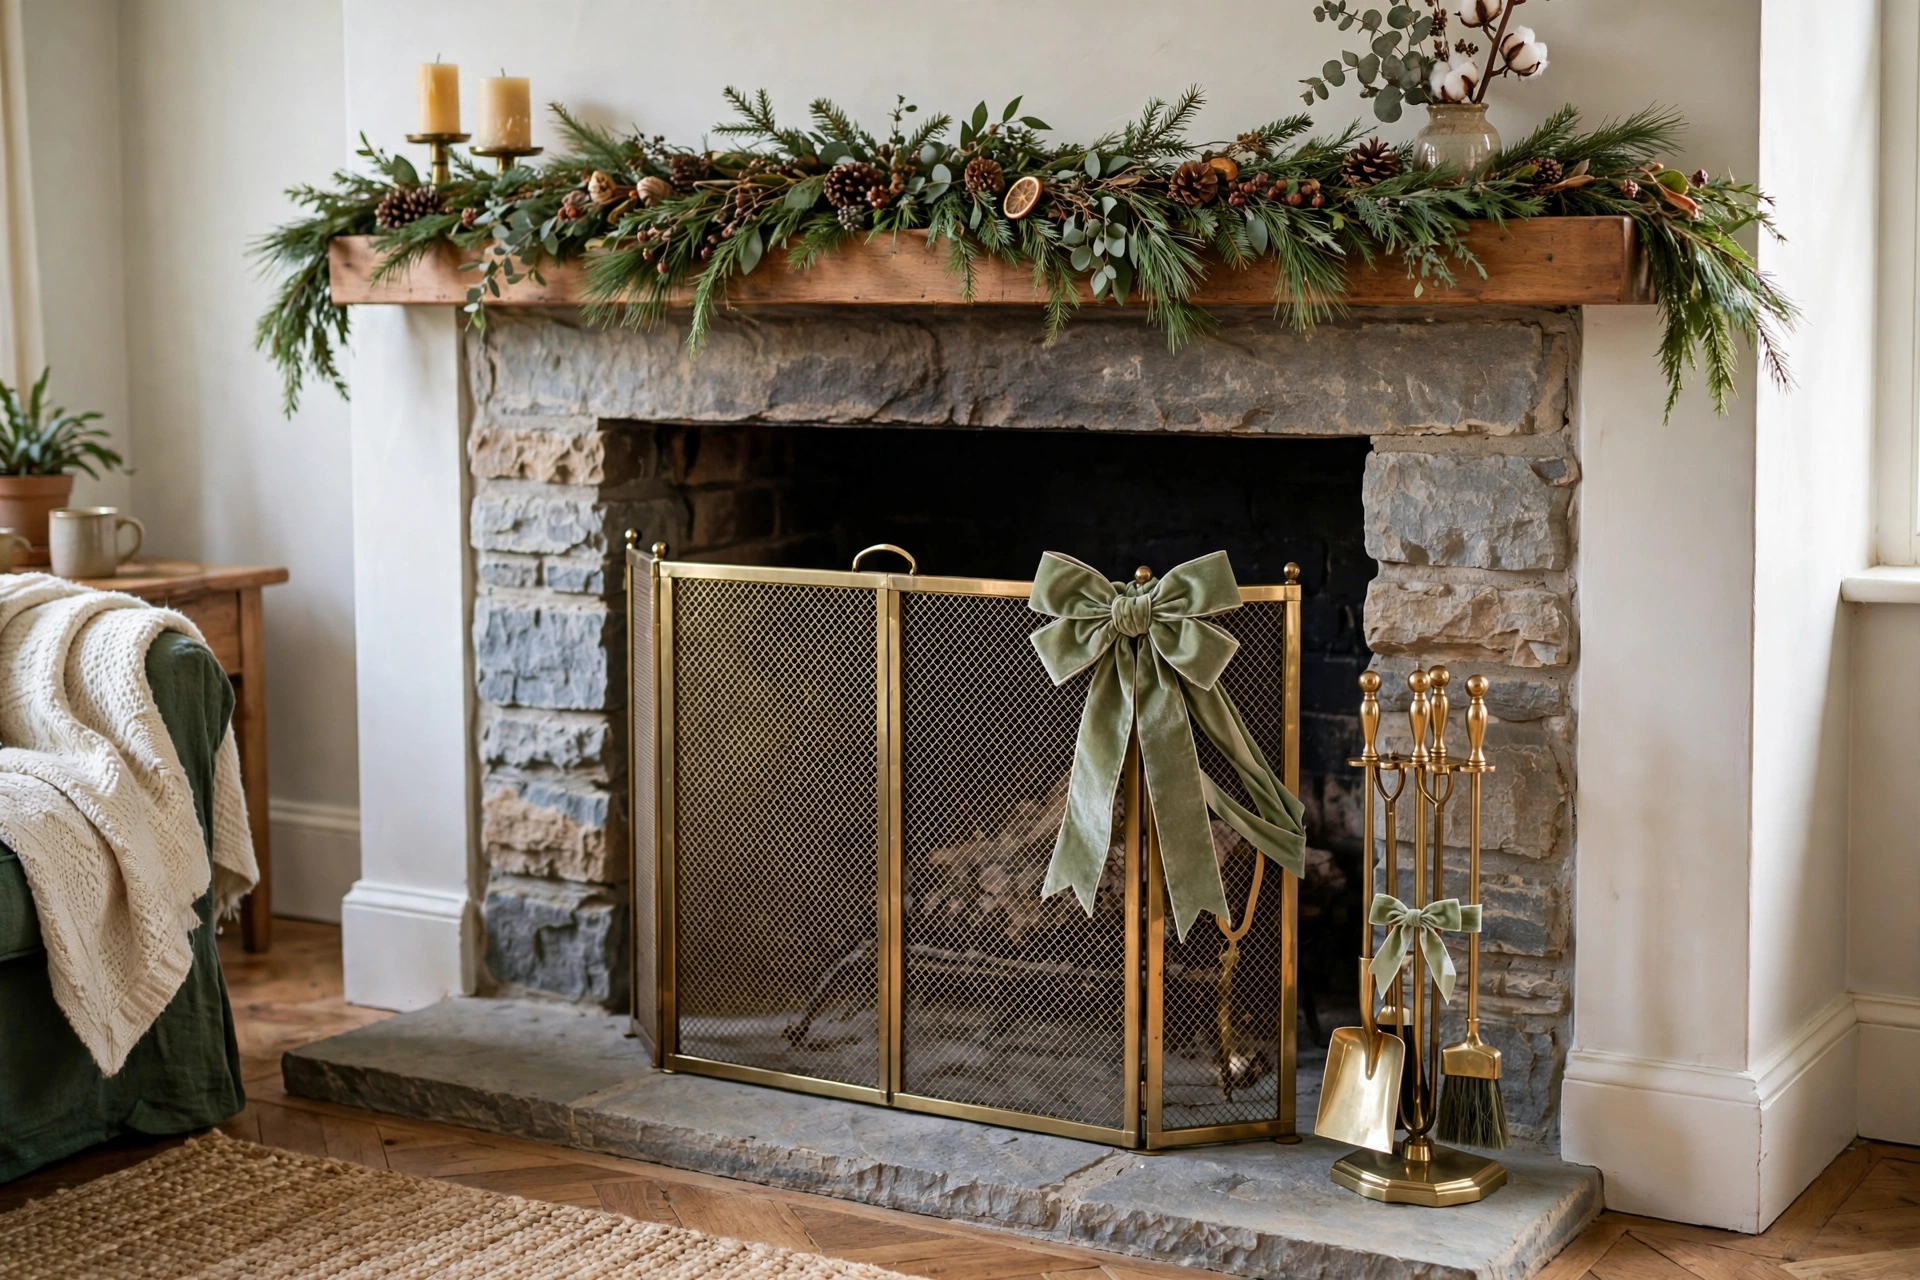
A bow tied on the fireplace screen handle or the top of the tool set is the kind of detail that makes guests think you hired someone. Use wired ribbon so it holds its shape near (not on) the heat, and keep it to the side, away from the firebox opening.
19. Headboard Bows in the Bedroom
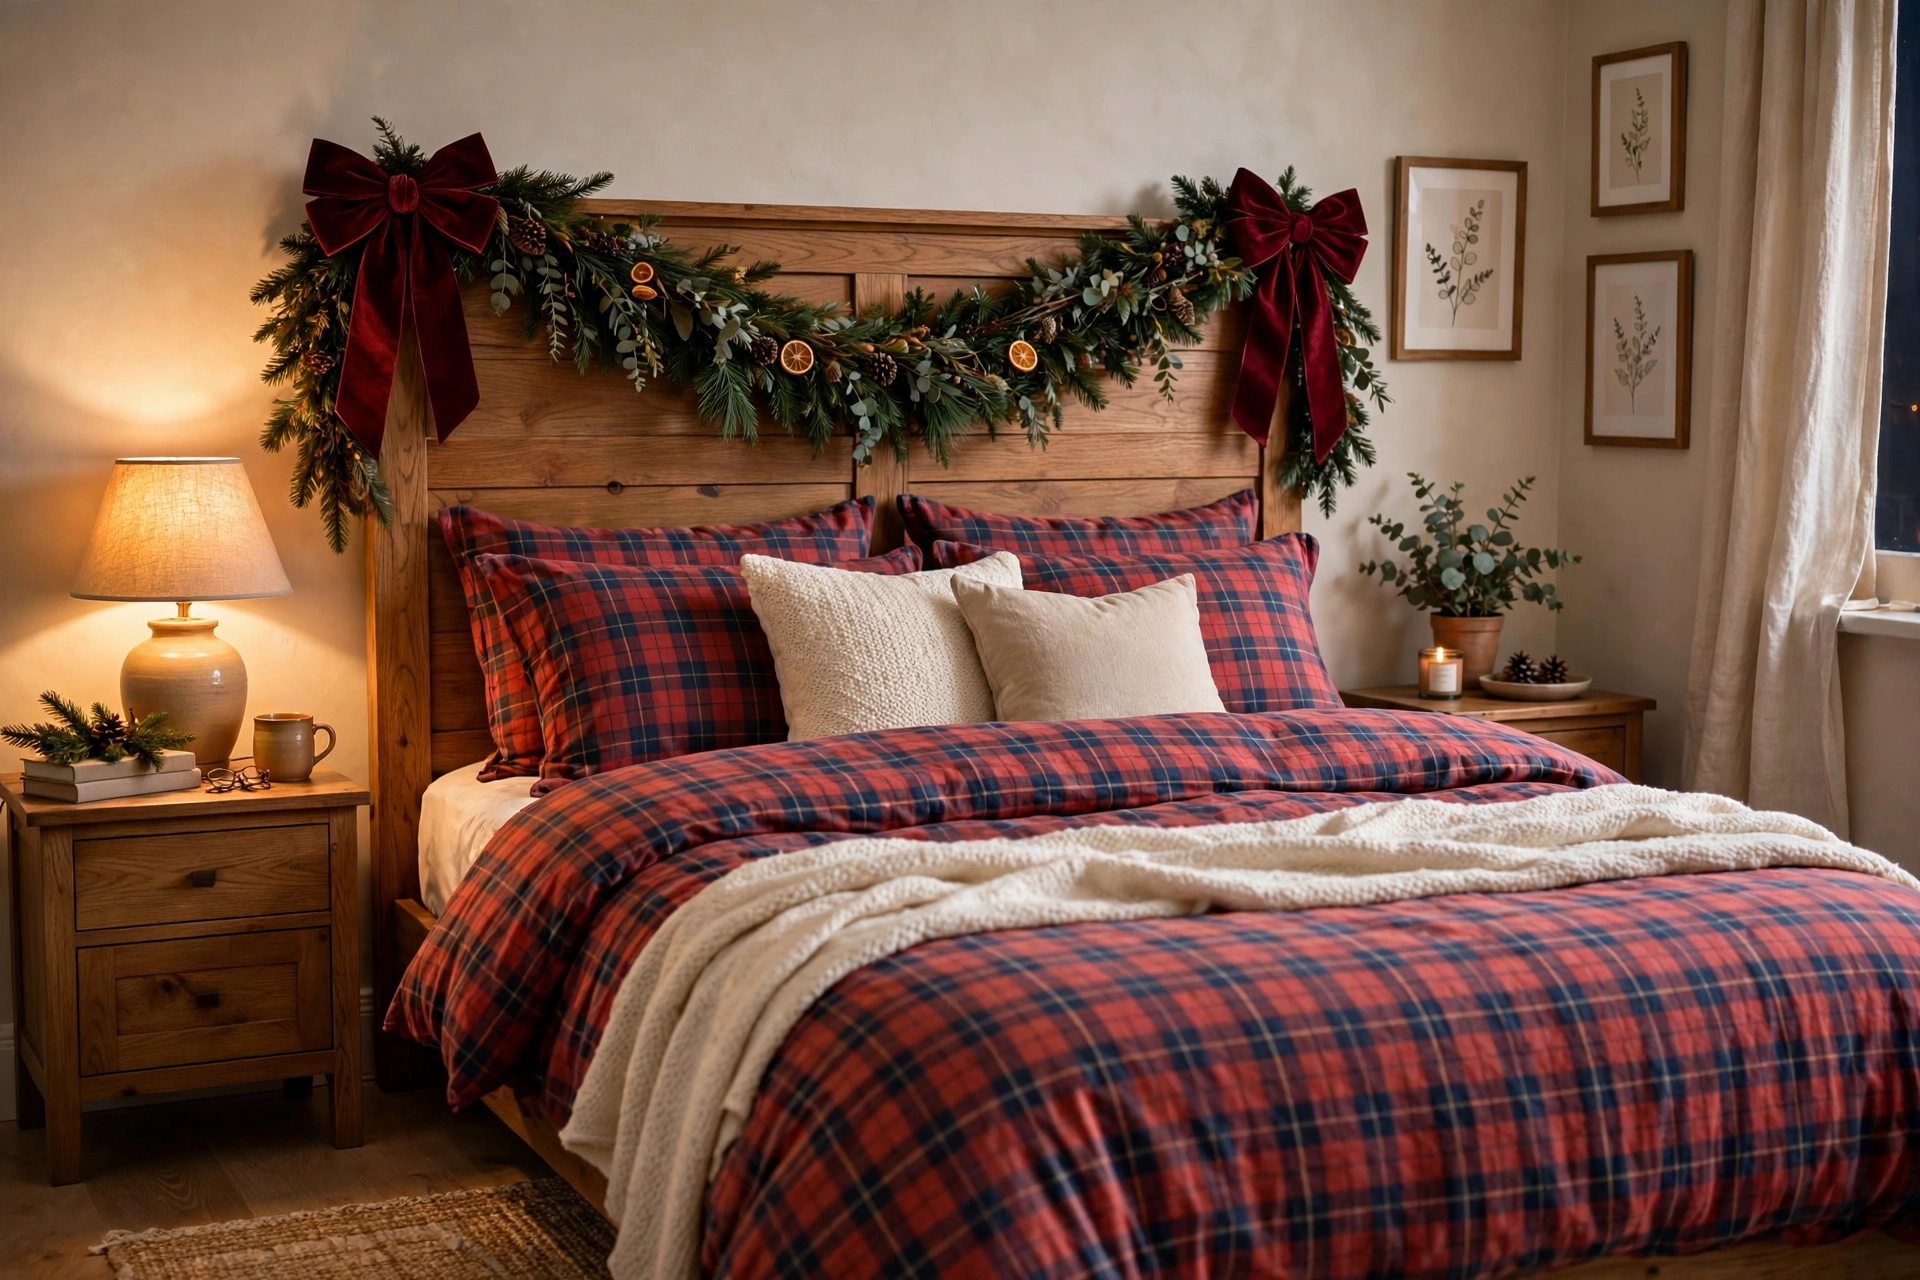
Two medium bows tied to the outer posts of a headboard, or a row of small bows along a curtain rod, bring Christmas into the bedroom without a full decorating scheme. Bedroom bows in the same ribbon as the living room tree tie the whole house together — repetition across rooms is what makes a home feel decorated rather than just a room.
20. The Ornament Bow
The smallest bow with the biggest job: tie 0.5-inch bows at the cap of plain glass ornaments before hanging them. A $1 ornament with a velvet bow cap looks like a $12 ornament. Do a dozen in one sitting and scatter them through the tree — they read as a custom collection.
Bow Color Pairings That Always Work
The direct answer: the bow ribbon should relate to — not match — the dominant decor. The five pairings below are fail-safe because each creates contrast in either color, texture, or both.
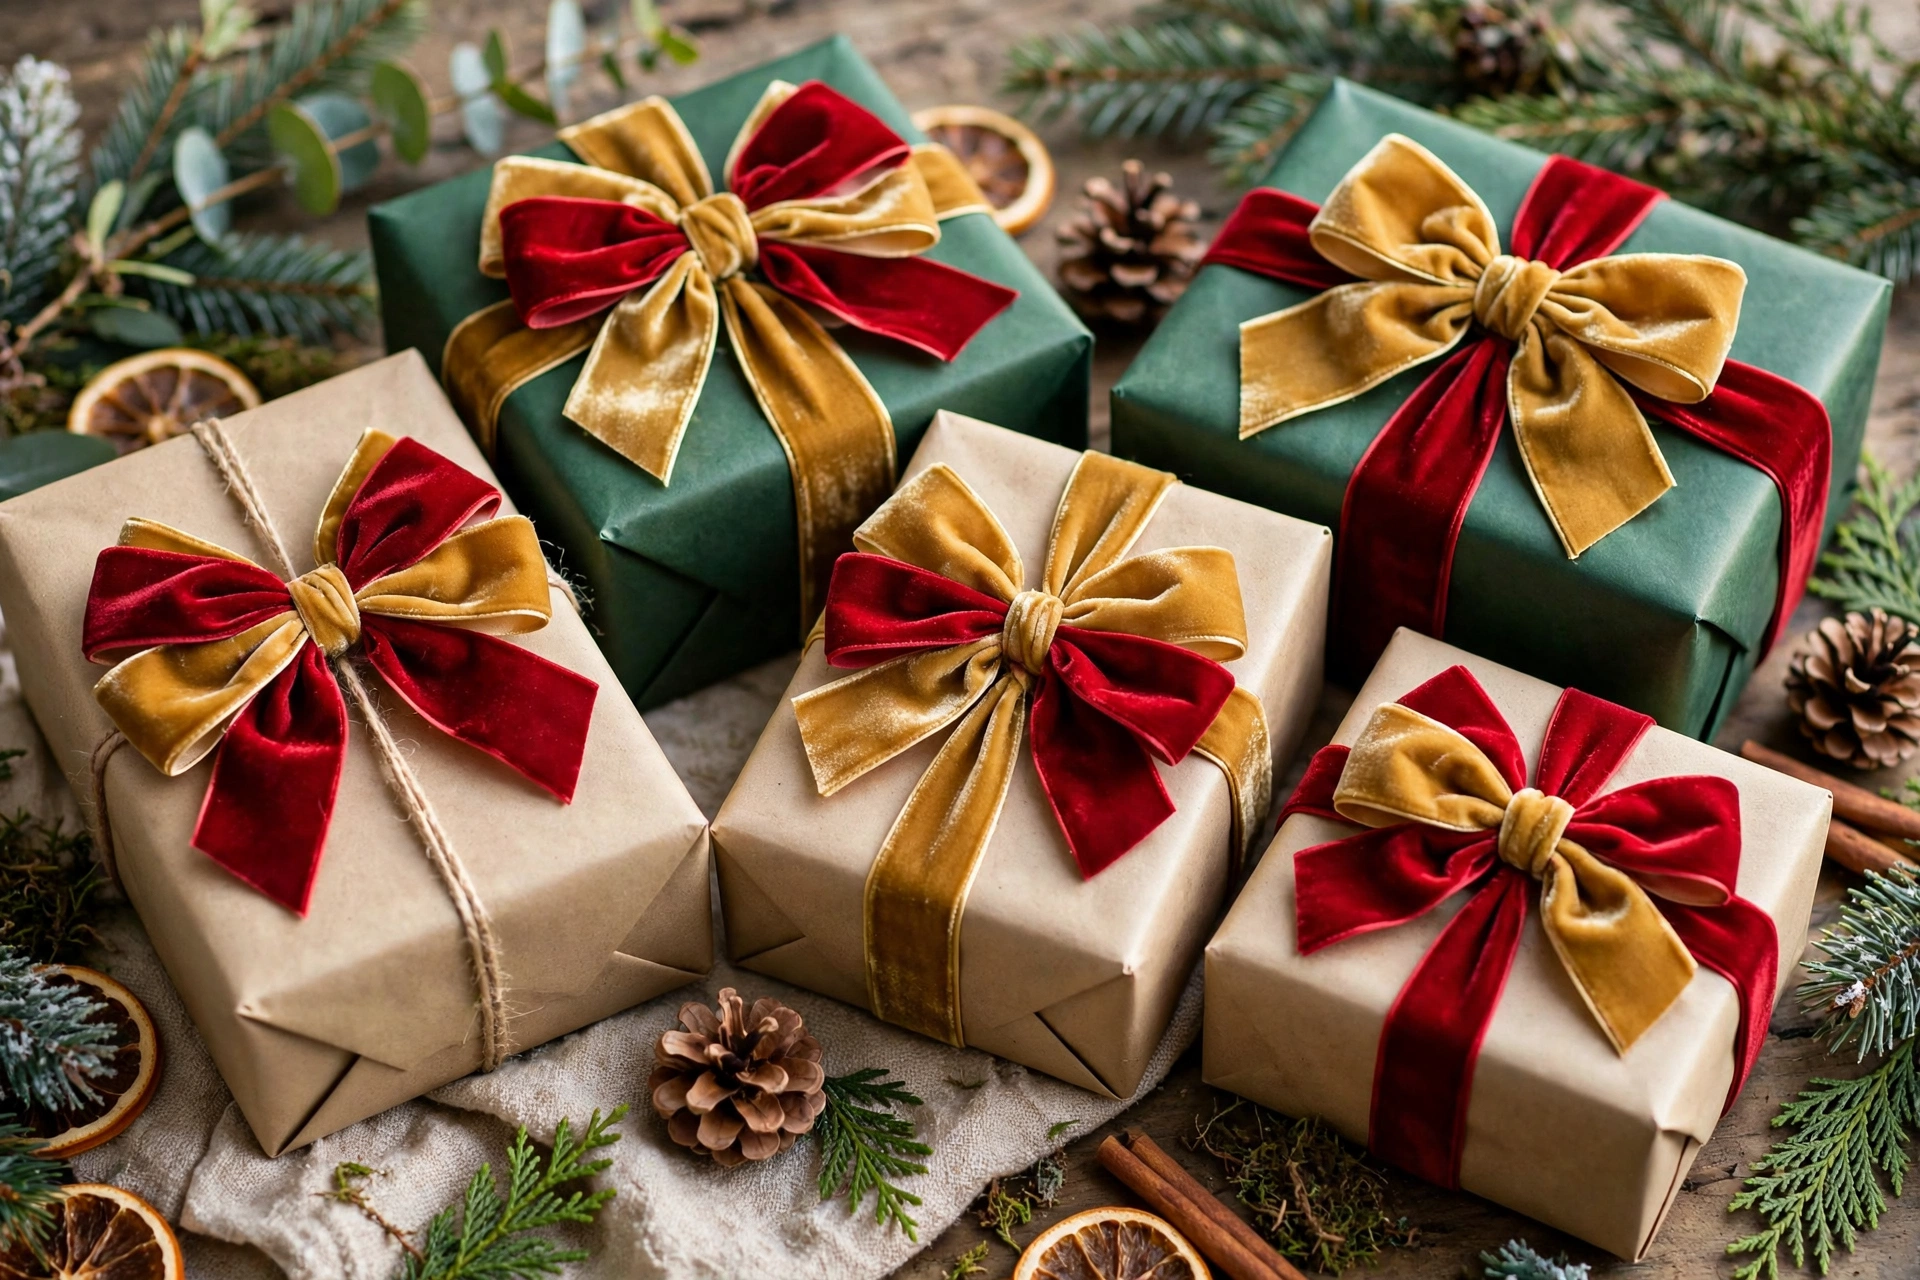
- Deep red velvet + gold satin: the classic. Velvet gives depth, satin gives shine. Works on green trees, neutral mantels, and kraft-wrapped gifts.
- Champagne gold + cream: for elegant, light-filled rooms. The low contrast reads as luxurious rather than boring because the textures differ.
- Forest green + red plaid: the heritage pairing — perfect for traditional trees and wreaths. The plaid adds pattern where everything else is solid.
- Black + gold: the modern pairing. Black velvet bows on a flocked tree or against white walls are dramatic and surprisingly versatile.
- Burgundy + blush: the romantic pairing for bedrooms and tablescapes. Deep wine velvet with soft pink satin tails.
One rule across all pairings: within a single room, use a maximum of two ribbons. The tree can have red velvet, the mantel can have red velvet, the chairs can have red velvet — repetition is cohesion. Three or more ribbons in one sightline starts to look like a ribbon store.
Storing Bows So They Survive to Next Year
The direct answer: store wired bows stuffed with tissue paper in individual bags or boxes, never compressed. A well-made wired bow is reusable for 3-5 seasons; a crushed one is trash.
- Stuff the loops with acid-free tissue paper before storing so they hold their shape.
- Bag individually in gallon zip bags or small gift boxes — bows snag on each other and on ornaments.
- Store flat in a single layer in a shallow box, not piled in a bin. Tree topper bows deserve their own box.
- Keep ribbon spools on a dowel or in a box with the ends taped — unraveled ribbon tangles permanently.
- Refresh next year by re-fluffing loops and re-curving tails around a pencil. Five minutes per bow restores them completely.
Bows are also one of the easiest decorations to refresh rather than replace: if you are tired of red, the same bow forms in a new $6 spool of ribbon give you a whole new look. For broader refresh strategies that do not require starting over, our wall decor ideas guide applies the same “new accent, same foundation” thinking year-round.
Bow Troubleshooting: Fixing the 5 Most Common Problems
The direct answer: almost every ugly bow fails for one of five fixable reasons — wrong ribbon, weak center, skipped fluffing, bad proportions, or tired ribbon. Diagnose yours below and fix it in minutes.
- The collapse: loops go flat within a day. Cause: unwired ribbon or a center that was tied, not wired. Fix: rebuild with wired ribbon and cinch the center with floral wire pulled genuinely tight — the wire should bite into the ribbon slightly.
- The pancake: the bow looks fine from the front but flat from the side. Cause: loops all in one plane. Fix: after wiring, pull alternating loops forward and backward to build depth, aiming for a bow nearly as deep as it is wide.
- The wrong-side show: white backing visible on a colored ribbon. Cause: loops twisted during assembly. Fix: before wiring, check every loop — the patterned side should face out on all of them. With wired ribbon you can simply twist loops into place after wiring.
- The shrimp: a tiny bow lost on a big tree or wreath. Cause: under-scaling. Fix: the bow should span roughly one-sixth of the surface it sits on — a 24-inch wreath wants an 8-9 inch bow, a 7-foot tree wants a 12-14 inch topper. When in doubt, go one size bigger.
- The fray: ribbon ends unraveling after a week. Cause: unsealed cuts. Fix: seal synthetic ribbon edges by passing them quickly near a flame, or apply fray-check liquid to natural fibers. Then cut fresh dovetails — the reseal only works on clean edges.
Frequently Asked Questions
1. What kind of ribbon is best for Christmas bows?
Wired ribbon is best for any bow larger than a gift box — the wire edges hold loops and tails in shape indefinitely. Use 2.5-inch width for trees, mantels, and wreaths; 1.5-inch for chairs and gifts; 0.75-inch or narrower for napkins and ornaments. Velvet, satin, and grosgrain are the most versatile textures.
2. How much ribbon do I need for a Christmas tree topper bow?
Plan on 5-6 yards of 2.5-inch wired ribbon for a full multi-loop topper bow on a 7-foot tree, plus two 24-inch pieces for cascading streamers. A standard wreath bow needs 2-3 yards, and chair bows need 1.5-2 yards each. Buy one extra spool beyond your estimate — running out mid-project is the classic bow-making frustration.
3. How do you attach bows to a Christmas tree?
Wire them, never glue them. Leave long floral-wire tails at the back of each bow when you cinch the center, then wrap those tails around branches or the tree’s central pole. Wired attachment holds through the season, survives pets and toddlers, and lets you reposition or reuse the bow next year.
4. Why do my bows look flat and sad?
Three usual culprits: unwired ribbon (switch to wired), loops that are too small (go bigger — 6-inch loops minimum for statement bows), or skipping the fluffing step. After wiring the center, spend a full minute pulling loops apart, twisting them right-side-out, and curving the wire edges. Fluffing is half the technique.
5. Can I use the same bows every year?
Yes — a well-made wired bow lasts 3-5 seasons. Stuff the loops with tissue paper, store each bow in its own bag in a single flat layer, and re-fluff next December by re-curving tails around a pencil. Refresh the look cheaply by making new bows from a $6 spool of ribbon in a different color.
6. What size bow should go on a wreath?
Scale the bow to the wreath: a 6-7 inch bow for an 18-inch wreath, 8-9 inches for a 24-inch wreath, and 10+ inches for 30-inch and larger wreaths. Position at the bottom center for a traditional look or the top for a modern one. On double doors, mirror both wreaths and bows exactly.
7. How do I keep outdoor bows looking good all season?
Use wired ribbon with a weather-resistant finish (most polyester wired ribbons qualify), wire the bow to its mount rather than relying on adhesive, and choose darker colors that hide weather spotting. Bring the bow in during severe storms — 30 seconds of prevention saves a $15 bow.
8. Are bows still in style for Christmas 2026?
More than ever. Bows have been a dominant motif across fashion and interiors for two years running, and Christmas is their natural home. The current preference is for generous, fluffy bows in rich textures like velvet rather than small perky ones — abundance is the look.
9. What is the easiest bow for a complete beginner?
The gift-box shoelace bow: wrap ribbon around the box, tie it like shoelaces, and trim the tails in a dovetail. It takes 60 seconds and looks perfect. Master that, then graduate to the wired classic bow — the only added skill is cinching the center with floral wire instead of tying a knot.
10. How many bows is too many in one room?
There is no number limit — there is a ribbon limit. Use a maximum of two ribbons per sightline and repeat them consistently (tree, mantel, chairs all in the same velvet, for example). Twenty bows in two coordinated ribbons looks designed; six bows in six different ribbons looks like a craft fair.
Twenty ideas, three techniques, and one spool of wired ribbon are all that stand between your home and the most polished Christmas it has ever had. Start with the tree topper this weekend — it is the highest-impact bow in the house — then work outward through the wreath, the chairs, and the gifts. By the time you tie the last tiny bow onto an ornament cap, you will understand why designers reach for ribbon before they reach for anything else. Few decorations ask so little and give so much — and next December, when the box of saved bows comes back out, you will be glad you learned.