
Greenhouse Gardening Tips for Beginners: Your First-Year Guide
Most people buy a greenhouse picturing rows of ripe tomatoes and neat trays of seedlings. What they don’t picture is walking in on a sunny spring afternoon to find the thermometer reading 100°F (38°C), the seedlings collapsed, and the air so thick it fogs their glasses. That scene happens so often it’s almost a rite…
Most people buy a greenhouse picturing rows of ripe tomatoes and neat trays of seedlings. What they don’t picture is walking in on a sunny spring afternoon to find the thermometer reading 100°F (38°C), the seedlings collapsed, and the air so thick it fogs their glasses. That scene happens so often it’s almost a rite of passage.
A greenhouse isn’t just a sheltered spot for plants. It’s a small, enclosed climate that you manage, and it reacts fast to sun, cold, water, and neglect. Light comes in, heat gets trapped, moisture builds up, and your job is to keep all three within a range plants enjoy. Once you understand that basic mechanism, most of the decisions that follow make sense on their own.
The sections below cover what matters most in a first year under glass: choosing and siting the structure, controlling temperature and airflow, watering well, deciding what to grow in each season, and keeping pests from taking over. There’s also a simple routine to follow and a list of mistakes that trip up nearly every new greenhouse owner.
Choosing and Siting Your First Greenhouse
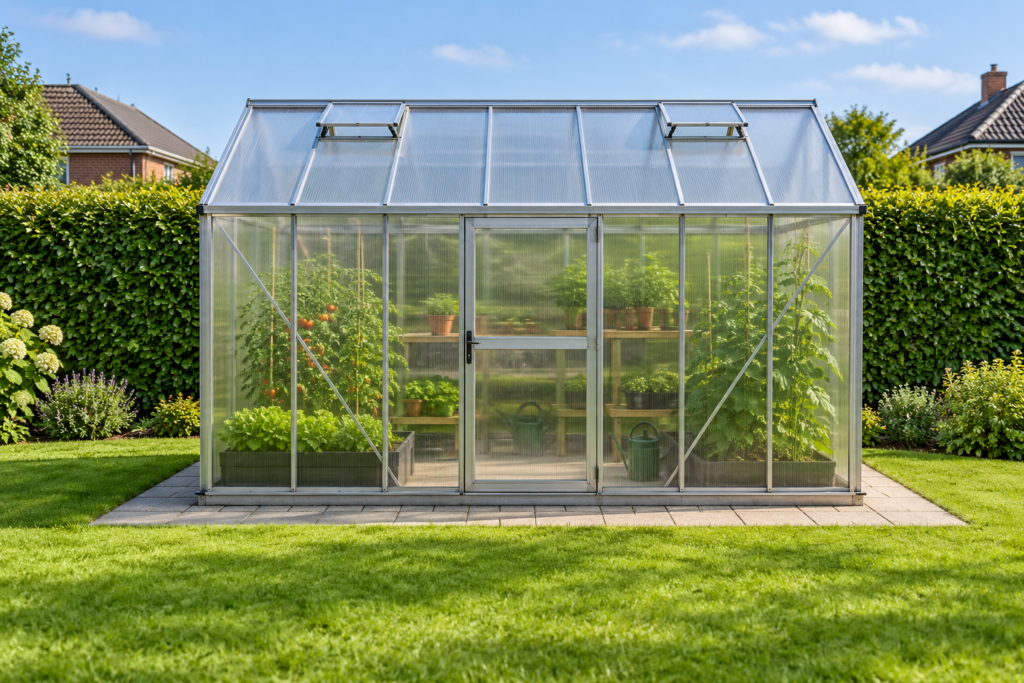
If you haven’t bought a greenhouse yet, three decisions will shape everything else: the glazing material, the size, and where it goes. If you already own one, siting and setup still deserve a second look, because a poorly placed greenhouse fights you all year.
The glazing is the clear skin of the structure, and each common option behaves differently.
Horticultural glass lets in the most light and lasts for decades if it isn’t broken. It looks traditional and doesn’t cloud with age. On the downside, it’s heavy, it can shatter, and a single layer loses heat quickly on cold nights.
Twin-wall polycarbonate is lighter and far more impact-resistant, which makes it a sensible choice for gardens with children, pets, or strong winds. The air pocket between its two walls insulates better than single glass, and it diffuses light slightly, which reduces leaf scorch in summer. Over many years some panels can yellow or dull.
Polyethylene film, used on polytunnels and hoop houses, gives you the most growing space for the money. It’s ideal if your main goal is vegetables in quantity. The film needs replacing every few years as sunlight breaks it down.
Size is where beginners most often have regrets. A 6 x 8 ft (roughly 1.8 x 2.4 m) greenhouse is a popular starter size, and it fills up remarkably fast once spring sowing begins. If you can afford the space, the budget, and the upkeep, go one size larger than you think you need. A lean-to built against a south-facing house wall is another good option for small gardens: the wall absorbs heat by day and releases it at night, and you’ll likely be closer to water and power.
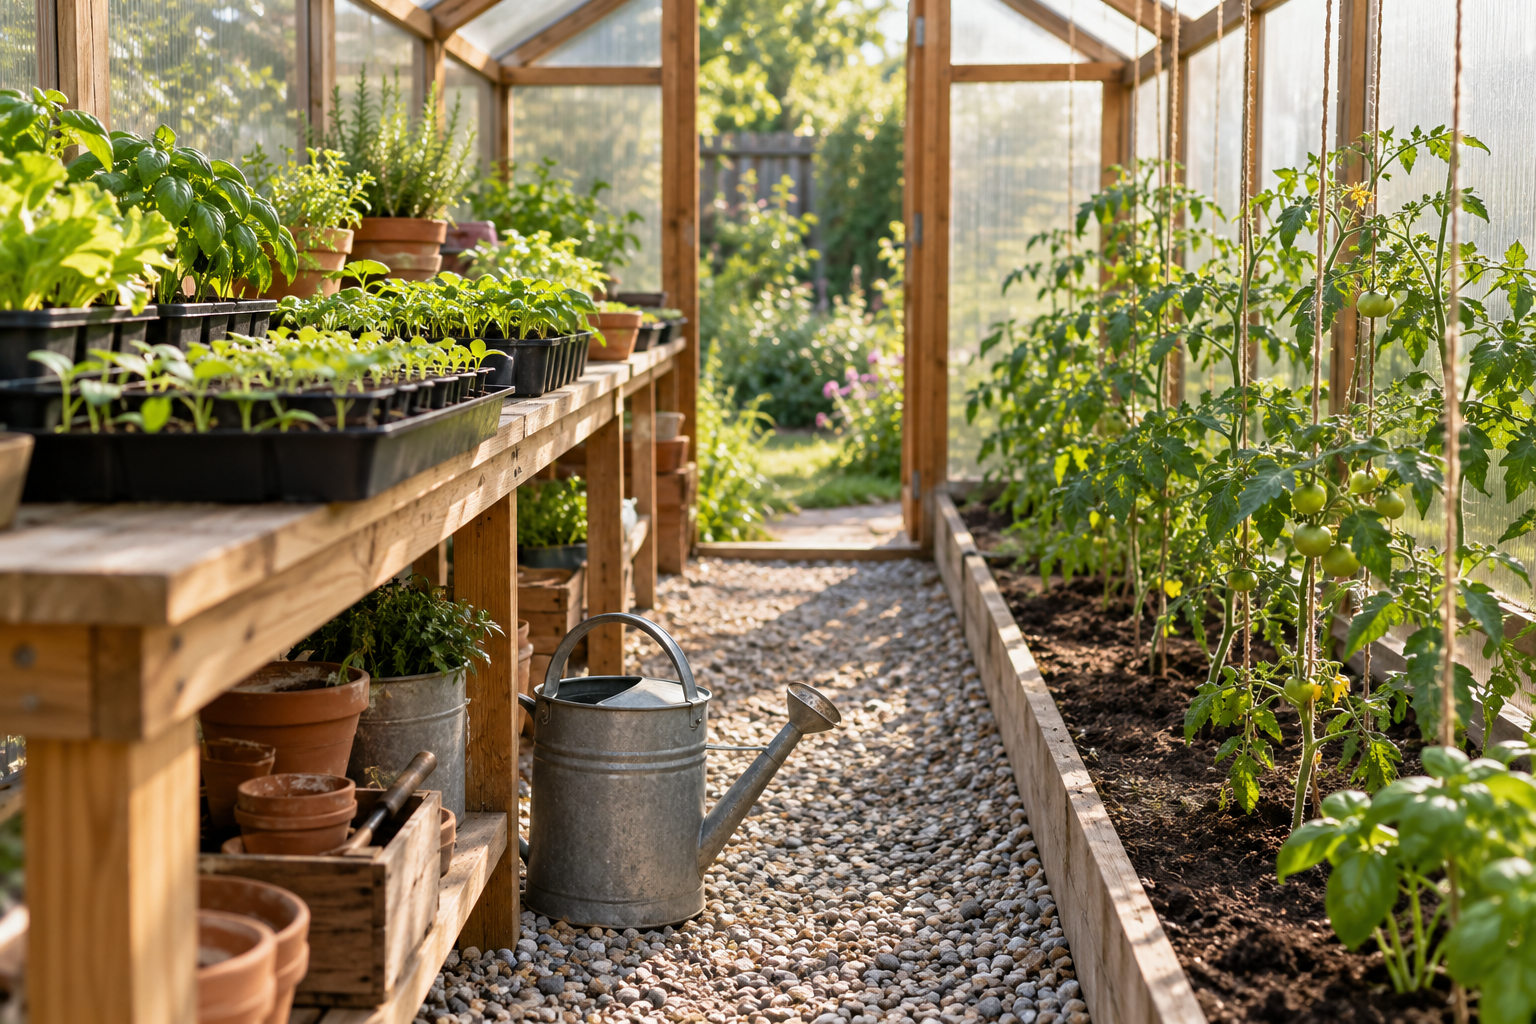
Inside, a common and practical layout puts staging (slatted benches) along one side for seed trays and pots, with a soil border or grow bags on the other side for tall crops like tomatoes and cucumbers.
Which Direction Should a Greenhouse Face?
In most gardens, the best orientation runs the ridge of the roof east to west, so the longest side faces south in the Northern Hemisphere (or north in the Southern Hemisphere). This captures the most light in late winter and early spring, when the sun sits low and every hour of light counts for seedlings.
If you mainly plan to grow summer crops, orientation matters less than simply avoiding shade. A few other siting rules make a real difference:
- Keep it clear of overhanging trees, which cast shade, drop leaves and sap on the roof, and can shed branches in storms.
- Look for shelter from the prevailing wind, such as a hedge or fence a short distance away, without letting it shade the structure.
- Avoid the lowest point of a sloping garden, where cold air settles and frost lingers.
- Put it on level ground with a firm base, such as paving slabs, a concrete pad, or a treated timber frame, and anchor it securely. Lightweight greenhouses can lift in high winds.
- Keep it close to a water source, and near a power supply if you plan to run a heater or heated propagator.
Controlling Temperature and Airflow
Heat, not cold, is the problem that catches most beginners out. On a clear day, even in early spring, a closed greenhouse can reach temperatures that scorch leaves and stall growth within an hour or two. In your first year, good ventilation and shading will do more for your plants than any heater.
The single most useful tool you can buy is a max-min thermometer, which records the highest and lowest temperatures since you last reset it. Hang it at plant height, out of direct sun, and check it daily. It tells you what actually happened while you were at work or asleep, which is far more useful than a single reading.
Ventilation works by letting hot air escape through roof vents while drawing cooler air in lower down, through side louvers or the door. A common rule of thumb is that vent area should equal roughly a fifth of the floor area. Many budget greenhouses come with a single roof vent, which is rarely enough, so adding a second roof vent or a louvered side vent is a worthwhile early upgrade.
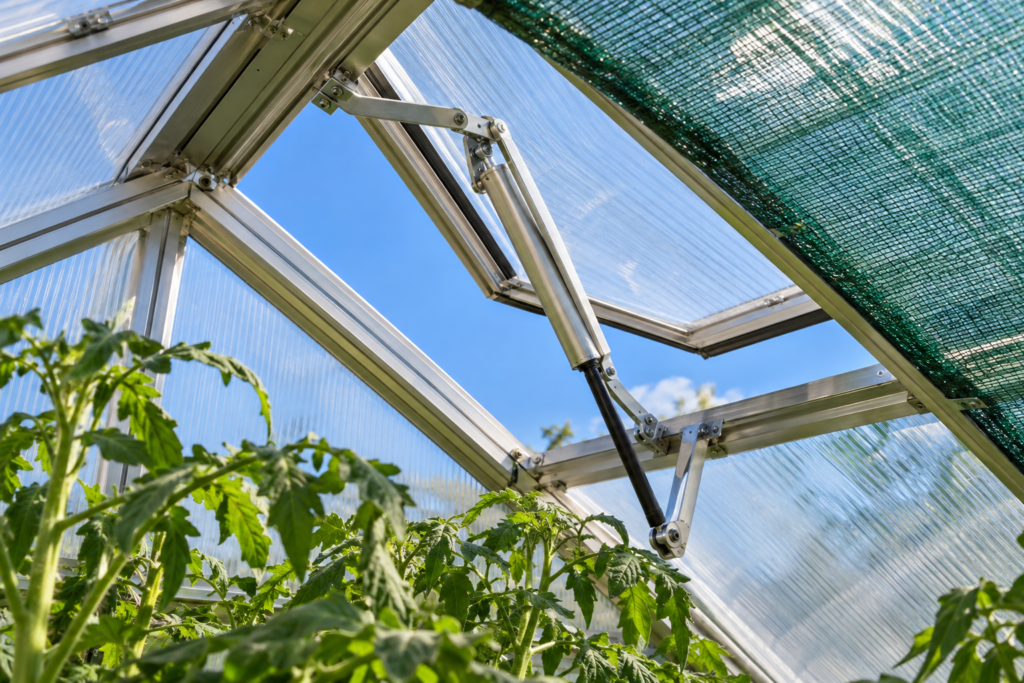
Automatic vent openers are the best inexpensive improvement a beginner can make. They use a sealed cylinder of wax that expands as it warms, pushing the vent open without any electricity. They respond to the sun even when you’re not home, which is exactly when most overheating happens.
Shading becomes necessary from late spring onward. You have two main choices:
- Shade cloth, a woven or knitted mesh fixed to the outside of the structure, usually blocking somewhere between a third and half of the light.
- Shading paint or wash, brushed or sprayed onto the outside of the glazing in late spring and washed off in early autumn.
Shading applied outside is more effective than blinds or cloth hung inside, because it stops the heat before it enters.
On hot summer mornings, many experienced growers also “damp down,” which simply means wetting the floor and paths with a hose or watering can. As the water evaporates, it cools the air and raises humidity, which plants appreciate and red spider mite dislikes.
How Hot Is Too Hot for a Greenhouse?
Most popular greenhouse crops grow best with daytime temperatures between about 65°F and 80°F (18–27°C). Once temperatures climb past roughly 85–90°F (29–32°C), many plants start to struggle: tomatoes may drop flowers or fail to set fruit, lettuce bolts, and seedlings wilt. Sustained heat above 95°F (35°C) can cause lasting damage.
At night, warm-season crops such as tomatoes, peppers, and cucumbers prefer to stay above about 50°F (10°C). Short dips below that slow growth rather than killing plants, but repeated cold nights early in the season set them back noticeably. The real danger zone is frost, which kills tender plants outright.
Do You Need to Heat a Greenhouse in Winter?
No, not unless you want to keep frost-tender plants alive or grow warm-season crops through the colder months. An unheated greenhouse, often called a cold greenhouse, still extends the growing season by several weeks at each end, shelters hardy plants from wind and rain, and supports winter salads and herbs.
If you do decide to add heat, aim for the lowest level that meets your goal. Keeping a greenhouse just frost-free, above about 40°F (5°C), is far cheaper than keeping it warm enough for active growth.
A few practical options, from simplest to most involved:
- Horticultural fleece draped over plants on the coldest nights, removed during the day.
- Bubble insulation made for greenhouses, clipped to the inside of the frame. It reduces heat loss considerably, though it cuts some light, so it’s best used from late autumn to late winter.
- Thermal mass, such as dark-colored containers of water, which absorb heat during the day and release it slowly overnight.
- An electric fan heater with a thermostat, which is clean, controllable, and doesn’t add moisture or fumes. It requires a properly installed outdoor power supply.
- Paraffin or gas heaters, which work without mains power but release moisture and combustion gases, so they need a little ventilation.
You can also heat only part of the space. A bubble-insulation curtain dividing off one end, or a heated propagator for seedlings, costs much less to run than warming the whole greenhouse.
Watering, Humidity, and Growing Media
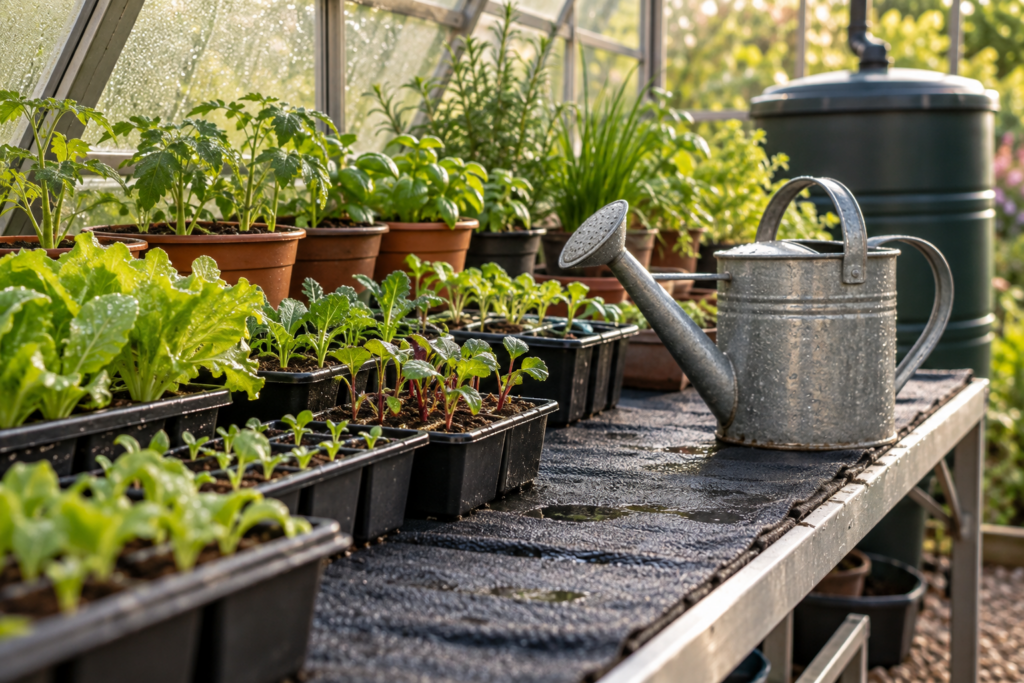
Plants under glass depend entirely on you for water. No rain reaches them, and on a hot summer day a tomato in a container may need watering twice. The basic rule is simple: water in the morning, water deeply, and check the root zone rather than trusting the surface.
Morning watering gives foliage time to dry before temperatures drop in the evening, which reduces the risk of grey mould and mildew. Aim the water at the soil rather than the leaves. Deep, thorough watering encourages roots to grow downward, while frequent light sprinkles keep them near the surface where they dry out fastest.
To judge whether a plant needs water, push a finger about an inch (2–3 cm) into the compost. If it feels dry at that depth, water. For pots, lifting them is even quicker once you learn how a well-watered pot feels compared to a dry one.
Water temperature matters more than most beginners realize. Cold water straight from an outdoor tap can chill the roots of warm-loving crops. Keeping a filled water butt or a few full watering cans inside the greenhouse means water sits at air temperature and is ready when you need it. If you collect rainwater, keep the butt covered and clean, because stagnant water can harbor disease organisms that are especially risky for seedlings.
A few tools make watering more reliable:
- Capillary matting on benches, kept moist, lets pots and trays draw up water from below.
- Drip irrigation on a timer keeps crops going through weekends away and hot spells.
- Bottomless grow pots or rings placed on grow bags create a deeper reservoir around the stem and make watering far easier.
Balancing Humidity
Humidity in a greenhouse needs to be balanced rather than maximized. Damp, still air encourages fungal diseases like botrytis and mildew. Hot, dry air invites red spider mite and can hinder pollination on tomatoes and peppers.
In summer, damping down and good ventilation work together to keep the air humid but moving. In spring, autumn, and winter, the priority flips: keep things drier, water sparingly, and open a vent for a few hours on any mild, sunny day to let damp air escape. Heavy condensation dripping from the roof is a clear signal to ventilate more.
Choosing Between Soil Borders, Grow Bags, and Containers
Border soil, meaning planting directly into the ground inside the greenhouse, is the cheapest option and gives roots the most room, so plants need watering less often. The drawback is that growing the same crop in the same soil year after year builds up soil-borne pests and diseases. Adding plenty of compost each year and either rotating crops or replacing the top 12 inches (30 cm) of soil every few years keeps borders productive.
Grow bags are the easiest way to start. The compost is fresh every season, so disease buildup isn’t a concern. Their shallow root volume means they dry out quickly, which is why the grow rings mentioned above are so useful.
Large containers and raised beds offer a middle ground. For tomatoes, cucumbers, and peppers, choose pots at least 12 inches (30 cm) across and fill them with good-quality multipurpose compost. Use finer seed compost for sowing.
Feeding becomes important once fruiting crops get going. A liquid high-potash feed, often sold as tomato feed, given weekly once the first flowers have set fruit, supports steady cropping for tomatoes, peppers, chilies, and cucumbers. Leafy crops like lettuce and chard prefer a balanced feed. Seedlings need no feed at all for their first few weeks, since fresh compost already contains enough nutrients.
What to Grow in Your First Greenhouse, Season by Season
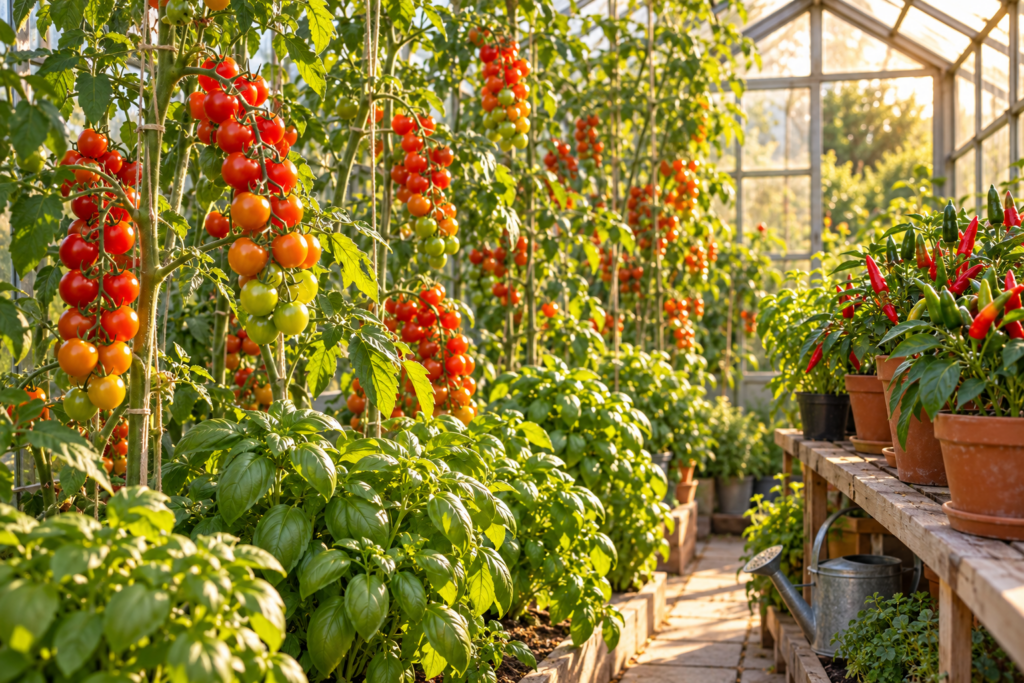
A greenhouse earns its keep across the whole year, but each season suits different crops. Planning by season also prevents the classic spring crush, when every surface is covered in seed trays and there’s nowhere left to put anything.
What Are the Easiest Plants to Grow in a Greenhouse?
Cherry tomatoes, chili peppers, basil, salad leaves, and cucumber varieties bred for greenhouse growing are the most forgiving first crops. They grow quickly, show problems clearly, and reward basic care with generous harvests. Raising seedlings to plant out in the garden is another easy, high-value way to use a greenhouse.
Cherry tomatoes in particular are more tolerant of imperfect conditions than large beefsteak types, and they ripen sooner. Chilies are slow to start but very productive once established, and they’re happy in pots. If you want flowers, sweet peas, pelargoniums (often sold as geraniums), and summer bedding plants are all straightforward.
Late Winter and Spring: Seed-Starting Season
For many gardeners, starting seeds is the greenhouse’s most valuable job. Warm-season crops that need a long growing period, such as chilies, sweet peppers, and eggplants, are usually sown first, followed by tomatoes a few weeks later. Hardy crops like lettuce, cabbage, and onions can also be started under cover and planted out once they’re sturdy.
Germination depends on compost temperature more than air temperature, so a heated propagator or seed-starting heat mat makes a big difference early in the year. Once seedlings emerge, give them the brightest spot available to prevent them stretching toward the light.
Before planting anything outdoors, harden it off. Over one to two weeks, gradually expose plants to outdoor conditions by opening the greenhouse door for longer each day, moving trays outside during mild days, or using a cold frame. Skipping this step causes transplant shock, which can stall growth for weeks.
Summer: The Main Harvest Season
Summer is when a greenhouse delivers its most rewarding crops.
Tomatoes grown as cordons (single-stemmed, tall-growing types) need a cane or a string tied to the roof to climb. Pinch out the side shoots that form between the main stem and leaf branches so energy goes into fruit. Tomatoes are self-pollinating, but in an enclosed greenhouse the flowers benefit from a gentle tap or shake on sunny mornings, or simply from air moving through an open door.
Cucumbers do best in warm, humid conditions. All-female greenhouse varieties are the easiest choice, since older types need their male flowers removed to prevent bitter fruit. Train them up strings or wires and pick often; left too long, fruit becomes seedy and the plant slows production.
Peppers, chilies, and eggplants enjoy the extra warmth that a greenhouse provides and often struggle to ripen outdoors in cooler climates. Support heavier plants with a short cane.
Basil tucked around the base of tomato plants makes efficient use of space and thrives in the same conditions.
One compromise worth knowing about: tomatoes prefer fairly dry, airy conditions, while cucumbers like more humidity. In a small greenhouse, grow them at opposite ends, with cucumbers at the end farthest from the door where air stays more humid.
Autumn and Winter: Salads and Shelter
As summer crops finish, the greenhouse can switch to cool-season growing. Winter salads such as hardy lettuce, mizuna, mustard greens, arugula (rocket), corn salad (lamb’s lettuce), and winter purslane grow slowly through the colder months, giving small but welcome harvests. Spinach and chard also do well under cover.
Timing matters here. Growth slows dramatically as days shorten, so sow winter crops in late summer or early autumn, giving them time to reach a good size before the shortest days arrive.
Winter is also when the greenhouse becomes a shelter for tender plants. Pelargoniums, fuchsias, potted citrus, and many succulents can be moved inside before the first frost. Keep them on the dry side through winter, since cold, wet compost causes more losses than cold alone.
Keeping Pests and Diseases in Check
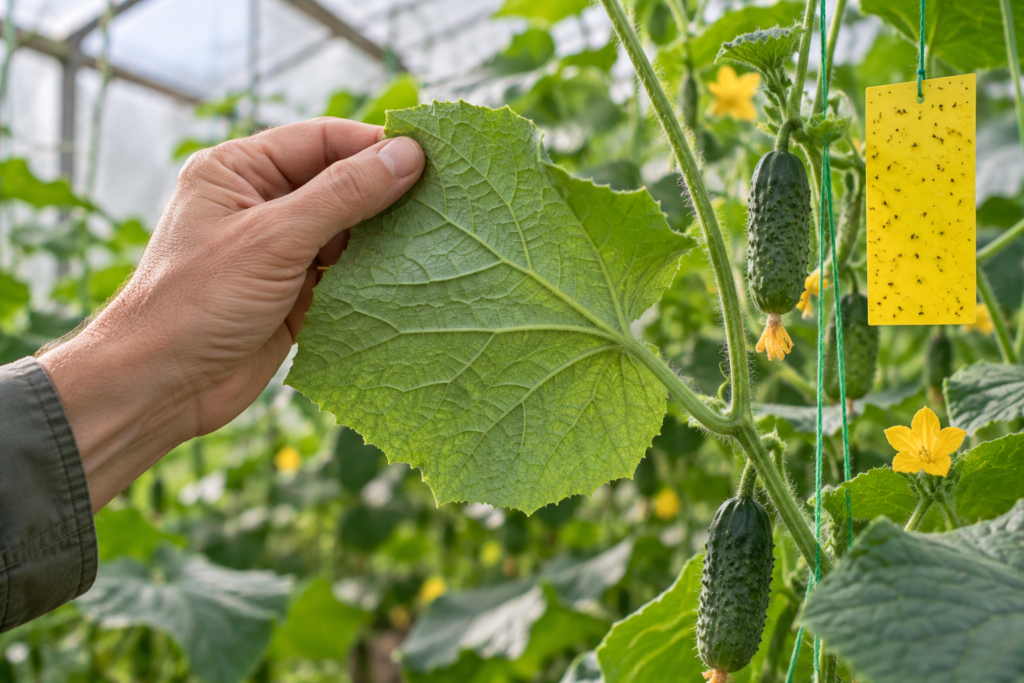
The warm, sheltered conditions that plants love suit pests just as well, and there are no birds, heavy rain, or hard frosts inside to keep their numbers down. The most reliable approach is prevention: a clean structure, healthy plants, steady airflow, and a habit of checking leaves so problems are caught while they are still small.
Turn leaves over when you inspect them. Most greenhouse pests live on the undersides, and a quick look during watering catches infestations weeks before they become obvious from above.
Common Greenhouse Pests
Aphids cluster on soft shoot tips and the undersides of young leaves. Small numbers can be squashed or washed off with water. Larger colonies respond to insecticidal soap, and ladybird larvae are enthusiastic predators if they find their way in.
Whitefly are tiny white insects that rise in a cloud when you brush the plant. They excrete a sticky honeydew that leads to black sooty mould on leaves. Yellow sticky traps help monitor and reduce them, and a parasitic wasp called Encarsia formosa is a well-established biological control.
Red spider mite causes fine pale speckling on leaves, which later turn bronze and dry. In severe cases, you’ll see fine webbing. It thrives in hot, dry air, so damping down helps prevent it, and the predatory mite Phytoseiulus persimilis is a widely used biological control.
Fungus gnats are small dark flies that hover around damp compost. Their larvae can damage seedling roots. Letting the compost surface dry between waterings and topping pots with a thin layer of grit usually solves the problem.
Thrips leave silvery streaks and flecks on leaves and flowers. Blue sticky traps attract them more effectively than yellow ones.
Slugs and snails hide under pots and staging during the day. A torch check after dark often reveals exactly where damage is coming from.
Biological controls work best when introduced early, as soon as you first spot the pest, and when temperatures are warm enough for the predators to stay active. Avoid using insecticides at the same time, since they kill beneficial insects too. Some gardeners grow French marigolds near tomatoes to deter whitefly; many find it helps, though results vary.
Common Diseases
Grey mould (botrytis) appears as fuzzy grey growth, usually starting on dead or damaged tissue in cool, damp, still air. Remove fallen leaves and faded flowers promptly, and improve ventilation.
Powdery mildew looks like white dust on leaves. It often strikes when roots are dry but the air is humid, so steady watering and good airflow are the best defenses.
Damping off makes seedlings collapse at soil level almost overnight. Clean trays, fresh compost, careful watering, and good air movement prevent most cases.
Blossom end rot causes a dark, sunken patch at the base of tomato fruit. It isn’t a disease at all but a calcium uptake problem, almost always caused by irregular watering. Consistent moisture prevents it.
The Annual Clean
Once the last summer crops are cleared in autumn, give the greenhouse a thorough clean. Remove everything you can, sweep out debris, and wash the glazing inside and out to maximize winter light. Scrub the frame, staging, and any crevices where pests overwinter, using hot soapy water or a diluted horticultural disinfectant. Wash pots and trays before storing them.
It’s also good practice to keep new plants separate for a week or two before introducing them to the greenhouse. Many infestations arrive on a single newly bought plant.
Your First-Year Greenhouse Routine
A greenhouse rewards short, regular attention far more than occasional long sessions. The routine below covers the essentials without becoming a burden.
Daily, during the growing season: check the max-min thermometer and reset it, open or close vents and the door to suit the weather, check whether plants need water, and glance at leaf undersides as you work.
Weekly: feed fruiting crops, tie in and pinch out tomatoes, remove yellowing or damaged leaves, look closely for pests, and harvest anything ready.
Seasonally: apply shading in late spring and remove it in early autumn. Damp down regularly through summer. In autumn, clean the structure and fit insulation if you plan to overwinter tender plants. Through winter, ventilate on mild days, check any heater, and plan next year’s sowings.
Keep a simple notebook or phone record of sowing dates, your area’s average last and first frost dates, unusually high or low temperatures, and which varieties did well. By your second year, those notes will be more valuable than any general guide, because they describe your greenhouse in your climate.
Beginner Mistakes Worth Avoiding
Sowing too early. Seeds sown in the depths of winter without extra heat and light grow tall, pale, and weak, and they fill up space long before they can go outside. Sowing a few weeks later often produces stronger plants that catch up quickly.
Overwatering in cool months. Plants use far less water in autumn and winter. Constantly wet compost in cold conditions causes root rot and fungal problems.
Leaving vents shut on a sunny day. A bright morning after a cold night can turn a greenhouse into an oven by midday. Automatic vent openers remove this risk entirely.
Overcrowding. Packing plants too tightly blocks airflow and light, which invites disease and reduces yields. Fewer, well-spaced plants usually produce more.
Ignoring the first few pests. A handful of aphids or whitefly can become thousands within weeks in warm conditions. Acting on the first sighting takes minutes; dealing with an established infestation can take the rest of the season.
Every greenhouse has its own quirks: a corner that stays cold, a bench that catches afternoon sun, a vent that sticks. Learning those quirks is most of what separates a struggling first year from a productive second one, and the only way to learn them is to spend time inside, watching how your plants respond.
Frequently Asked Questions
Can you grow vegetables in a greenhouse all year round?
Yes, but what you grow changes with the seasons. Warm-season crops like tomatoes and peppers fill the summer months, while hardy salad leaves, spinach, and chard can be grown through autumn and winter in an unheated greenhouse. Growth slows considerably in midwinter because of low light, so expect smaller harvests during that period.
Should I leave the greenhouse door open in summer?
On warm days, opening the door is one of the easiest ways to improve airflow and prevent overheating. Close it in the evening to hold some warmth overnight, especially early and late in the season. A mesh screen across the doorway keeps out birds, cats, and larger insects while still letting air through.
What is the best flooring for a greenhouse?
Paving slabs and gravel are the most popular choices. Paving is easy to sweep and absorbs heat during the day, releasing some of it at night. Gravel drains well and holds moisture when you damp down in summer, which helps raise humidity. Many growers combine a paved central path with gravel or soil borders on either side.
Why are my greenhouse seedlings tall and floppy?
Tall, thin, pale seedlings are usually stretching toward light that isn’t strong enough. Warmth without matching light makes the problem worse, as does crowding seedlings too closely together. Move trays to the brightest spot available, space them out, lower the temperature slightly once seeds have germinated, and consider sowing a little later next year.
How do I stop condensation in my greenhouse?
Condensation forms when warm, moist air meets cold glazing, so the solution is to reduce moisture and move air. Water in the morning rather than the evening, avoid overwatering in cool weather, and open a vent for a few hours on mild days, even in winter. A small fan running inside also helps keep air circulating.
When should I start seeds in a greenhouse?
Work backward from your area’s average last frost date. Tomatoes are typically sown about six to eight weeks before that date, while peppers, chilies, and eggplants need longer, often eight to ten weeks. Fast-growing crops like squash and cucumbers only need three to four weeks before planting out, so there’s no advantage in starting them early.
Do I need electricity in my greenhouse?
Electricity isn’t essential, especially for a beginner. Automatic vent openers work without power, and an unheated greenhouse can be productive for most of the year. Power becomes useful if you want a heated propagator, a thermostatically controlled heater, or a circulation fan. Any outdoor electrical supply should be installed by a qualified electrician with proper safety protection.
Keep Learning
For more beginner help, see How to Start a Garden: The Complete Beginner’s Guide, How to Start a Vegetable Garden: Step-by-Step Guide for Beginners, and Raised Bed Gardening: The Complete Guide for Home Gardeners.

One Comment