How to Start a Vegetable Garden: Step-by-Step Guide for Beginners
Most first vegetable gardens don’t fail because the gardener lacks a green thumb. They fail for ordinary, fixable reasons: a bed tucked into too much shade, soil that was never improved, a dozen crops planted at once, or tomatoes set out two weeks before the last frost. Get those basics right and growing food turns…
Most first vegetable gardens don’t fail because the gardener lacks a green thumb. They fail for ordinary, fixable reasons: a bed tucked into too much shade, soil that was never improved, a dozen crops planted at once, or tomatoes set out two weeks before the last frost. Get those basics right and growing food turns out to be far more forgiving than people expect.
This guide walks through the whole process in the order you’ll actually do it. You’ll pick a spot, choose between in-ground rows, raised beds, and containers, and build soil that feeds your plants. Then you’ll decide what to grow and when, get seeds and seedlings into the ground properly, and keep everything alive through the season. Whether you have a big backyard or a sunny patio, the steps are the same. Only the scale changes.
Related: New to gardening altogether? Start with our complete beginner’s guide to starting a garden.
Step 1: Choose the Right Spot for Your Garden
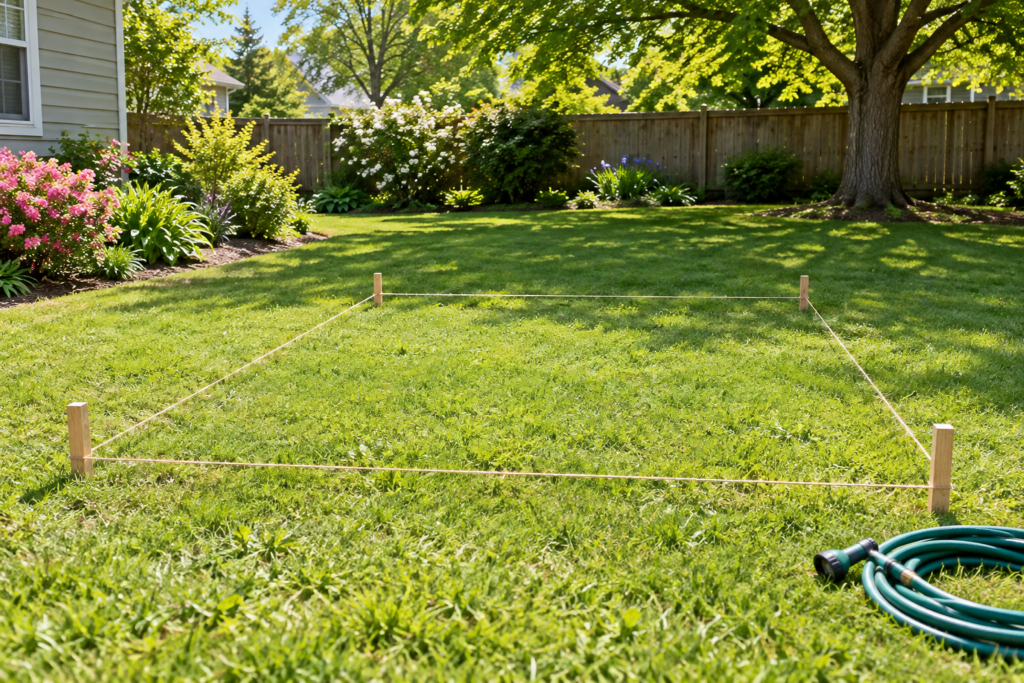
Location decides more of your success than any fertilizer or technique. Once a bed is built, moving it is a real chore, so it’s worth an afternoon of watching your yard before you dig anything.
How much sun does a vegetable garden need?
Most vegetables need at least six to eight hours of direct sunlight a day. Fruiting crops such as tomatoes, peppers, squash, cucumbers, and beans want the full eight or more. Leafy greens and root crops like lettuce, spinach, kale, radishes, and beets can produce with four to six hours, though they grow more slowly.
To find your sunniest spot, check the area at roughly 9 a.m., noon, and 3 p.m. on a clear day and note where shadows fall. Remember that trees leaf out in spring, so a spot that looks bright in March may be shaded by June. Buildings and fences cast longer shadows early and late in the season too. If you’re in the Northern Hemisphere, a south-facing area usually gets the most light. In the Southern Hemisphere, look north.
Other things to check before you commit
Sun comes first, but a few practical details matter almost as much:
Water access. You’ll be watering often in summer. A bed within easy reach of a hose bib gets watered consistently. One at the far end of the yard gets watered when you remember.
Drainage. Walk the area after a heavy rain. If puddles sit for more than a few hours, the roots of most vegetables will struggle there. Raised beds solve this problem neatly.
Distance from trees. Large trees steal water and nutrients through roots that spread well beyond the canopy. Keep beds clear of them where you can. Black walnut deserves special mention, because its roots release a compound that stunts tomatoes, peppers, and several other crops.
Visibility. A garden you walk past every day gets noticed. You’ll spot the first aphids, the wilting squash leaf, and the ripe zucchini before it turns into a baseball bat. Close to the kitchen door is ideal.
Wind and slope. A gentle slope is workable, but steep ground erodes. Very exposed, windy sites dry out soil quickly and can snap tall plants, so a fence or hedge on the windward side helps.
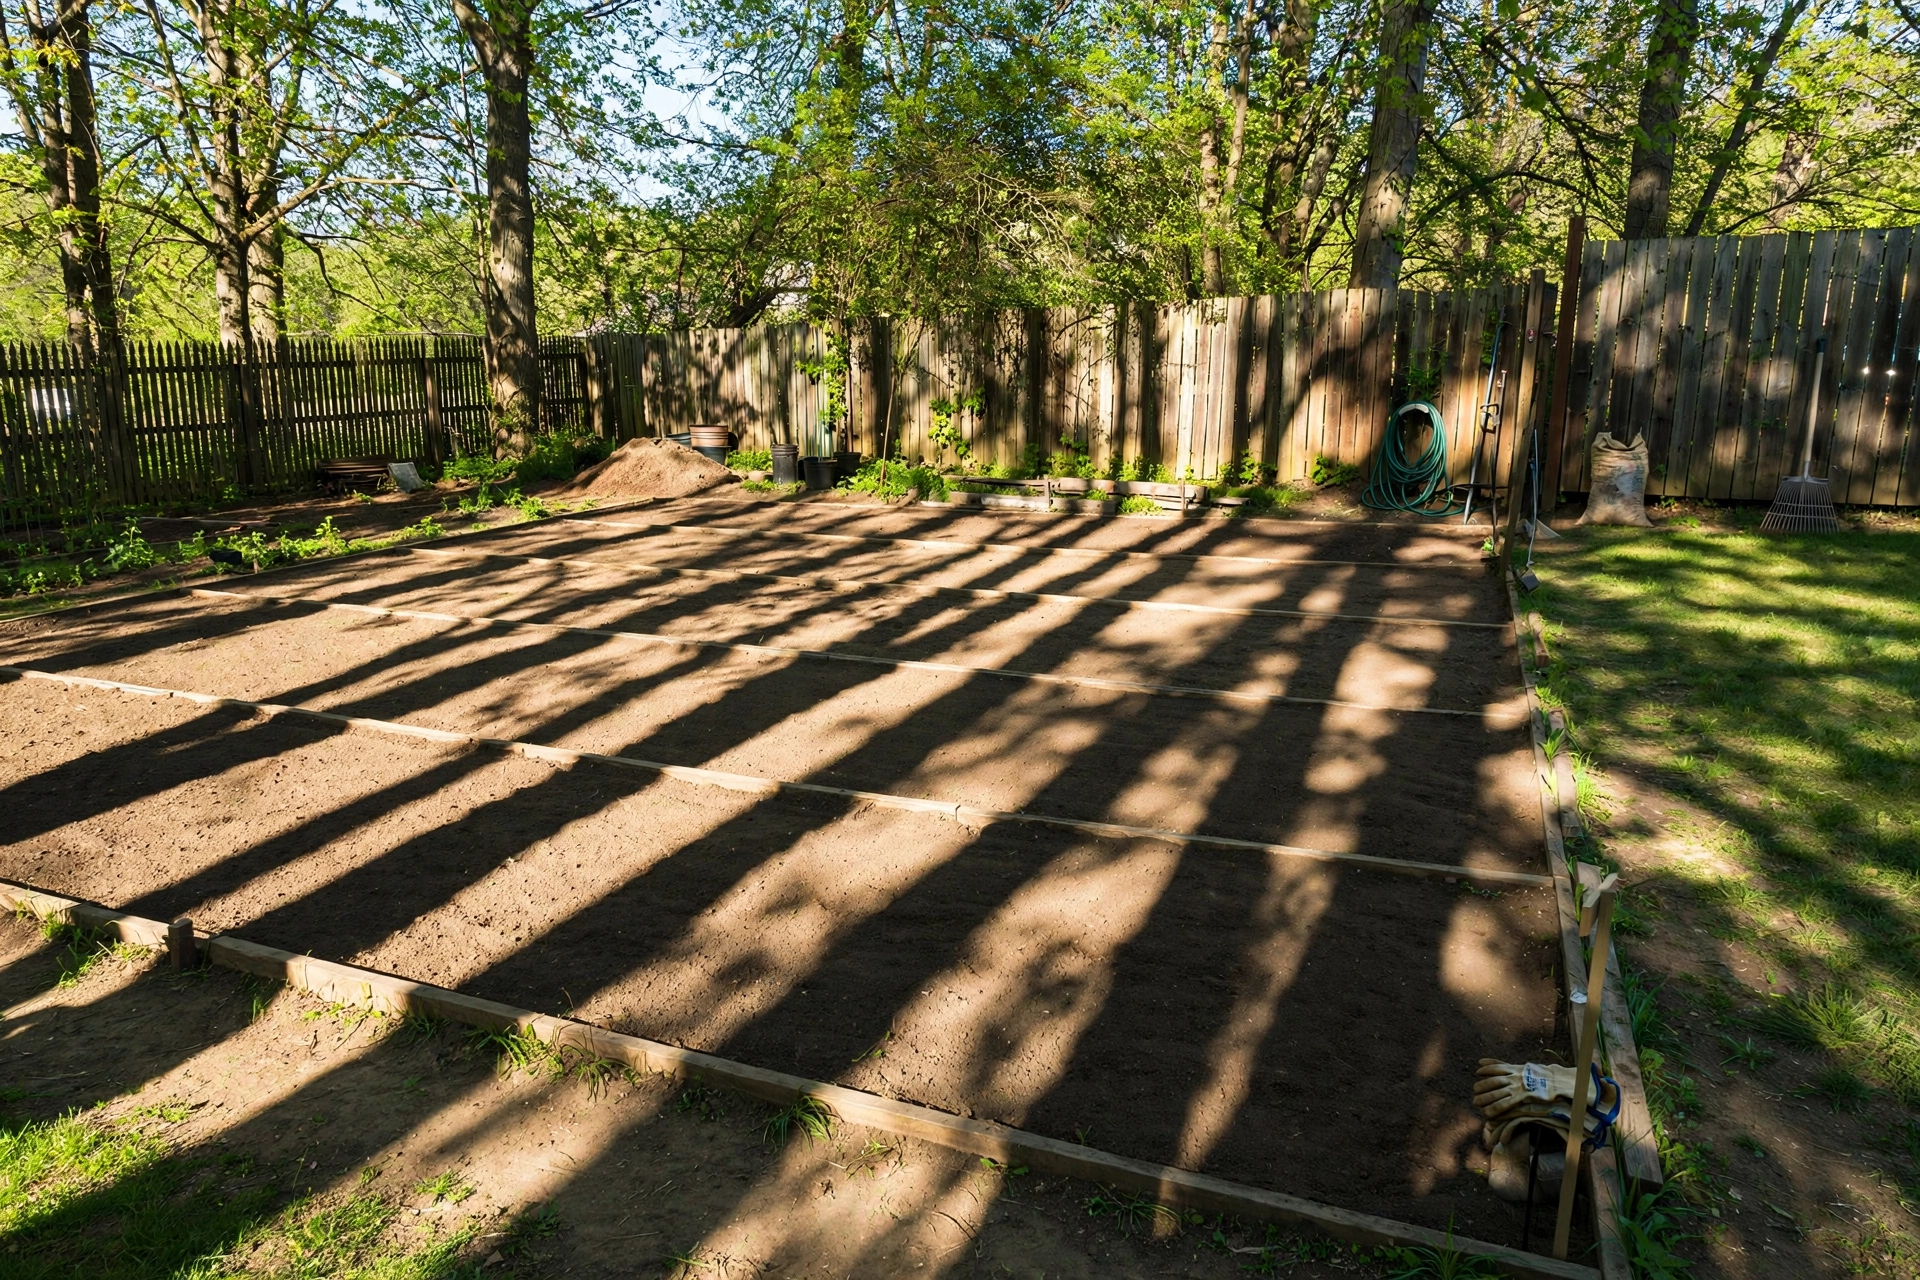
Step 2: Decide on Your Garden Type and Size
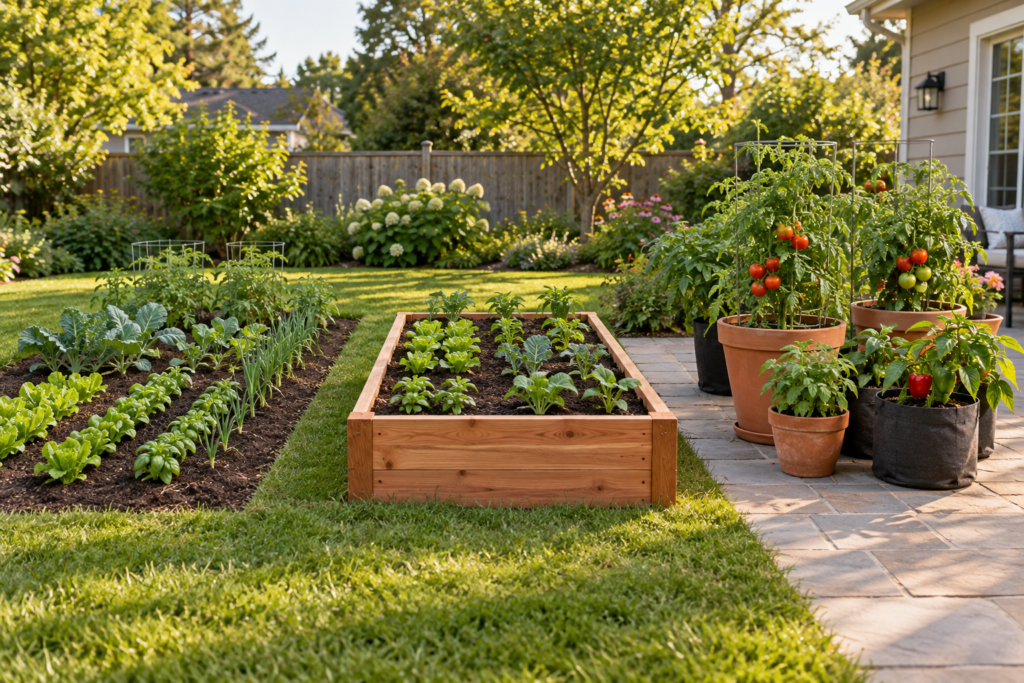
There are three main ways to grow vegetables at home, and each fits a different situation. None is objectively best. The right choice depends on your soil, your budget, your body, and how much space you have.
In-ground beds
Planting directly in the ground is the cheapest option and works well where native soil is reasonably loose and drains well. It suits large gardens and sprawling crops like pumpkins, winter squash, and corn. The downsides are more weeding, more bending, and soil you’ll need to improve over several seasons if it’s heavy clay or pure sand.
Raised beds
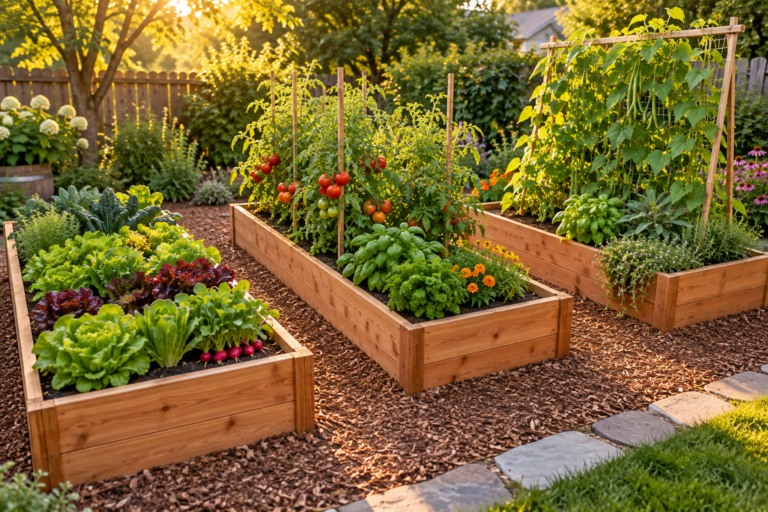
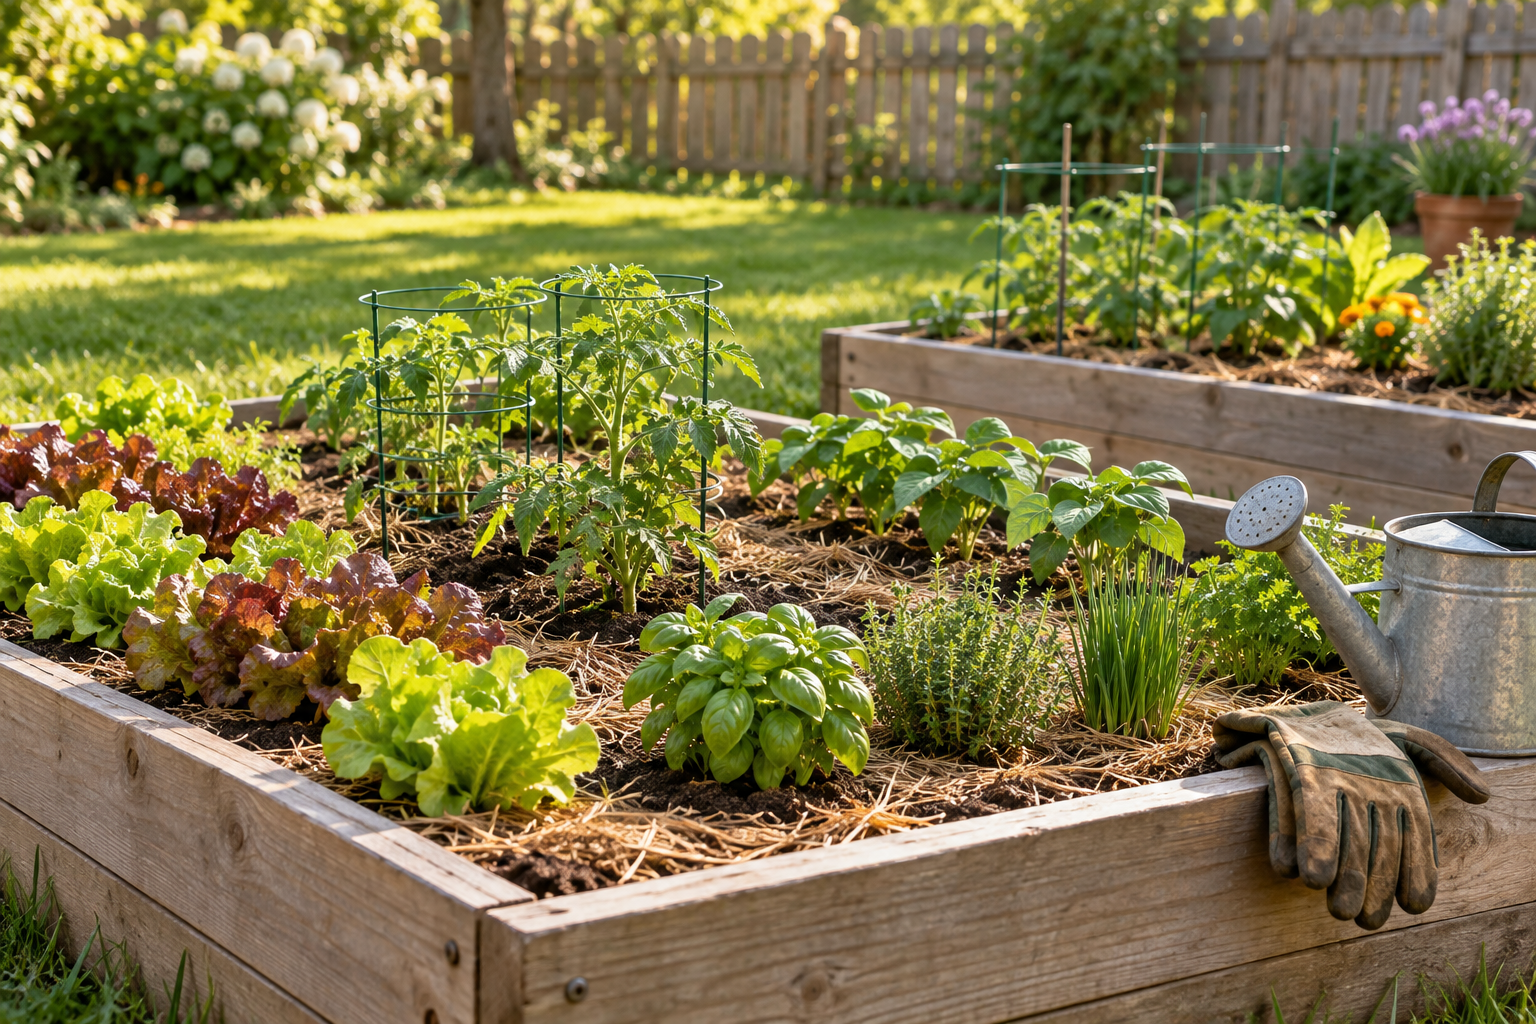
A raised bed is a bottomless frame, usually wood, metal, or stone, filled with a blend of topsoil and compost. It warms up earlier in spring, drains freely, and lets you start with good soil on day one regardless of what’s underneath. Beds are easy to reach into, which means you never walk on and compact the growing area.
A practical size is 4 feet wide, so you can reach the middle from either side, and 8 to 12 inches deep. Deeper beds, around 18 to 24 inches, are easier on the back and better for carrots and parsnips. Leave paths of at least 18 inches between beds, or wider if you’ll bring a wheelbarrow through. If you use wood, untreated cedar or larch lasts for years without chemical treatment.
Containers
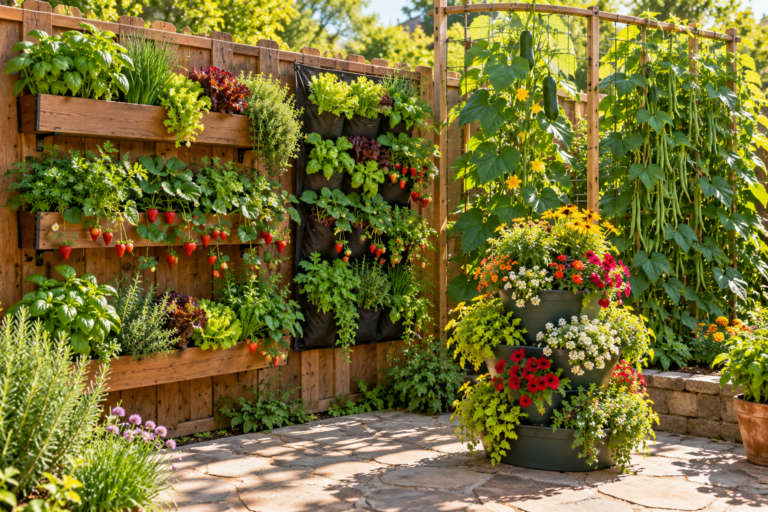
Pots, grow bags, and half-barrels bring vegetable gardening to balconies, decks, and paved yards. Tomatoes, peppers, bush beans, lettuce, herbs, and even potatoes do well in them. Bigger is better: a 5-gallon container is a reasonable minimum for one tomato or pepper plant, because small pots dry out alarmingly fast in summer heat. Always use a quality potting mix rather than garden soil, which compacts in pots, and make sure every container has drainage holes.
How big should a beginner vegetable garden be?
A good beginner vegetable garden is small: one or two raised beds of about 4 by 8 feet each, or roughly 100 square feet of in-ground space. That’s enough to grow a real harvest of five or six crops while keeping watering, weeding, and pest checks down to a manageable half hour or so a few times a week.
Starting small isn’t timidity. It’s the most reliable way to still be enjoying the garden in August. An overgrown 30-foot plot teaches you mostly about weeds. A tidy bed you can tend well teaches you how plants actually grow, and you can double it next year with a season of experience behind you.
Step 3: Prepare Healthy Soil
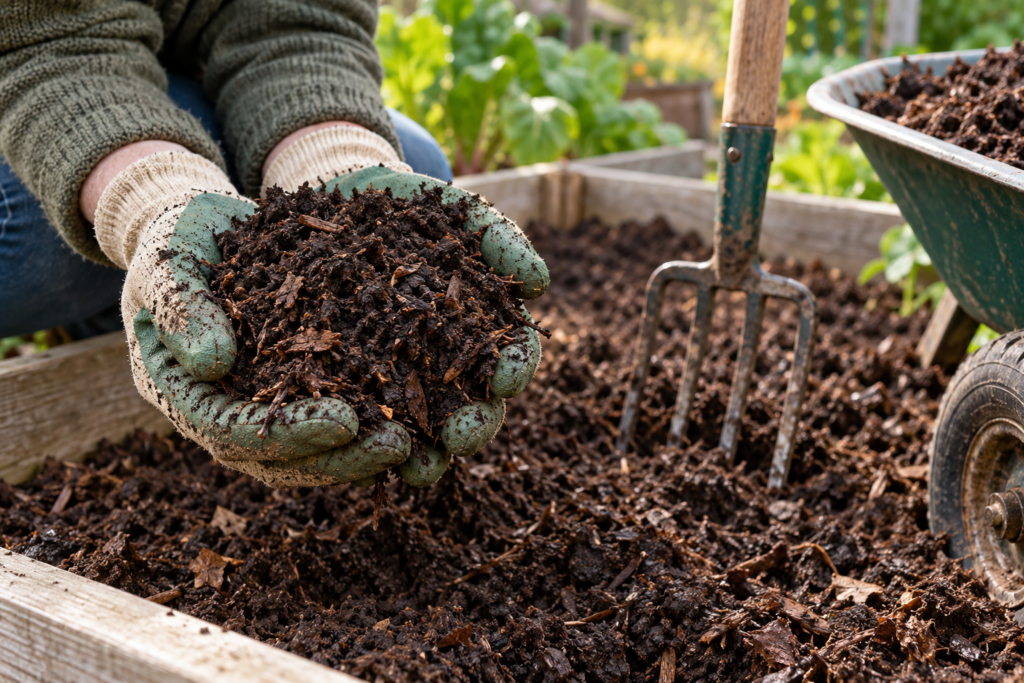
Plants are only as good as what their roots are growing in. Good vegetable soil is loose and crumbly, holds moisture without staying soggy, and is rich in organic matter. Gardeners call the ideal texture loam, a balanced mix of sand, silt, and clay.
Test before you add anything
A basic soil test tells you your soil’s pH and whether it’s short on major nutrients like phosphorus and potassium. Home kits give a rough reading, and many regional agricultural extension services or university labs offer inexpensive, more accurate tests. Most vegetables prefer a slightly acidic to neutral pH of about 6.0 to 7.0. If your soil is too acidic, garden lime raises the pH. If it’s too alkaline, elemental sulfur brings it down slowly. Make these adjustments based on the test result, not guesswork.
You can also do a simple texture check. Squeeze a handful of moist soil. If it forms a sticky ribbon that holds together, it’s clay-heavy. If it falls apart immediately and feels gritty, it’s sandy. The fix for both extremes is the same, which is convenient: add organic matter.
Compost is the answer to almost everything
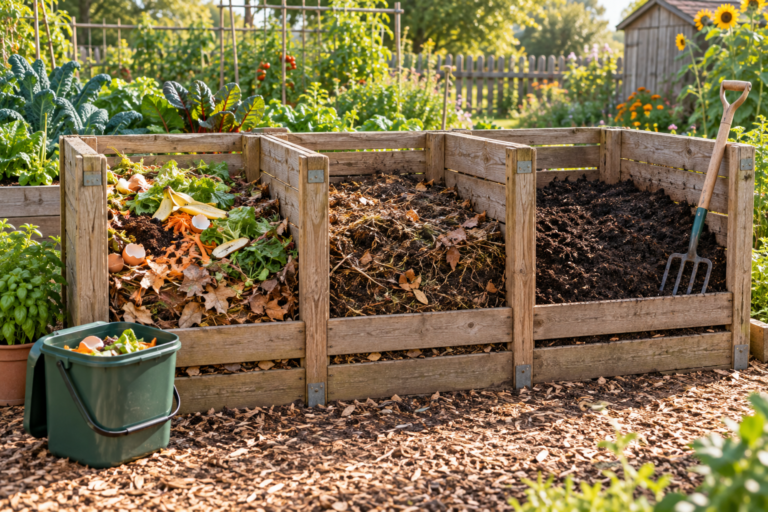
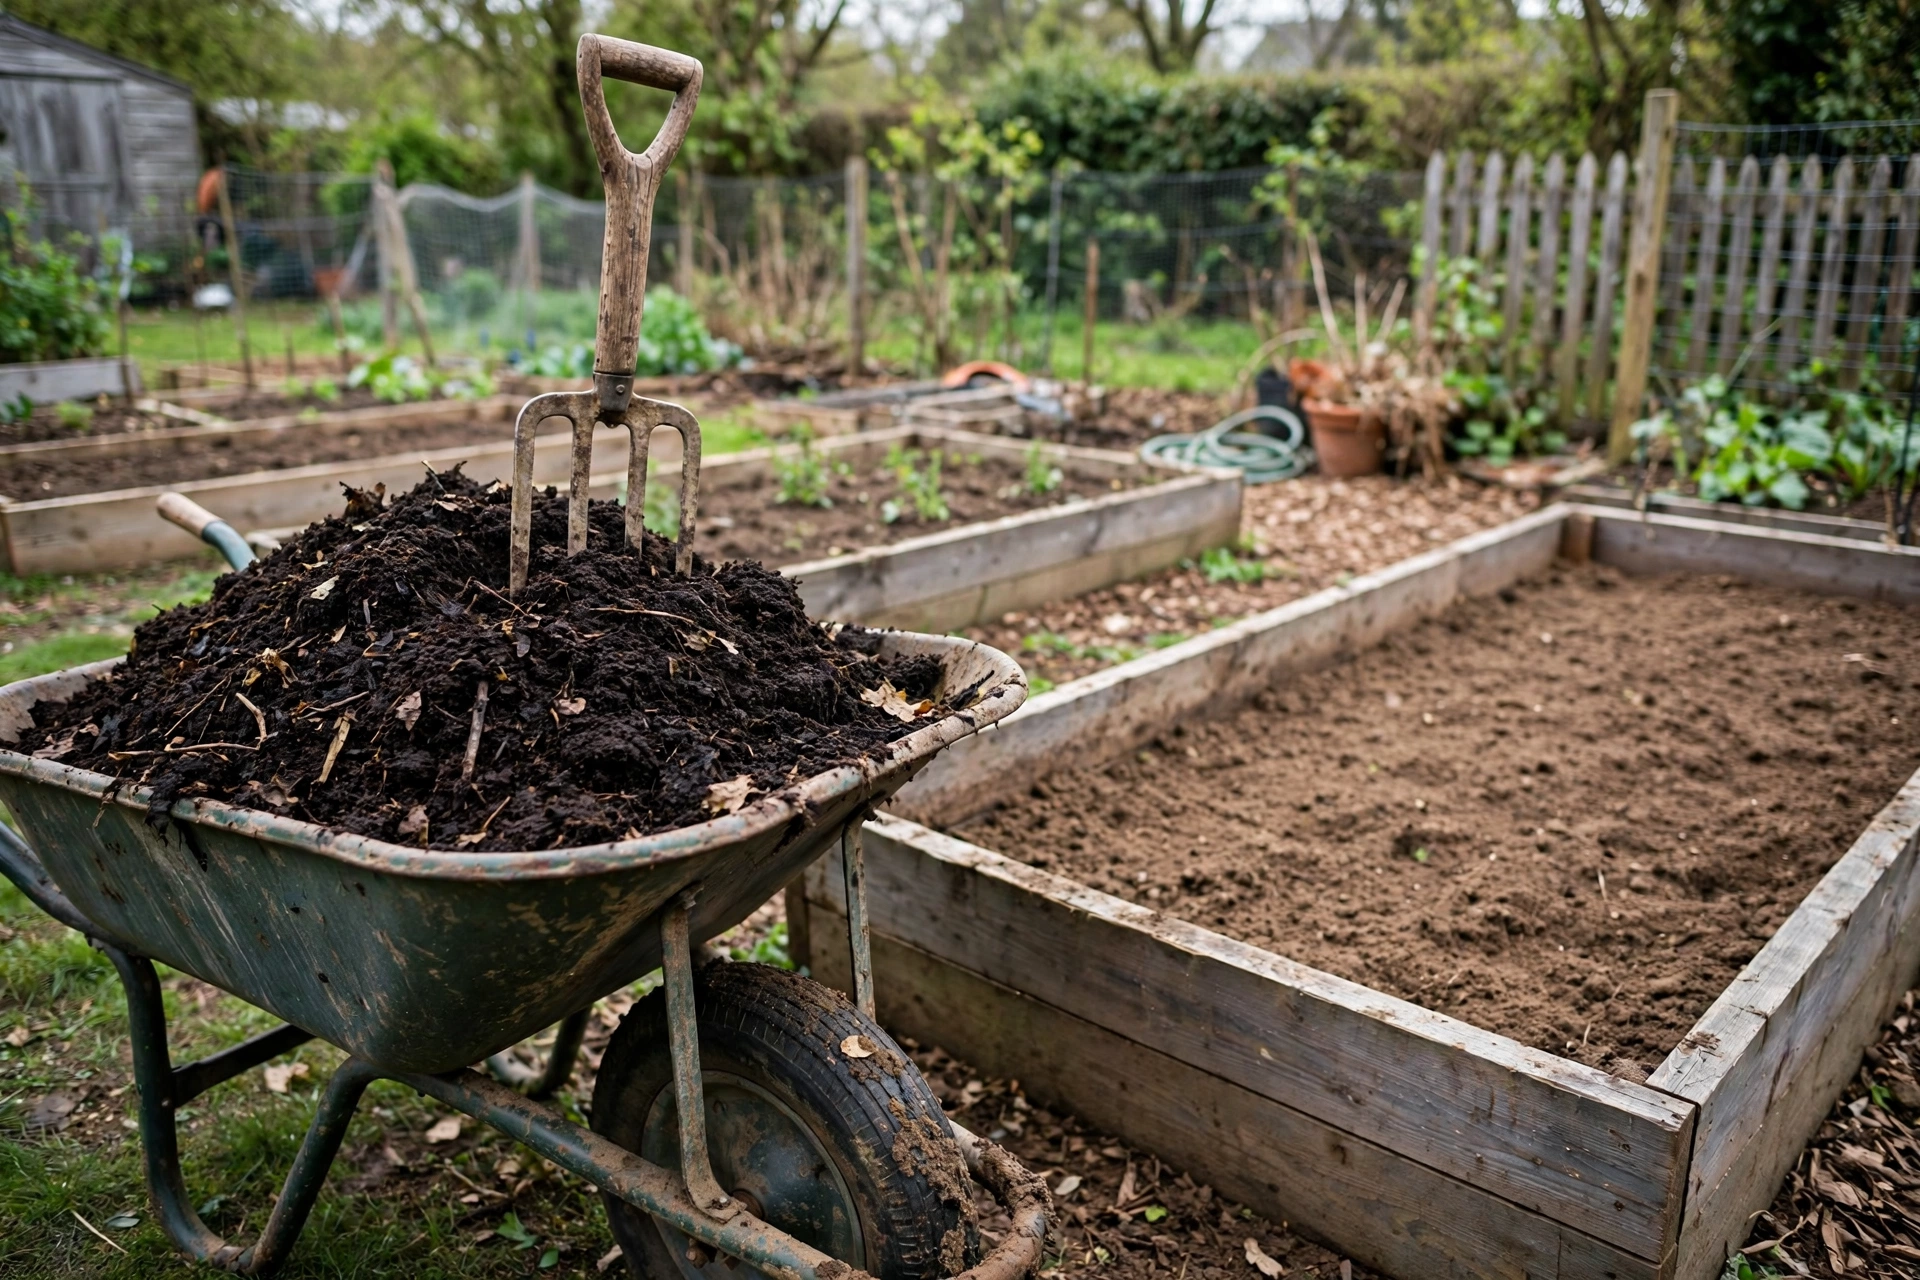
Well-rotted compost loosens heavy clay, helps sandy soil hold water, feeds soil life, and releases nutrients gradually. For in-ground beds, spread 2 to 3 inches of compost over the area and work it into the top 6 to 8 inches of soil. For raised beds, a common fill is roughly 60 percent good topsoil and 40 percent compost, mixed well. Aged manure and leaf mold are good additions too, as long as manure is fully composted, since fresh manure can burn plants and may carry pathogens.
Can you start a vegetable garden on grass?
Yes, and you don’t have to dig the lawn up. The easiest method is sheet mulching, sometimes called lasagna gardening or no-dig. Mow the grass short, cover it with overlapping plain cardboard with tape and labels removed, soak the cardboard, and pile 4 to 6 inches of compost and soil on top. The grass underneath dies back and decomposes.
If you build it in fall, the bed will be soft and ready by spring. If you’re building in spring, plant transplants directly into the compost layer, and skip deep-rooted crops like carrots for the first season. A raised bed placed over cardboard works the same way and speeds things up. Stripping sod with a spade is faster still, but it’s heavy work and removes some of your topsoil along with the grass.
Whatever you do, avoid walking on prepared soil. Compaction squeezes out the air roots need, and it undoes a lot of your work.
Step 4: Pick Your Vegetables and Plan the Planting Calendar
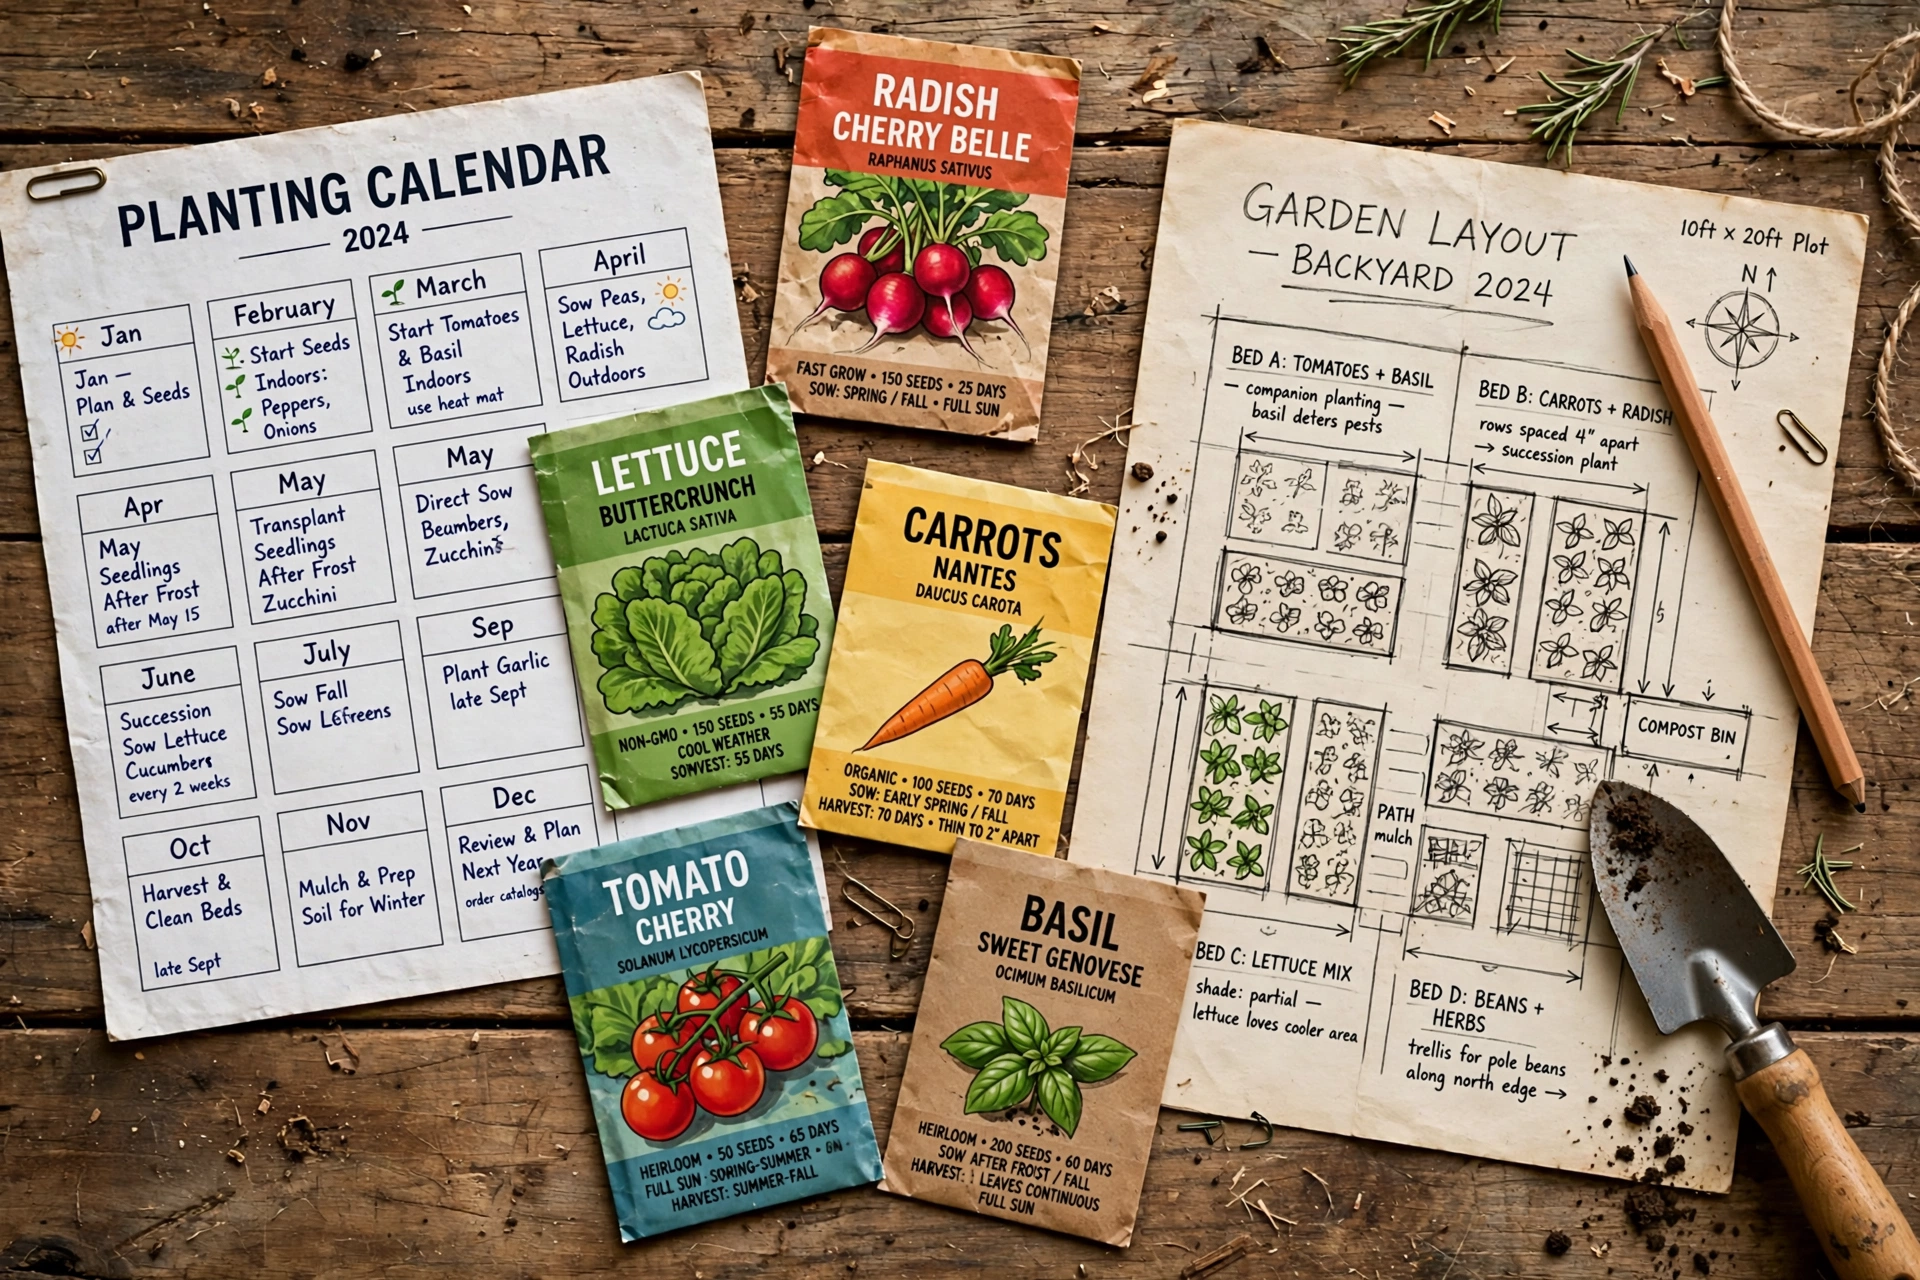
This is the part most people want to rush, and it’s where a little planning saves a lot of disappointment. The question isn’t only what to grow, but when each crop can go in.
When should you start a vegetable garden?
Start planning and preparing soil in late winter, then plant according to your area’s average last frost date. Cool-season crops like peas, lettuce, spinach, and radishes can go in two to six weeks before that date. Warm-season crops like tomatoes, peppers, squash, and beans go in after the last frost, once soil has warmed.
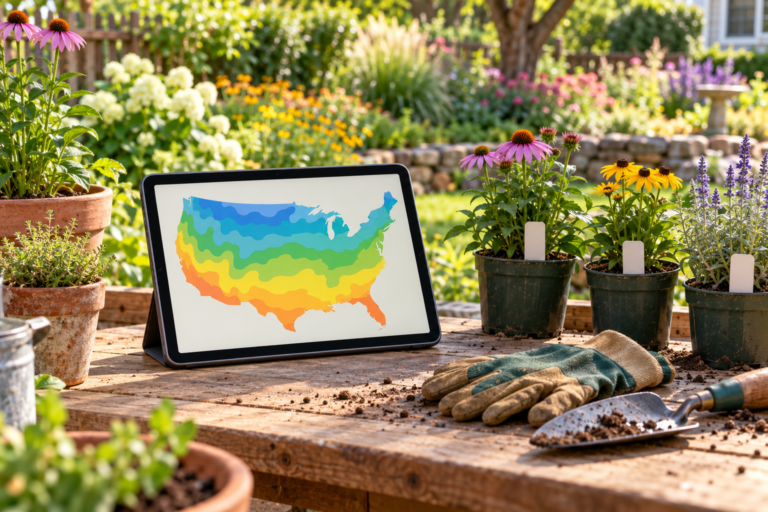
Your last frost date is the single most useful number in vegetable gardening. Local extension services, gardening organizations, and many online frost-date tools give it by postcode or zip code. It’s an average, not a guarantee, so keep an old sheet or a row cover handy for surprise cold nights. It also helps to know your hardiness zone or local climate zone, which describes winter lows and gives a sense of season length.
Cool-season versus warm-season crops
Vegetables fall into two broad groups, and mixing them up is a classic beginner mistake.
Cool-season crops tolerate light frost and prefer temperatures roughly between 50°F and 75°F (10°C to 24°C). They include lettuce, spinach, peas, kale, broccoli, cabbage, radishes, carrots, beets, and onions. Many bolt, meaning they rush to flower and turn bitter, once summer heat arrives. That’s why they’re planted in early spring and again in late summer for a fall crop.
Warm-season crops are killed or badly set back by frost and sulk in cold soil. Tomatoes, peppers, eggplant, cucumbers, zucchini and other squash, beans, corn, melons, and basil all belong here. Bean and squash seeds may rot if sown into soil below about 60°F (16°C).
What are the easiest vegetables to grow for beginners?
The easiest vegetables for beginners are those that germinate reliably, grow quickly, and forgive small mistakes: lettuce, radishes, bush beans, zucchini, cherry tomatoes, peas, kale, and Swiss chard. Herbs like basil, parsley, and chives are also easy. Together they give fast wins in spring and steady harvests through summer.
A few notes on each: radishes can be ready in under a month, which is great encouragement. Cherry tomatoes are far less fussy than large slicing types and produce heavily. One or two zucchini plants will feed a family, so resist planting six. Bush beans need no support, unlike pole beans. Swiss chard keeps producing from spring into fall if you pick the outer leaves.
Crops worth postponing until your second year include cauliflower, celery, head lettuce in hot climates, and melons in short-season areas. They’re rewarding, just less forgiving.
The most important rule is simple: grow what you actually eat. A bed full of vegetables no one in the house likes is a chore, not a garden.
Seeds or transplants?
Some crops are best sown directly into the garden, especially root vegetables, which dislike being transplanted. Direct-sow carrots, radishes, beets, peas, beans, and usually squash, cucumbers, and corn. Others need a long head start and are easier bought as young plants from a nursery for your first year: tomatoes, peppers, eggplant, and slow herbs like rosemary. Starting those indoors under grow lights is a great skill, but it can wait until your second season.
Sketch a simple plan
Draw your bed on paper, roughly to scale. Put tall crops like staked tomatoes, trellised peas, or corn on the side where they won’t shade shorter plants. That’s usually the north side in the Northern Hemisphere and the south side in the Southern Hemisphere. Check the spacing on each seed packet along with days to maturity, which tells you roughly how long until harvest. Leave a little room for succession planting, which means sowing a small row of lettuce or radishes every two to three weeks so you harvest steadily instead of all at once.
Step 5: Plant Seeds and Seedlings the Right Way
Planting day is simple, but a few details make a big difference to how quickly plants establish.
Sowing seeds directly
Rake the soil smooth and water it the day before so it’s evenly moist, not muddy. A good general rule is to sow seeds at a depth of about two to three times their width. Tiny seeds like lettuce and carrots barely need covering, while beans and squash go an inch or so deep. Follow packet spacing, or sow a little thicker and thin later, snipping extras at soil level with scissors so you don’t disturb neighboring roots.
Keep the surface consistently damp until seedlings emerge. That can mean a light watering every day in warm, dry weather. Carrot seed is notorious for failing when the top crust dries out, and laying a board or burlap over the row until sprouts appear helps a lot. Label every row. You will forget what you planted where.
Hardening off and transplanting
Seedlings raised indoors or in a greenhouse need to toughen up before facing full sun and wind. This process, called hardening off, takes about a week. Set them outside in a sheltered, partly shaded spot for an hour or two on the first day, and gradually increase their time and exposure until they’re out all day and night. Nursery plants that were kept under cover benefit from a few days of this too.
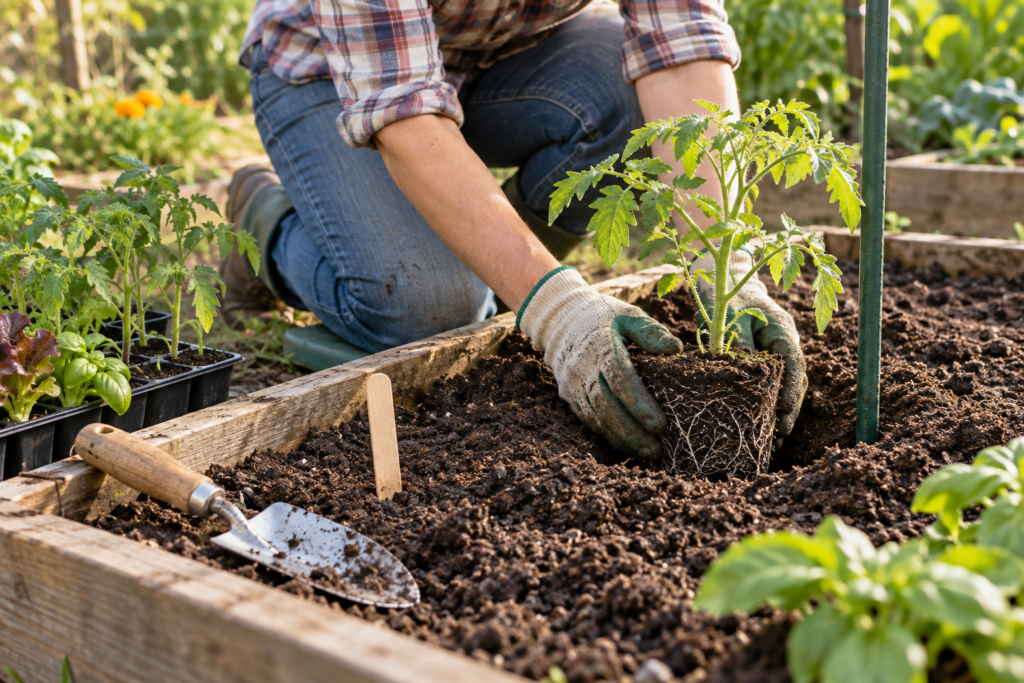
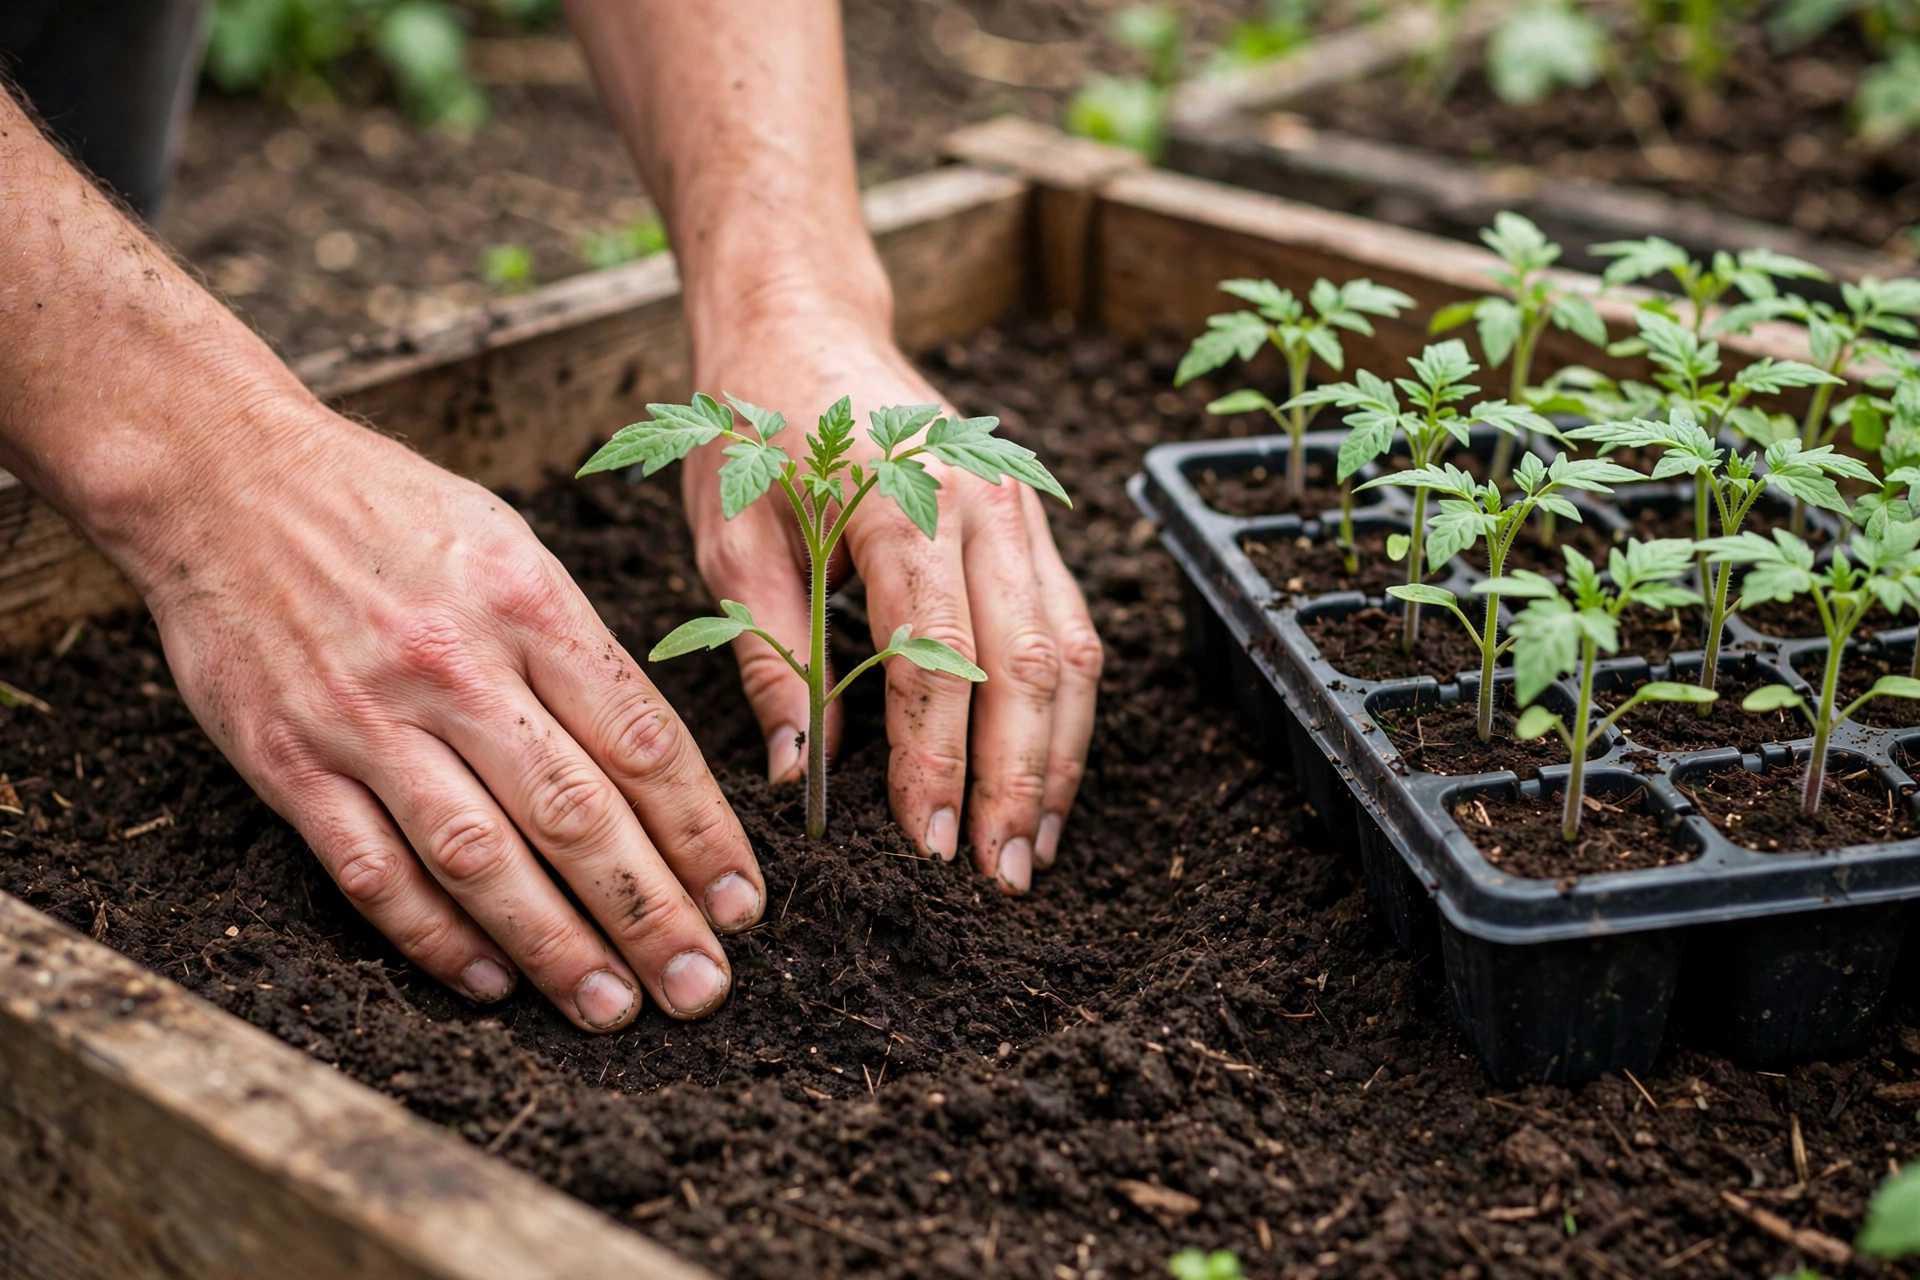
Transplant on a cloudy day or in the late afternoon so plants don’t face harsh sun immediately. Dig a hole slightly larger than the root ball, set the plant in at the same depth it was growing, firm the soil gently, and water deeply. Tomatoes are the exception: bury them deeper, up to the first set of true leaves, and roots will form along the buried stem, giving you a sturdier plant.
Add supports now, not later
Put tomato cages, stakes, and trellises for peas, pole beans, and cucumbers in place at planting time. Pushing a stake in later risks spearing roots, and wrestling a sprawling tomato into a cage in July is nobody’s idea of fun.
Step 6: Water, Feed, Protect, and Harvest
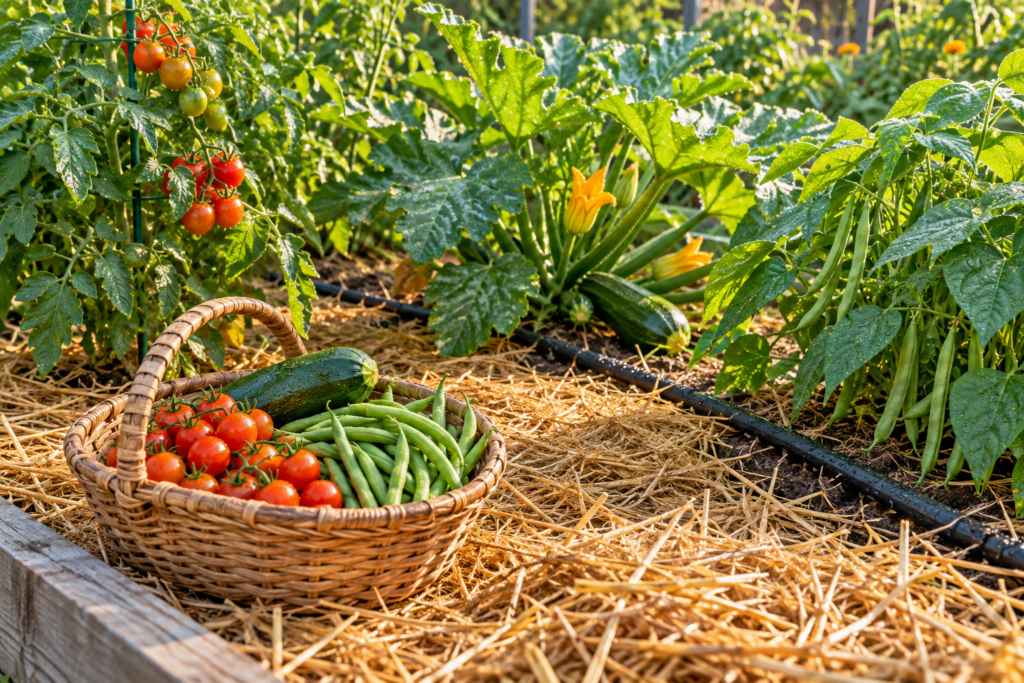
The first month after planting is when a garden either settles in or starts to struggle. Good habits here carry you through the season.
How often should you water a vegetable garden?
Most vegetable gardens need about 1 inch of water per week, from rain and watering combined, delivered in one or two deep soakings rather than daily sprinkles. Water in the early morning at the base of plants. Check by pushing a finger 2 inches into the soil; if it’s dry at that depth, water.
Deep, infrequent watering encourages roots to grow down where soil stays moist, making plants more drought-resistant. Shallow daily watering keeps roots near the surface, where they fry in a heat wave. Raised beds and containers dry out faster, and in hot summers containers may need water daily. Soaker hoses or a simple drip irrigation line put water right at the roots, waste less to evaporation, and keep leaves dry, which reduces fungal diseases like powdery mildew and early blight. A cheap rain gauge takes the guesswork out of how much the sky has already done for you.
Mulch
Once seedlings are a few inches tall and the soil has warmed, spread 2 to 3 inches of organic mulch around them. Straw, shredded leaves, or untreated grass clippings in thin layers all work well. Mulch holds in moisture, smothers weed seedlings, keeps soil temperature steady, and breaks down into organic matter over time. Keep it an inch or two away from stems to prevent rot.
Feeding your plants
If you built your soil with plenty of compost, many crops will need little extra. Heavy feeders like tomatoes, squash, corn, and cabbage family plants benefit from a side dressing of compost or a balanced organic fertilizer a few weeks after planting and again when they begin flowering or fruiting. Fertilizer labels list three numbers, the N-P-K ratio, for nitrogen, phosphorus, and potassium. Too much nitrogen gives you lush, leafy tomato plants with very little fruit, so more is not better.
Weeds and pests
Weed little and often. A few minutes with a hoe twice a week while weeds are tiny beats an afternoon of pulling established ones. Mulch does much of this work for you.
For pests, your best tool is regular inspection. Turn over a few leaves every time you visit. Aphids cluster on new growth and can be knocked off with a strong spray of water. Caterpillars like cabbage worms and tomato hornworms can be hand-picked. Slugs come out on damp evenings and can be trapped under boards and removed in the morning. Lightweight row covers laid over hoops keep flea beetles and cabbage moths off brassicas entirely, though remember to lift them from squash and cucumbers once flowers appear so pollinators can get in.
Companion planting helps a little, too. Flowers like marigolds, calendula, alyssum, and nasturtiums draw in ladybugs, hoverflies, and bees that pollinate crops and eat pests. Basil tucked among tomatoes is a pleasant, practical pairing even if its pest-repelling reputation is somewhat overstated.
Harvesting
Pick often and pick young. Beans, zucchini, cucumbers, and peas produce more when you harvest regularly, because the plant keeps trying to make seeds. Leafy greens can be harvested leaf by leaf from the outside in. Tomatoes are best picked when fully colored and slightly soft, though you can pick them at first blush and let them finish on the counter if birds or squirrels are a problem. Harvest in the cool of the morning when vegetables are crisp and full of water.
Plan for next year as you go
Keep a simple notebook or phone log: what you planted, when, what thrived, and what flopped. Next year, rotate crop families to different spots. Don’t plant tomatoes, peppers, potatoes, and eggplant, which are all related, in the same place year after year. Crop rotation reduces soil-borne diseases and evens out nutrient use. At the end of the season, clear out diseased plants, add a fresh layer of compost, and consider a cover crop like clover or winter rye to protect and enrich the soil over winter.
Frequently Asked Questions
How much does it cost to start a vegetable garden?
The cost depends mostly on the type of garden you choose. An in-ground bed with seeds and a few bags of compost is very inexpensive, while raised beds cost more because you’re paying for the frame and the soil to fill it. Many gardeners start with one bed, reuse containers they already have, and grow from seed to keep costs low in the first year.
Do I need to till the soil before planting?
No, tilling isn’t required, and many experienced gardeners avoid it. Repeated tilling breaks down soil structure and brings buried weed seeds to the surface. Loosening the soil with a garden fork and adding compost to the top, or building a no-dig bed with cardboard and compost, works well and tends to improve the soil year after year.
Can I grow vegetables on a balcony or patio?
Yes, as long as the space gets at least six hours of direct sun. Use large containers with drainage holes and fill them with potting mix rather than garden soil. Cherry tomatoes, peppers, bush beans, lettuce, radishes, and herbs all grow well in pots, and compact or dwarf varieties are bred specifically for container growing.
How long does it take to harvest vegetables after planting?
It varies widely by crop. Radishes and baby salad greens can be ready in three to five weeks, while bush beans and zucchini typically produce within about two months. Tomatoes, peppers, and winter squash take longer, often several months from transplant. The days to maturity listed on each seed packet or plant tag gives a reliable estimate.
What is the best time of day to water a vegetable garden?
Early morning is best. Water has time to soak in before the heat of the day, less is lost to evaporation, and any moisture on the leaves dries quickly, which lowers the risk of fungal disease. Late afternoon is the next best choice. Watering at night leaves foliage damp for hours and can encourage mildew and blight.
Why are my vegetable seedlings tall, thin, and floppy?
Tall, pale, spindly seedlings are usually a sign of too little light. They stretch toward whatever light is available and become weak. Indoors, place grow lights just a few inches above the seedlings. Outdoors, it usually means the spot is too shaded. A gentle breeze or a fan indoors also helps seedlings develop sturdier stems.
Should I use garden soil or potting mix in raised beds?
Raised beds do best with a blend of good-quality topsoil and compost, often sold as raised bed mix. Bagged potting mix alone is lightweight, expensive in large quantities, and drains too quickly for a full bed. Garden soil alone may be too dense. Mixing topsoil with plenty of compost gives the right balance of structure, drainage, and nutrients.
What should I do with my vegetable garden in the fall?
Fall is a good time to plant a second round of cool-season crops like lettuce, spinach, kale, and radishes. Once harvests are done, pull out spent and diseased plants, add a layer of compost or shredded leaves to the beds, and either mulch them or sow a cover crop. This protects the soil through winter and gives you a head start next spring.