IKEA Room Ideas: Stylish Ways to Decorate with IKEA Furniture
Walk into ten different homes and there’s a good chance you’ll find the same white cube shelf in at least half of them. IKEA furniture is everywhere because it solves real problems: it’s affordable, it’s easy to find, and it fits apartments, family homes, and first rentals alike. The catch is that a room filled…
Walk into ten different homes and there’s a good chance you’ll find the same white cube shelf in at least half of them. IKEA furniture is everywhere because it solves real problems: it’s affordable, it’s easy to find, and it fits apartments, family homes, and first rentals alike. The catch is that a room filled with pieces straight out of the box can feel like a showroom that nobody lives in.
The good news is that the gap between “flat-pack” and “thoughtfully designed” is smaller than most people think. It usually comes down to a handful of decisions: how you mix materials, where you place things, what you add on top, and which small upgrades you’re willing to make. The ideas below work room by room, with practical steps you can actually follow this weekend, whether you’re styling one bookcase or furnishing an entire home.
What Makes an IKEA Room Look Expensive Instead of Flat-Pack
An IKEA room looks expensive when the furniture is treated as a foundation rather than the finished design. Mix in natural textures, vintage or handmade pieces, layered lighting, and personal objects. Upgrade small details like handles and legs, and avoid buying matching sets from a single product line.
The most common mistake is buying a whole room from one series. A bed, two nightstands, a dresser, and a mirror all in the same finish creates the catalogue effect instantly. Real rooms evolve over time, so they contain different woods, different ages, and different makers. Pick one or two IKEA workhorse pieces per room and let everything around them come from somewhere else: a secondhand dresser, a thrifted side table, a handmade ceramic lamp.
Texture does most of the heavy lifting
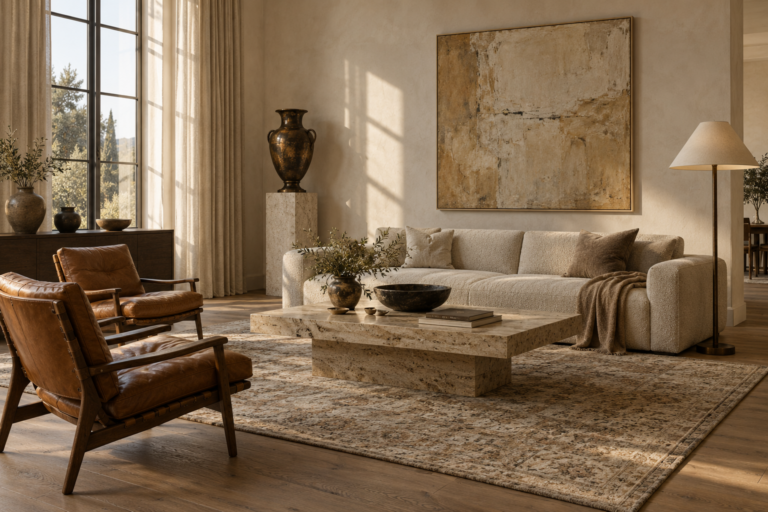
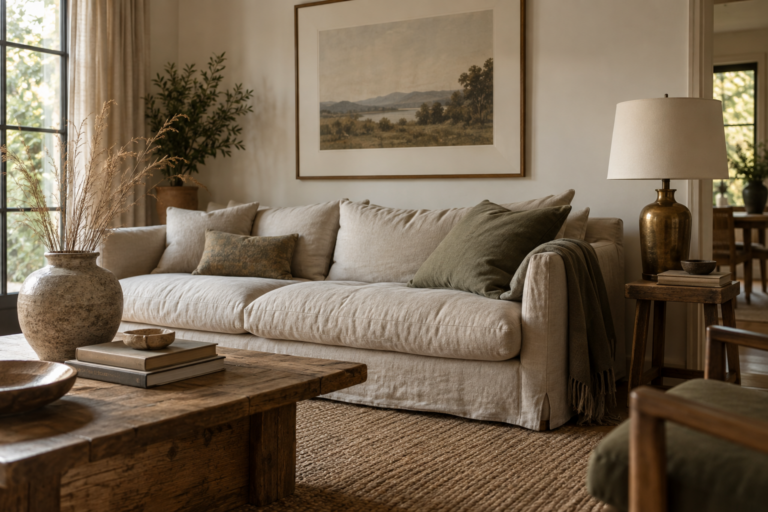
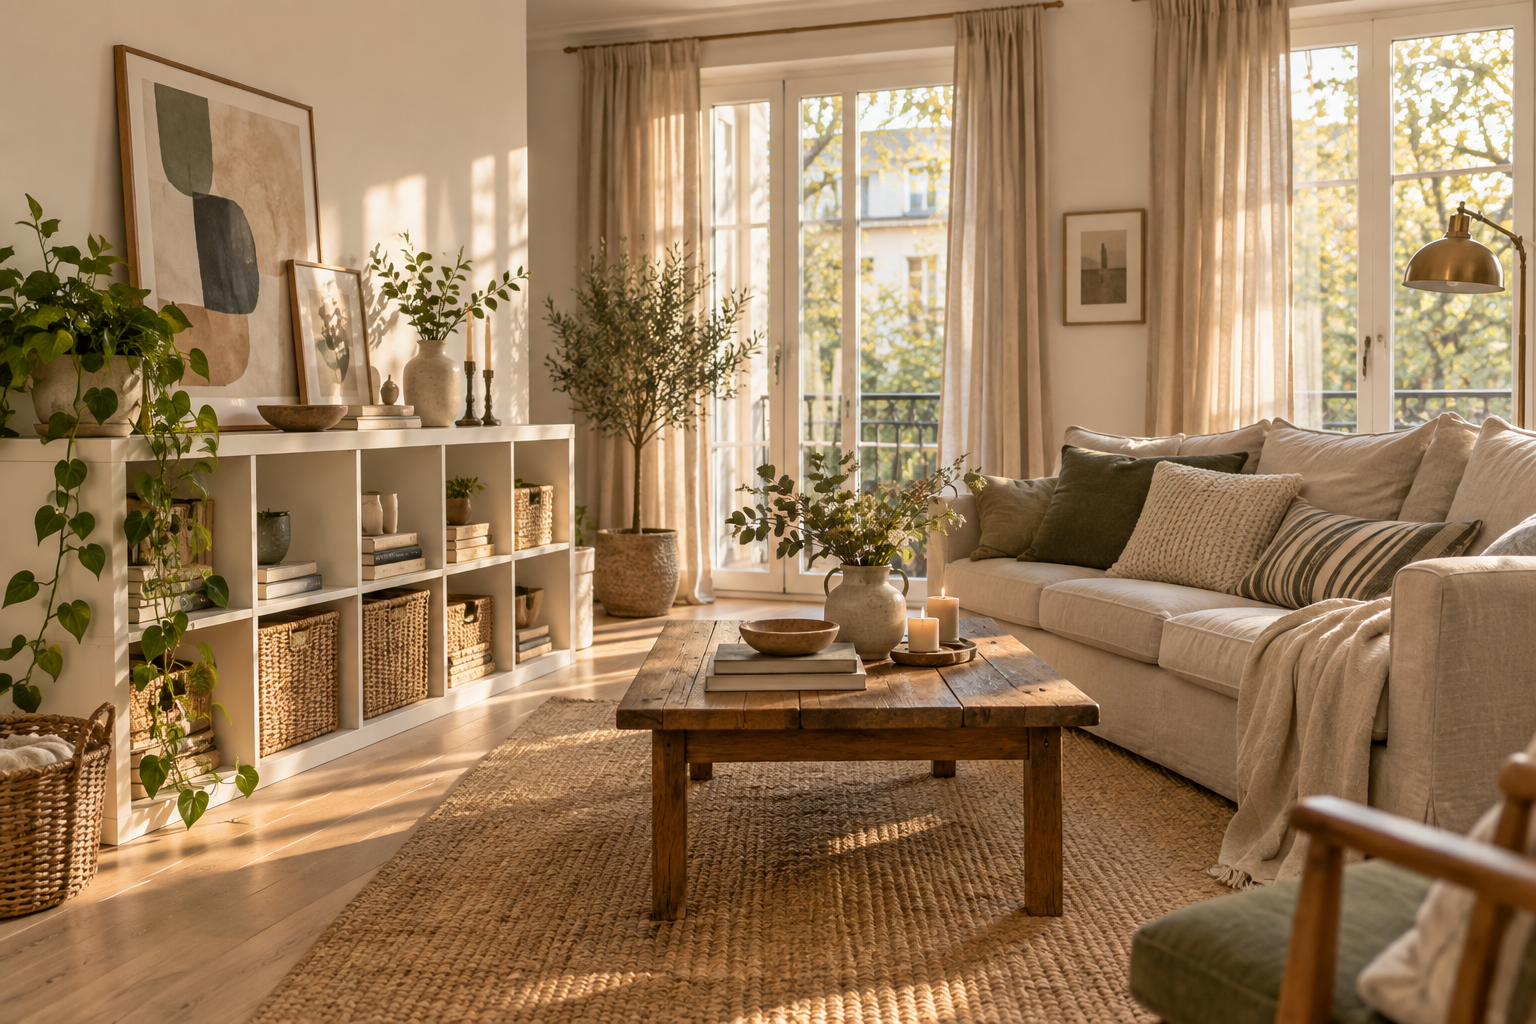
Many IKEA pieces have smooth, uniform surfaces in white, black-brown, or light oak effect. On their own they read as flat. Surround them with texture and they suddenly look intentional. Think linen and wool throws, a jute or wool rug, rattan baskets, raw ceramic, aged brass, and unlacquered wood. A white laminate bookcase filled with woven baskets and stoneware looks entirely different from the same bookcase holding plastic bins.
Lighting changes the perception of cost
A single overhead light flattens everything and exposes every seam and edge. Layered lighting does the opposite. Aim for three levels in most rooms: ambient light from a ceiling fixture, task lighting from a floor or desk lamp, and accent lighting such as a small table lamp on a shelf or LED strips tucked under a cabinet. Warm bulbs, in the soft white range rather than cool daylight, make laminate and veneer look softer and richer.
Scale and proportion matter more than price
Furniture that’s too small for the room looks cheap regardless of what it cost. Rugs are the usual culprit. In a living room, the rug should be large enough for at least the front legs of the sofa and chairs to rest on it. Curtains are the second culprit: hang the rod close to the ceiling and extend it well past the window frame on both sides, then choose panels long enough to touch or just kiss the floor. IKEA’s long curtain panels are genuinely useful for this, and a few minutes with an iron or a steamer makes a big difference.
Personal objects finish the room
Books you’ve read, art you chose, photographs, a bowl from a trip, a plant you’ve kept alive for years. These are what make a space feel like a home rather than a set. No hack or upgrade replaces them.
Living Room Ideas with IKEA Furniture
The living room is where IKEA pieces carry the most visual weight, since shelving, media units, and sofas are all large and front-and-centre. The strategy is to ground these big pieces, give them breathing room, and style their surfaces with restraint.
How do you style a KALLAX shelf in a living room?
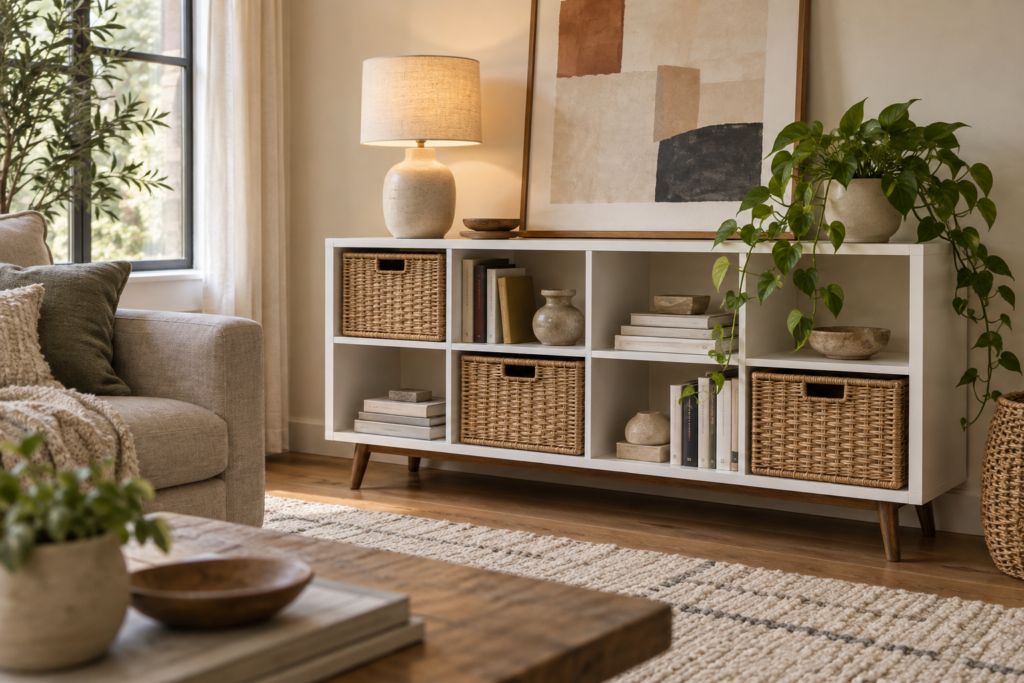
Style a KALLAX by leaving some cubes open and filling others with baskets or doors, mixing books laid horizontally and vertically, and adding a few objects of different heights. Place it on legs or a low plinth, or lay it horizontally as a media console or window bench, so it looks deliberate rather than stock.
Here’s a practical approach that works on almost any cube unit:
- Decide on a rhythm before you start. A checkerboard of closed baskets and open cubes is calm and balanced. Grouping all closed storage along the bottom row gives a heavier, more grounded look.
- In open cubes, avoid filling edge to edge. Leave roughly a third of each cube empty so the eye has somewhere to rest.
- Stack some books flat and use them as a pedestal for a small object, like a candle, a little plant, or a ceramic piece.
- Repeat materials, not identical objects. Three different ceramic vases in similar tones looks collected; three matching vases looks bought in one trip.
- Add greenery at different levels. A trailing plant on the top edge softens the hard grid lines better than anything else.
Turning a KALLAX on its side and adding sturdy furniture legs or a simple wooden base raises it off the floor, which makes it feel like a sideboard. Topped with a lamp, a stack of art books, and a leaning framed print, it can pass for a much pricier piece.
Building a media wall with BESTÅ or BILLY
Low media cabinets such as BESTÅ look far more custom when wall-mounted, floating slightly above the floor. The visible floor underneath makes a room feel larger and hides the fact that the cabinet has a standard base. Choose fronts in a muted colour or wood finish, keep cables inside with cord management, and resist cluttering the top. A television, one lamp, and one sculptural object is plenty.
For a built-in bookcase wall, BILLY bookcases lined up side by side are a long-standing favourite. Adding a trim board across the top that reaches the ceiling, a baseboard along the bottom, and thin moulding strips to cover the gaps between units creates the look of joinery. Painting everything, including the wall behind, one colour ties it together. Always secure tall bookcases to the wall with the anti-tip hardware provided, especially in homes with children or pets.
Sofas, covers, and seating arrangements
IKEA sofas with removable covers are practical for families, and the covers themselves are where you can personalise. Many people buy replacement covers from independent makers in velvet, heavier linen, or bouclé, which transforms a familiar silhouette. Even without a new cover, swapping the stock legs for taller tapered wood or metal ones lifts the sofa visually and makes it look lighter.
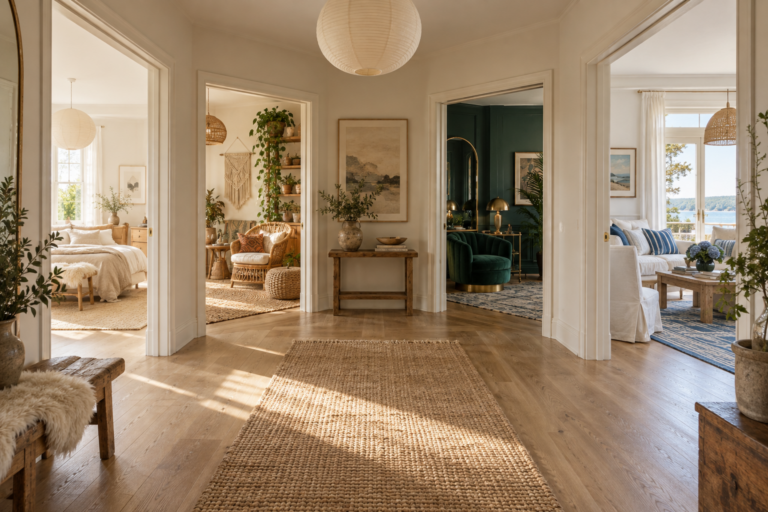
Pull furniture away from the walls where the room allows it. A sofa floating with a narrow console table behind it, or two chairs angled toward each other across a small table, creates a conversation zone and immediately feels designed.
Bedroom Ideas: Storage, Softness, and Built-In Looks
Bedrooms benefit from IKEA’s storage systems more than any other room, but bedrooms also expose flat design quickly because they rely so heavily on fabric and comfort. The goal is to pair clever storage with plenty of softness.
Can you make PAX wardrobes look built-in?
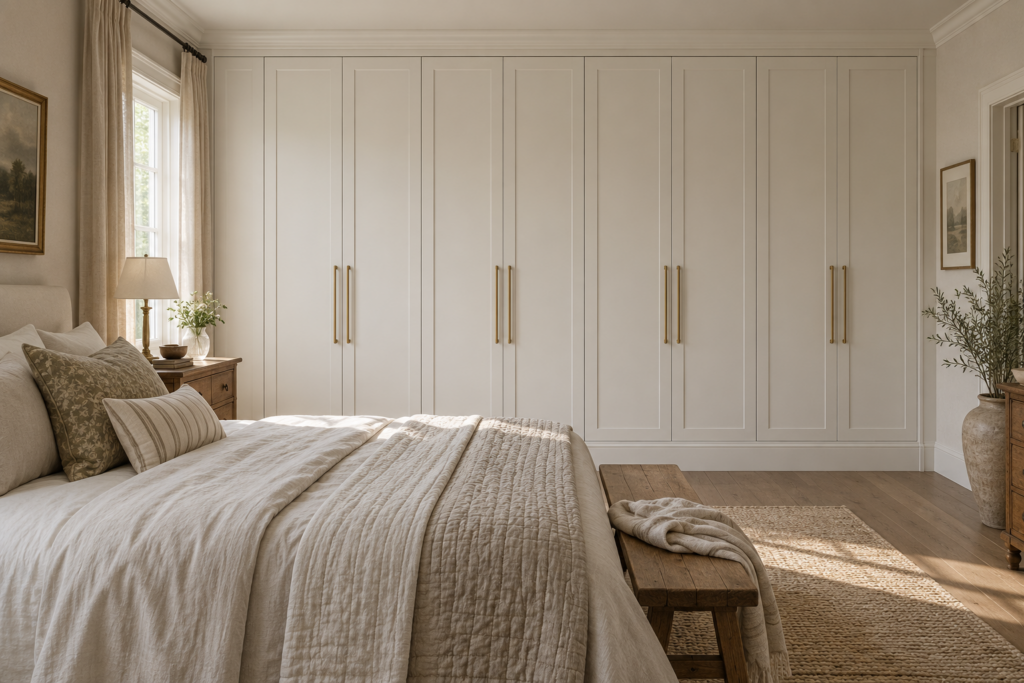
Yes. PAX wardrobes can look built-in by adding filler panels to close gaps against walls, a top panel or crown moulding up to the ceiling, and a baseboard at the bottom. Caulk the seams, paint the trim to match the fronts or walls, and swap the handles for heavier hardware.
The process is more approachable than it sounds:
- Plan the fit first. Measure wall to wall and floor to ceiling in several spots, because walls and floors are rarely perfectly straight. Position the frames so gaps are even on both sides.
- Build a base. Many people set PAX frames on a simple timber platform. This raises them to accept a proper baseboard and helps levelling.
- Anchor the frames. Secure every frame to the wall. This isn’t optional with tall, heavy storage.
- Fill the gaps. Cut MDF or plywood strips to fill space between the frames and the side walls and between the top of the units and the ceiling. Scribing the edge to follow a wavy wall gives the cleanest finish.
- Add moulding and caulk. Crown moulding at the top and baseboard at the bottom sell the illusion. Caulk every joint before painting.
- Upgrade the fronts and handles. Plain doors can be painted, fitted with applied moulding for a shaker style, or replaced with custom fronts made to fit the system. Long brass or leather pulls make an immediate difference.
Beds, headboards, and bedding
A basic bed frame can be the least expensive-looking thing in a bedroom, or it can disappear almost entirely under good bedding. Layering is what matters: a fitted sheet, a flat sheet or duvet, a quilt or coverlet folded at the foot, and a throw with a contrasting texture. Two sleeping pillows plus two larger Euro-style square pillows behind them fills the headboard area and looks generous.
If the bed has a plain or low headboard, consider a large upholstered panel mounted on the wall behind it, or paint a tall arch or rectangle in a deeper colour to frame the bed. A simple MALM bed looks entirely different against a painted headboard shape with wall-mounted reading lights on either side.
Nightstands and dressers
Mismatched nightstands feel relaxed and personal. One could be a small IKEA drawer unit, the other a vintage stool or a stack of books with a tray on top. Dressers like HEMNES or MALM take well to new hardware, and a large mirror leaned or hung above one, with a lamp, a dish for jewellery, and a vase, creates a proper vignette. Keep the dresser top from becoming a catch-all by giving loose items a tray or small box.
Kitchen and Dining Room Ideas
IKEA’s kitchen systems, known as METOD in many regions and SEKTION in North America, are some of the most widely customised products the company makes. Because the cabinet boxes are standardised, there’s an entire industry of independent makers producing doors, panels, and countertops designed to fit them.
Making an IKEA kitchen look custom
Custom-looking IKEA kitchens usually share a few traits. The upper cabinets run all the way to the ceiling, or there’s a clean soffit that meets them, so there’s no dusty gap on top. Cover panels finish the exposed ends of cabinet runs. The toe kick is a consistent material. Handles are chosen with care, often in a finish that also appears elsewhere, like on the tap or light fixtures.
Countertops are another lever. A stone or solid wood top over standard cabinets raises the entire kitchen. Open shelving in solid wood, used sparingly on one wall instead of a row of upper cabinets, lets you display everyday dishes and adds warmth.
Small changes help in rentals where replacing fronts isn’t possible. Swap handles and store the originals to reinstall when moving out, add a runner rug, put a small lamp on the counter corner, and hang a single piece of art. A kitchen with a lamp and a painting feels like part of the home rather than a utility room.
Dining spaces with IKEA tables and chairs
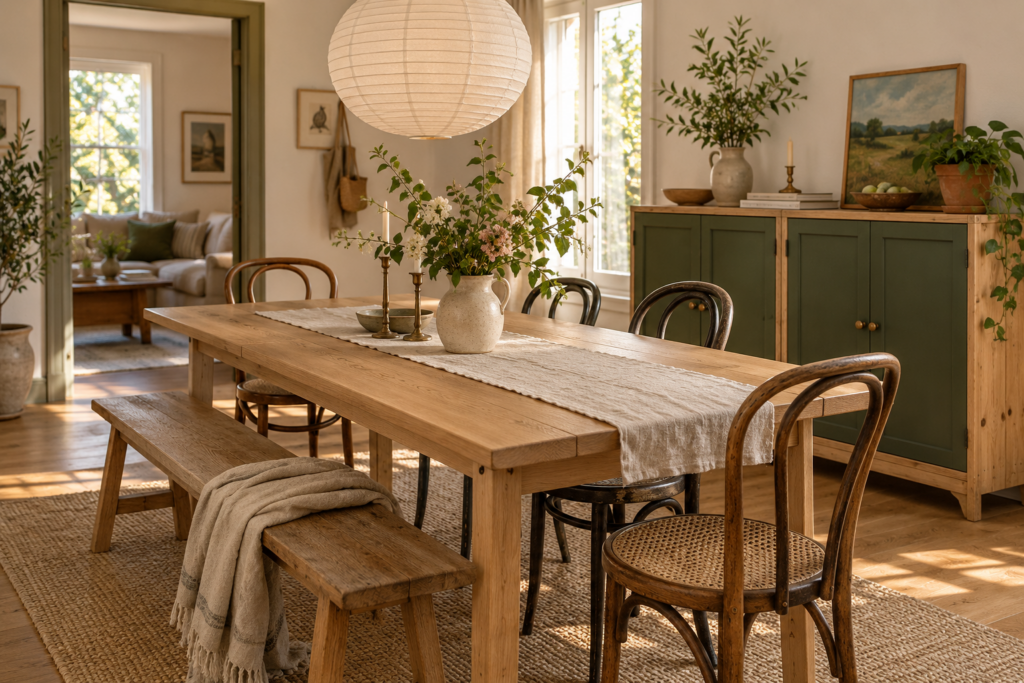
Extendable dining tables are among IKEA’s most useful pieces for smaller homes. To keep a dining area from feeling generic, avoid buying the matching chair set. Pair a simple table with a bench on one side and different chairs on the other, or mix new chairs with a couple of secondhand ones in a similar wood tone.
A pendant light hung low over the table, roughly where it lights the surface without blocking sightlines across it, defines the dining zone even in an open-plan space. Add a runner, a bowl of seasonal fruit or a vase of branches from the garden, and a rug sized so chairs stay on it when pulled out.
Sideboards in dining rooms are a great place for an IVAR cabinet. The solid unfinished pine can be painted, stained, or left natural, and a set of IVAR doors painted a deep green or clay colour makes an eye-catching buffet.
Small Spaces, Studios, and Home Offices
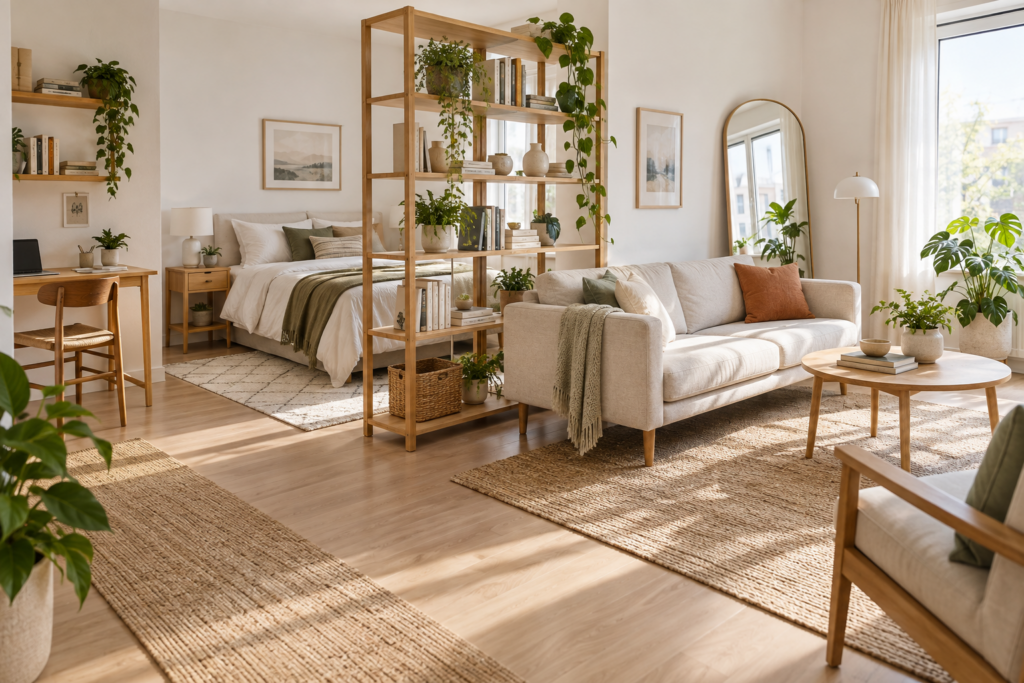
Small homes are where IKEA furniture genuinely shines, because so much of it is designed for flexibility. The challenge is keeping multifunctional pieces from making a studio feel cluttered or temporary.
How do you decorate a small apartment with IKEA furniture without it looking cramped?
Decorate a small apartment by choosing leggy furniture that shows floor underneath, using vertical storage up the walls, and zoning areas with rugs and lighting rather than bulky dividers. Keep the colour palette limited, pick a few larger pieces instead of many small ones, and give every item a clear home.
A few specific tactics:
- Go vertical. Tall, narrow shelving uses wall space that would otherwise go to waste. In a studio, a tall open bookcase placed perpendicular to a wall can separate the sleeping area from the living area while still letting light through.
- Choose pieces with legs. Sofas, dressers, and side tables that sit on legs show more floor, which tricks the eye into reading more space.
- Use rugs to create rooms. A rug under the bed zone and a different rug under the seating area establish two distinct areas without a single wall.
- Reduce visual weight. Glass, open frames, and light woods feel lighter than solid dark blocks. Mirrors across from windows bounce light deeper into the space.
- Keep flat surfaces clear. In a small room, a cluttered surface is visible from everywhere. Closed storage for everyday mess and open storage only for things you like looking at.
Sofa beds and daybeds are useful but look best styled like proper sofas during the day, with bolster cushions and a folded throw rather than bed pillows piled on top.
Setting up a home office in a corner
A home office in a shared room works best when it can visually close at the end of the day. A simple desk on trestle legs with a wall-mounted shelf above keeps the footprint light. Some people use ALEX drawer units as desk bases because they’re deep enough for files and supplies.
For a more discreet setup, a wardrobe or tall cabinet can be converted into a fold-away office: a desktop fixed at the right height inside, shelves above, a power strip mounted to the back, and doors that close over everything. It’s a popular solution in bedrooms and studios where a visible desk would feel like work never ends.
Good task lighting and a comfortable chair matter more than the desk itself. Add a pinboard or a single framed print so the corner feels personal rather than purely functional.
Simple IKEA Hacks That Change the Whole Room
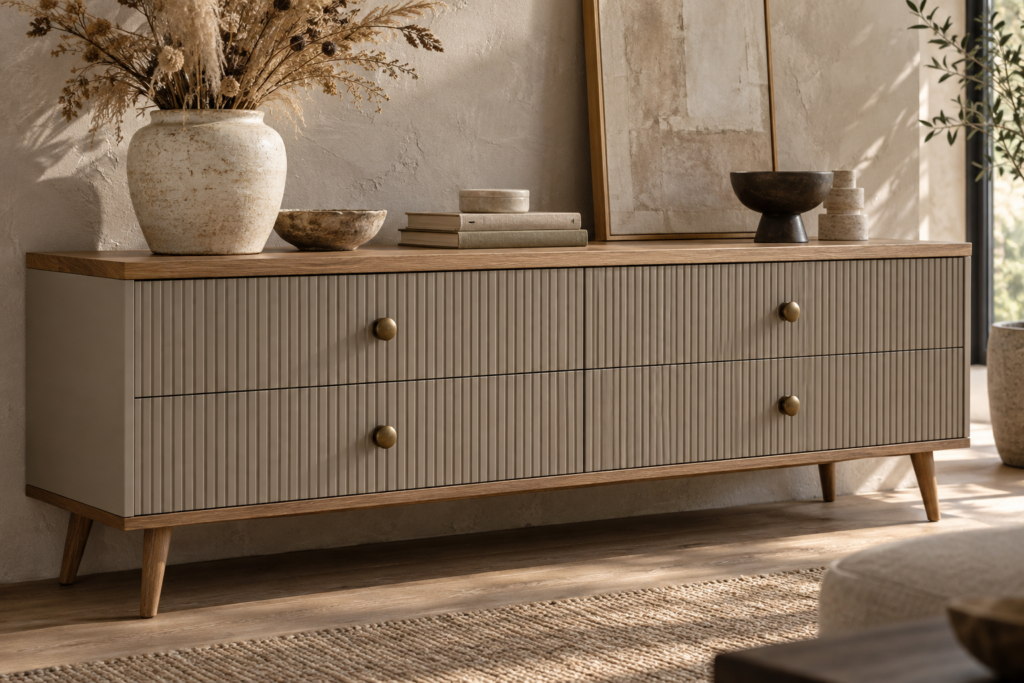
“IKEA hack” can mean anything from swapping a knob to rebuilding a piece into something unrecognisable. The most effective hacks, especially for beginners, are small, reversible, and focused on the parts people notice first.
Swap the hardware
Handles and knobs are the fastest upgrade in any room. Heavier brass, matte black, ceramic, or leather pulls make a basic dresser or cabinet look more considered. Measure the distance between existing screw holes before buying pulls so you don’t need to drill new ones. If you do change sizes, wood filler and touch-up paint can hide old holes on painted pieces.
Change the legs
Replacement legs are available in a range of styles and materials, and many are designed to fit IKEA sofas, cabinets, and dressers directly. Tapered mid-century legs, turned wooden feet, or slim metal legs each shift a piece toward a particular style. This one change works especially well on media cabinets and sofas.
Can you paint IKEA furniture?
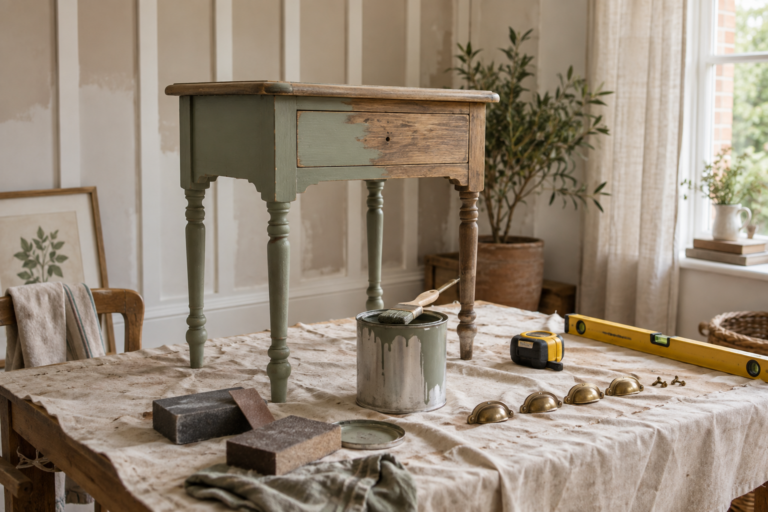
Yes, but the method depends on the material. Solid pine pieces like IVAR and TARVA take paint and stain easily after a light sand. Laminate, foil, and lacquered surfaces need cleaning, a light scuff sand, and a bonding primer made for slick surfaces before painting, or the paint will peel.
For laminate pieces, the steps look like this:
- Remove hardware and clean the surface thoroughly with a degreaser, since everyday handling leaves oils that stop paint from sticking.
- Scuff the surface with fine-grit sandpaper. You’re dulling the shine, not sanding through the finish.
- Wipe off the dust and apply a bonding primer designed for glossy or laminate surfaces. Let it cure fully.
- Apply two or three thin coats of a durable furniture or cabinet paint, sanding very lightly between coats for a smooth finish.
- Allow extra curing time before heavy use. Paint can feel dry within hours but remain soft for days or longer.
Avoid heavy sanding on foil-wrapped pieces, because the thin decorative layer can tear and expose the particleboard underneath.
Add moulding, cane, or fluted details
Thin wood trim glued to flat drawer fronts creates a shaker or panelled look. Rattan cane webbing set into door frames gives a relaxed, natural feel that pairs well with light woods and plants. Half-round dowels glued side by side create a fluted effect that’s very popular on sideboards and nightstands. All of these use inexpensive materials from a hardware store.
Top it with something better
A new top in solid wood, stone remnant, or even a painted and sealed plywood board changes how a dresser, sideboard, or desk reads from across the room. Stone offcuts from local fabricators are sometimes available at a reasonable cost because they’re leftovers from larger kitchen jobs.
Mix IKEA with vintage and handmade pieces
The final and most important hack isn’t a tool job at all. Put an IKEA piece beside something with age and character. A clean white bookcase next to an old leather armchair, an IKEA bed with an antique quilt, a modern dining table surrounded by secondhand bentwood chairs. The contrast makes both look better, and it’s the clearest signal that a room was put together by a person rather than pulled from a catalogue page.
Frequently Asked Questions
How can I make my IKEA furniture look less cheap?
Start with the details people touch and see most often. Replace stock handles and legs, add natural textures like wool, linen, and rattan around the furniture, and use warm layered lighting. Avoid buying full matching sets, and mix each IKEA piece with vintage, handmade, or secondhand items so the room looks collected over time.
Is it okay to mix IKEA furniture with antique or vintage pieces?
Mixing IKEA with antique and vintage furniture is one of the best ways to make a room feel personal. The clean lines of modern flat-pack pieces contrast nicely with aged wood, patina, and traditional shapes. Tie the two together by repeating a colour, wood tone, or metal finish across both so the mix looks intentional.
Which IKEA pieces work best in small apartments?
Pieces with a slim profile, legs, or more than one function tend to work best. Tall narrow shelving, wall-mounted cabinets, extendable dining tables, sofa beds, and beds with drawers underneath all help. Open-frame shelving can also divide a studio into zones without blocking natural light.
Do I need to anchor IKEA furniture to the wall?
Tall and heavy pieces such as bookcases, dressers, and wardrobes should be anchored to the wall using the anti-tip hardware included in the box. Tip-over accidents are a real risk, particularly for young children who climb drawers and shelves. Use fixings suited to your wall type, since drywall, plaster, and masonry each need different anchors.
Can I customise an IKEA kitchen without replacing the cabinets?
Yes. Because IKEA kitchen cabinet boxes follow standard sizes, many independent companies make replacement doors, drawer fronts, and panels that fit them. You can also change handles, add a new countertop, install open shelving, or paint existing fronts using the correct primer for the surface.
How can renters decorate with IKEA furniture without permanent changes?
Focus on reversible updates. Swap handles and keep the originals, use freestanding shelving instead of drilled-in systems where anchoring isn’t allowed, add rugs, curtains, and lamps, and lean large art or mirrors rather than hanging them. Removable adhesive options can handle lightweight decor, and replacement sofa covers or legs travel with you when you move.
Is IKEA furniture durable enough to last for years?
Durability varies by material and how the piece is used. Solid wood items generally hold up to repeated moves and refinishing, while particleboard pieces last well if they stay in place and aren’t overloaded or exposed to moisture. Tightening fittings periodically, using felt pads, and avoiding disassembly and reassembly more than necessary all help pieces last longer.
What’s the easiest IKEA hack for a beginner?
Replacing hardware is the easiest place to start. It needs only a screwdriver, takes minutes, and makes an obvious difference on dressers, cabinets, and sideboards. Changing furniture legs is a close second, since many replacement legs screw straight into the existing mounting points without any drilling.