Garden Edging Ideas and Border Design Tips for Beautiful Beds
You can plant a border with the best perennials money can buy, and it will still look unfinished if the edge is ragged. Grass creeps into the bed, mulch spills onto the lawn, and the line between garden and yard slowly blurs. Then someone cuts a crisp new edge, and the same planting suddenly looks…
You can plant a border with the best perennials money can buy, and it will still look unfinished if the edge is ragged. Grass creeps into the bed, mulch spills onto the lawn, and the line between garden and yard slowly blurs. Then someone cuts a crisp new edge, and the same planting suddenly looks deliberate, tidy, and twice as well cared for.
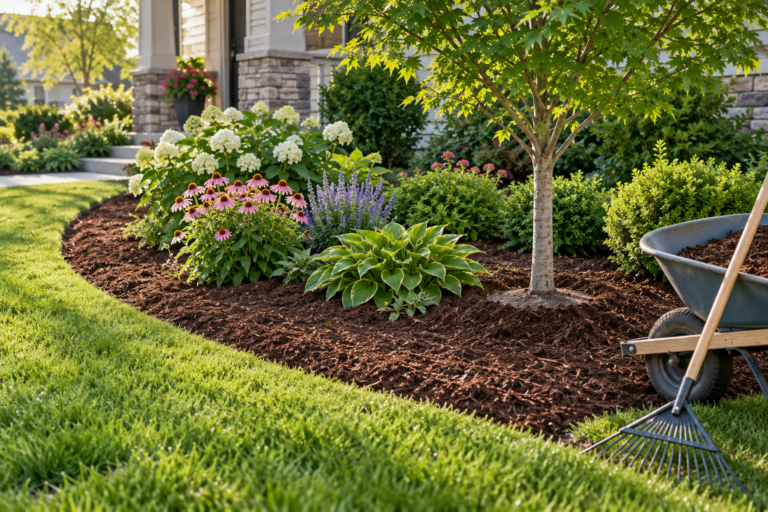
Edging is one of the smallest jobs in garden design with one of the biggest visual payoffs. It frames the planting the way a mat frames a picture, keeps different parts of the garden in their place, and can cut hours off routine maintenance through the season. The border behind it matters just as much: its shape, width, and layering decide whether a bed looks lush and considered or like a row of plants lined up against a fence.
This guide covers both halves of the job. It explains what edging actually does, compares the main materials, shows how to install an edge that stays put, and walks through the design principles behind good borders, including living edges made from plants and ideas suited to different garden styles.
What Garden Edging Does and Why It Matters
Garden edging is the boundary between a planted bed and whatever surrounds it: lawn, gravel, paving, or a path. It can be as simple as a clean-cut trench in the soil or as solid as a line of set stone. Either way, it does several jobs at once.
It defines shape. A clear edge makes the outline of a bed readable from across the garden, which is why well-edged gardens look organized even when the planting inside is loose and informal.
It stops grass spreading. Many lawn grasses spread through underground stems (rhizomes) or surface runners (stolons). Without a barrier, they steadily creep into beds and tangle with perennials.
It keeps materials in place. Edging holds mulch, soil, and gravel where they belong instead of letting them wash or get kicked onto lawns and paths.
It speeds up mowing. A flat edging strip set level with the lawn lets a mower wheel run along it, trimming right to the edge and removing most of the need for string trimming.
It adds structure in winter. When perennials are cut back, a firm edge keeps the garden looking intentional through the quiet months.
It helps to think of edging in two categories. Visual edges, such as a line of low plants or a row of loose stones, define the shape but don’t stop grass. Barrier edges, such as steel strips, mortared brick, or a buried bed liner, physically block roots and runners. Many of the best-looking borders combine both: a barrier set low in the ground, softened by plants spilling over it.
Do You Really Need Garden Edging?
You don’t strictly need edging, but most beds bordering a lawn benefit from it. Without an edge, grass gradually invades the planting, mulch migrates onto the lawn, and the bed’s shape softens and shrinks. Beds surrounded by gravel, paving, or naturalistic planting need edging less, since there’s no lawn to creep in.
If you prefer to skip bought materials entirely, a hand-cut spade edge (covered below) gives a clean line for nothing more than a little time a few times a year.
Choosing an Edging Material
The right material depends on your garden style, budget, how much maintenance you’re willing to do, and whether your beds are straight or curved. Each option has its own character and practical strengths.
Spade-Cut (Natural) Edges
A spade-cut edge, sometimes called an English or trench edge, is simply a vertical cut in the soil between lawn and bed, with a small trench on the bed side. It costs nothing, suits any style from cottage to formal, and works for straight lines and curves alike.
The drawback is maintenance. The edge needs recutting a few times each growing season to stay crisp, and it won’t stop grasses with deep, vigorous rhizomes.
Brick
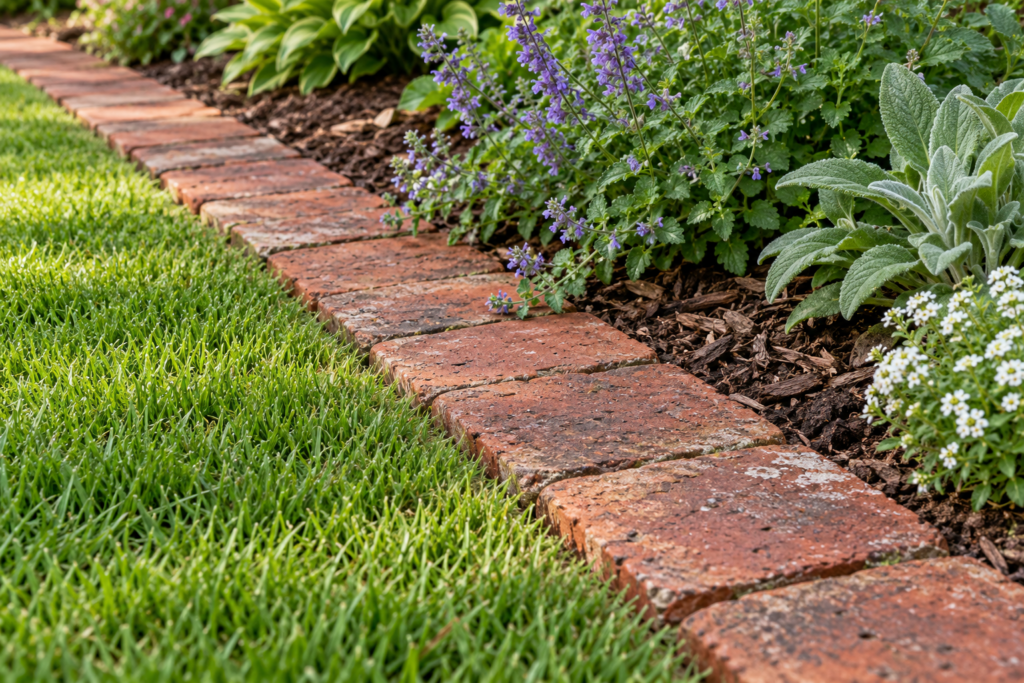
Brick is one of the most versatile edging materials. It suits traditional, cottage, and formal gardens, handles gentle curves when laid in short units, and can be installed in several patterns:
- Laid flat as a mowing strip, set level with the lawn so a mower can run over it. This is one of the most practical edges available.
- Soldier course, with bricks standing on end side by side, which creates a strong vertical line and a slightly raised edge.
- Angled or “dogtooth” edging, with bricks set at 45 degrees so their corners form a sawtooth pattern, a classic Victorian look.
Use frost-resistant paving bricks or engineering bricks rather than ordinary house bricks. Standard bricks can absorb water, and in freezing weather their faces may crack and flake off (a problem called spalling). Reclaimed paving bricks give an instant aged look.
Natural Stone
Stone edging ranges from rough fieldstone and boulders in naturalistic gardens to neatly cut granite setts (cobble-like blocks) in formal and contemporary designs. Flagstone laid flat makes a handsome mowing strip. Stone is extremely durable and blends naturally into planting, though it’s heavy to move and cut stone can be expensive.
Steel and Aluminum
Metal edging creates a thin, crisp, almost invisible line that suits modern and minimalist gardens, and it’s equally effective in traditional beds where you want the plants, not the edge, to be noticed. Most metal edging is installed as a strip buried several inches into the ground with a narrow lip showing above it, which makes it an excellent grass barrier.
- Galvanized or powder-coated steel is strong and long-lasting.
- Weathering steel (often called corten) develops a rich, rusty-orange protective surface layer that looks striking against green foliage and gravel.
- Aluminum is lighter and resists corrosion, though it’s softer and dents more easily.
Metal strips bend smoothly into curves, which makes them one of the best options for flowing bed shapes.
Wood
Timber boards, landscape timbers, sleepers, logs, and woven willow (wattle) all make attractive edges. Wood suits vegetable gardens, cottage gardens, and woodland settings, and it’s easy to cut and install. Rot-resistant woods such as cedar and oak last far longer than softwoods, but all wood eventually decays where it touches soil. Woven willow is especially charming in informal gardens, though it’s more decorative than long-lasting.
Concrete
Concrete edging comes in several forms: precast edging blocks and kerbs, scalloped or decorative units, pavers laid as a mowing strip, and continuous poured concrete curbing formed on site. It’s durable and relatively affordable, and poured curbing handles curves well. Precast decorative shapes can look dated in some settings, so choose simple profiles when in doubt.
Plastic, Rubber, and Composite
Flexible plastic and rubber edging rolls and “no-dig” edging strips are inexpensive and easy to install. They work as grass barriers when buried deep enough but tend to heave out of the ground over winter, and the exposed rolled top can look cheap. Composite and recycled plastic boards are sturdier options that resist rot.
Reclaimed and Decorative Edges
Old roof tiles set on edge, Victorian-style rope-top terracotta tiles, upturned bottles pushed neck-down into the soil, split logs, and salvaged stone all create characterful, budget-friendly edges. They work best in cottage and informal gardens.
What Is the Most Low-Maintenance Garden Edging?
The most low-maintenance garden edging is a flat mowing strip of brick, stone, or pavers set level with the lawn, or a steel edging strip buried at least 4 inches (10 cm) deep. Both stop grass spreading into beds and let a mower cut right to the edge, which removes most of the need for hand trimming.
A mowing strip about 6–12 inches (15–30 cm) wide also gives low plants at the front of the border room to spill over without being chopped by the mower, which keeps the border looking soft while the lawn stays neat.
How to Install Garden Edging That Lasts
Most edging problems, such as leaning bricks, heaving plastic, and grass sneaking underneath, come from rushed installation. A little extra care at the start keeps an edge straight and effective for years.
Mark the Line
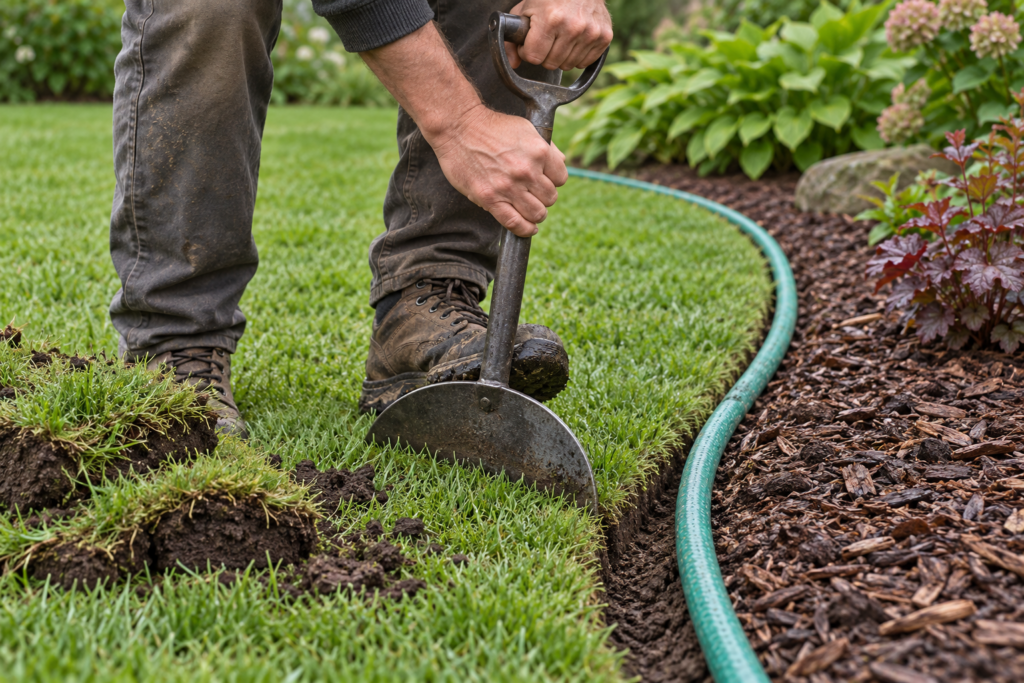
For curves, lay a garden hose on the ground and adjust it until the shape looks right from several angles, including from inside the house if the bed is visible from a window. For straight edges, use wooden stakes and a tight string line. Mark the line with sand or marking spray before you remove the hose or string.
Aim for broad, generous curves rather than tight wiggles. Gentle curves look more natural, are easier to mow along, and work better with most edging materials.
Cut the Edge
A half-moon edging iron (a flat, crescent-shaped blade on a long handle) makes the cleanest vertical cut. A sharp, flat spade also works. Stand on the lawn side, push the tool straight down along the marked line, and work along in overlapping cuts. Then remove the turf and soil from the bed side to create a small trench.
How Deep Should Garden Edging Be?
To stop grass from spreading into beds, garden edging should extend at least 4–6 inches (10–15 cm) below the soil surface. Most lawn grasses spread their underground stems within this zone. Purely decorative edges can be shallower, but they won’t block runners, and grass will creep underneath them.
Some very aggressive grasses spread deeper, so for beds bordering these, a deeper barrier gives better protection. Above the ground, most edges need only about 1 inch (2.5 cm) showing to hold mulch in place and define the line.
Installing Different Types of Edging
Spade-cut edge. After the vertical cut, slope the bed side of the trench gently back into the border so it forms a small V shape. The trench, about 3–4 inches (8–10 cm) deep, creates a gap that grass runners struggle to cross. Recut two to four times a season, trimming away any grass leaning over the edge with long-handled edging shears.
Brick or stone mowing strip. Dig a trench slightly wider than the bricks and deep enough for a base layer plus the brick. Add about 2–4 inches (5–10 cm) of compacted crushed stone or gravel, then a bed of sand or mortar, and set each unit so its top sits level with or just below the lawn surface. For a permanent result, set bricks on mortar and add a sloping “haunch” of concrete along the back side to hold them firm. Check level constantly with a spirit level and a straight board.
Soldier course brick. Dig deeper so about two-thirds of each brick sits below ground. Set on a mortar bed, tap into line with a rubber mallet, and back-fill firmly.
Steel or aluminum. Cut a narrow slot along the line, set the edging so about 1 inch shows above ground, and drive in the stakes provided at regular intervals. Join sections with the manufacturer’s connectors so the line stays continuous. Back-fill and firm the soil on both sides.
Timber. Secure boards with wooden or metal stakes driven firmly into the ground on the bed side, spaced about every 3 feet (90 cm). For raised timber edges, a layer of gravel beneath the boards improves drainage and slows rot.
Keeping Edges Looking Sharp
Check edges each spring, as frost can lift bricks and plastic strips out of line. Re-level any units that have moved, top up mulch so it sits just below the top of the edge, and pull out grass runners that have crept close. For spade-cut edges, a quick recut in spring and again in midsummer usually keeps them tidy.
Border Design Principles That Make Edging Shine
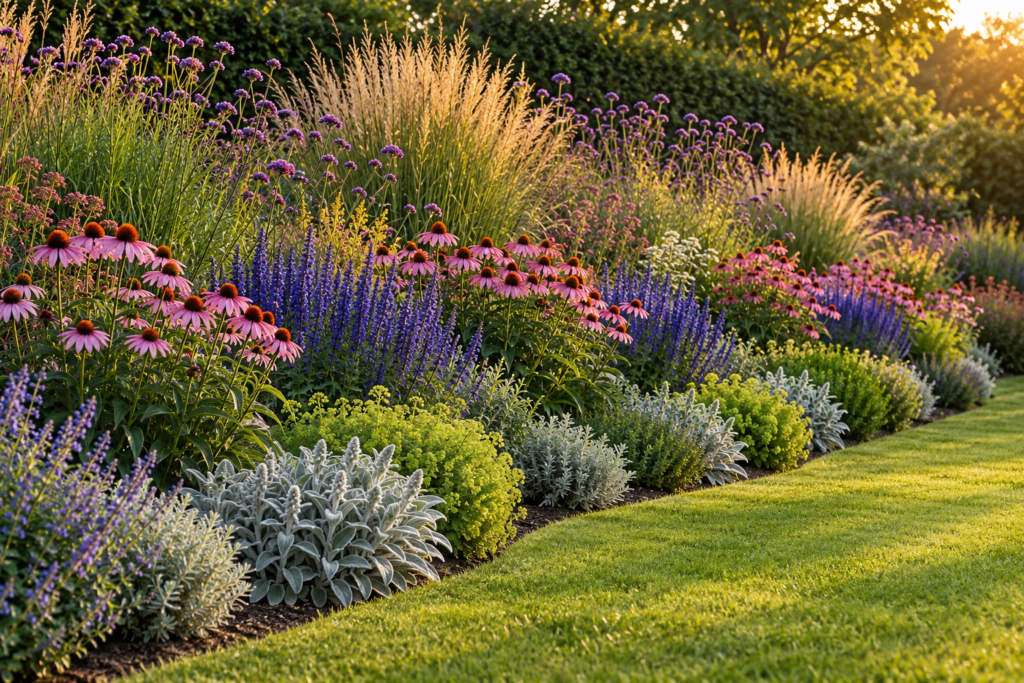
A crisp edge draws the eye straight to the planting behind it, so the border itself needs to be designed well. A few principles make the difference between a bed that looks planned and one that looks like a collection of plants.
Shape and Proportion
Straight lines and geometric shapes feel formal and contemporary, while curves feel relaxed and natural. Whichever you choose, keep shapes simple and bold. A single sweeping curve looks more deliberate than a bed that wanders in and out.
Proportion matters too. A border that looks right beside a small patio will look thin and mean along a large lawn. Many garden designers suggest a border depth of at least 4–5 feet (1.2–1.5 m) to create layered planting, with 6–8 feet (1.8–2.4 m) or more giving room for a full, rich display. Narrow beds of 2 feet (60 cm) or less can hold only a single row of plants and often look sparse.
Layer by Height
The classic arrangement places taller plants at the back of a border, medium-height plants in the middle, and low plants at the front along the edge. For island beds viewed from all sides, put the tallest plants in the center and step down toward the edges.
Don’t make the layers too rigid. Allowing a few taller, airy plants, such as verbena bonariensis or ornamental grasses, to drift toward the front adds depth and movement, since you see through them to the planting behind.
Repetition and Rhythm
Repeating the same plant or color at intervals along a border gives it rhythm and makes the whole bed feel unified. Plant perennials in groups of three, five, or seven rather than singly; odd-numbered groups look more natural than pairs or rows. Along a long border, repeating a few key plants every few feet ties the entire length together.
Color and Texture
Limiting the palette to a few harmonious colors, such as blues, purples, and silvers, or hot reds, oranges, and yellows, usually looks more polished than a mix of every color. Texture matters as much as color: combine fine, grassy foliage with broad leaves and spiky flowers with rounded ones for contrast that holds interest even when little is in bloom.
Seasonal Succession
A border that peaks for two weeks in June and looks tired for the rest of the year disappoints. Plan for something to be happening in every season: spring bulbs, early-summer perennials, late-summer flowers, autumn grasses and seed heads, and evergreen shrubs or structural plants for winter.
Backdrop
A border looks best with a backdrop. A hedge, fence, or wall behind the planting shows off flowers and foliage, gives the bed a sense of enclosure, and hides whatever lies beyond. Dark green hedges make particularly good backgrounds, since most flower colors stand out clearly against them.
Living Edges and Plant Borders
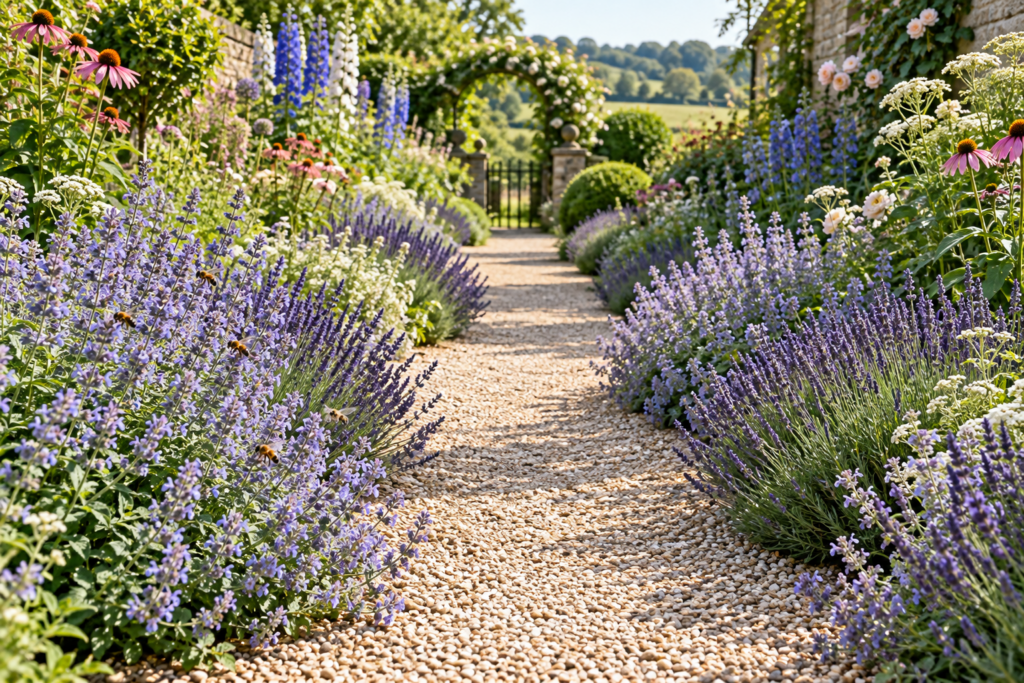
Plants themselves can form some of the most attractive garden edges. A living edge softens hard lines, blurs the boundary between lawn or path and bed, and adds scent, color, and texture right where people walk.
Low Hedges
Low clipped hedges give formal gardens a crisp, green outline, and they’re a traditional edge for parterres, herb gardens, and kitchen gardens. Boxwood has long been the classic choice, but box blight and box tree moth have caused serious damage in many areas, so many gardeners now choose alternatives such as Japanese holly (Ilex crenata), dwarf yew, and wall germander. For a more relaxed look, lavender makes a fragrant, informal low hedge in sunny, well-drained spots.
What Are the Best Plants for Edging a Border?
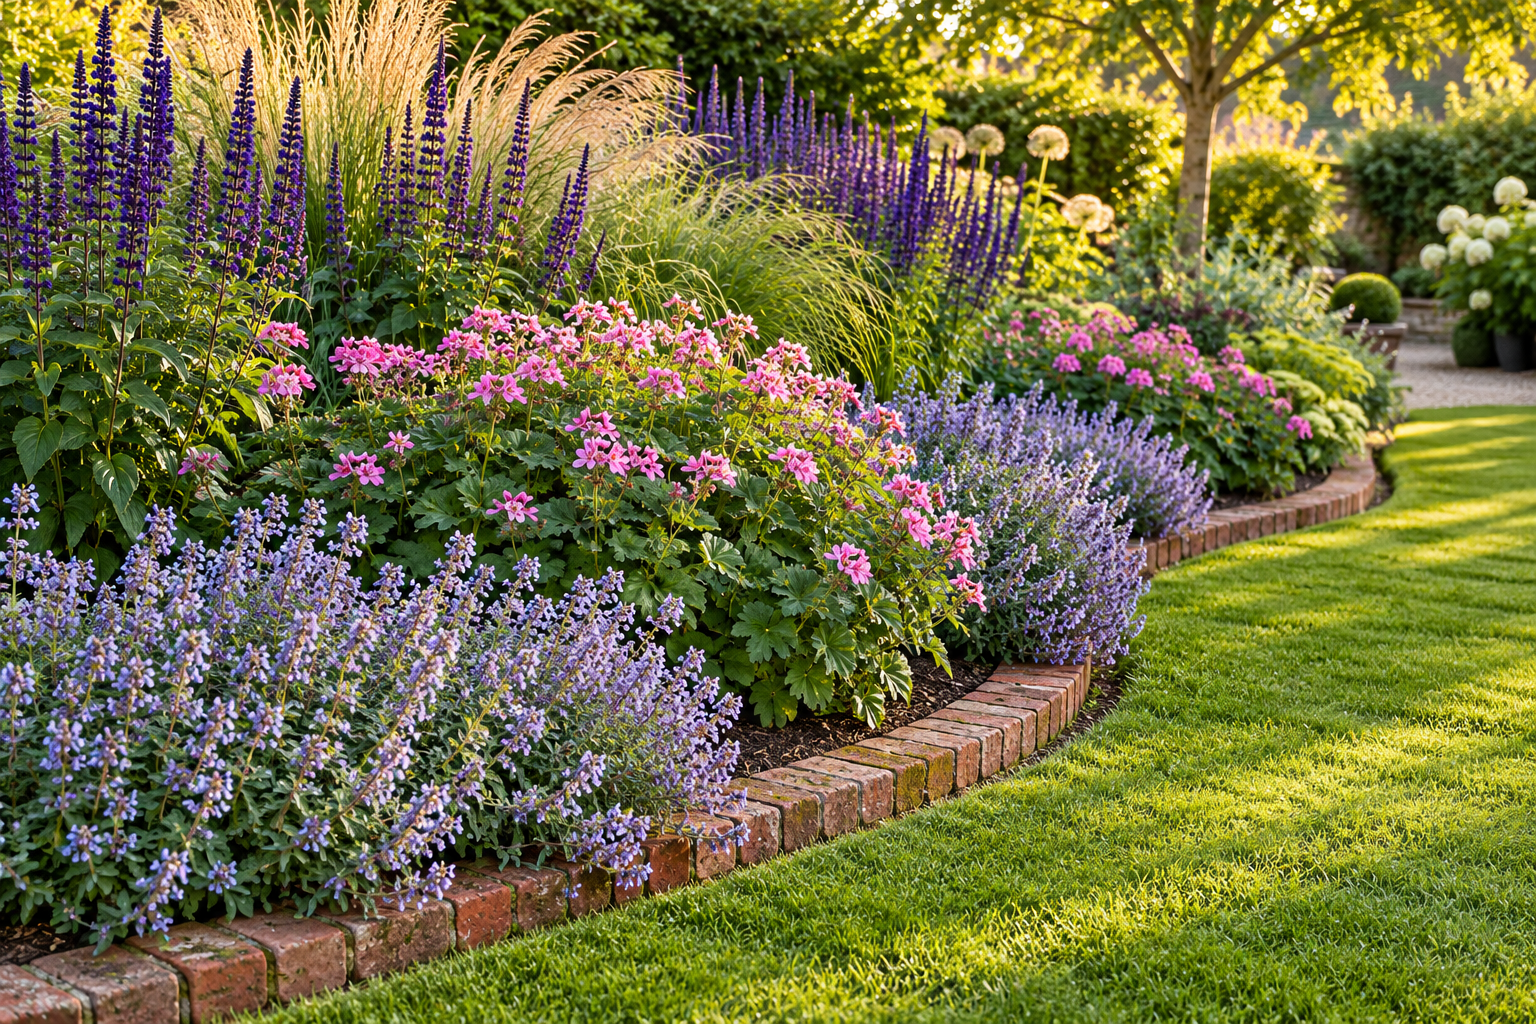
The best plants for edging a border are low, mounding, and long-flowering or long-lasting in foliage. In sun, catmint, lady’s mantle, hardy geraniums, lavender, thyme, dianthus, and low sedums work well. In shade, heuchera, hostas, Japanese forest grass, and liriope make excellent edges. They soften hard edging and hide bare soil at the front of the bed.
Plants that spill slightly over a mowing strip or path edge, such as catmint, lady’s mantle, and hardy geraniums, are especially effective, since they create a relaxed, abundant look while the hard edge underneath keeps the lawn neat.
Ornamental Grasses
Low grasses such as blue fescue, with its fine, blue-gray tufts, or the cascading mounds of Japanese forest grass, make beautiful repeating edges. Planted at regular intervals, they give a border a contemporary rhythm.
Annual Edges
Annuals such as sweet alyssum, marigolds, lobelia, and begonias give a bright, seasonal edge, useful for filling gaps while perennials establish or for changing the look each year.
Edible Edges
In kitchen gardens and vegetable beds, edible plants make practical edges. Chives, parsley, thyme, strawberries, and compact lettuces all work well, keeping the bed productive right to its borders. Marigolds and nasturtiums add color and attract beneficial insects.
Edging Ideas by Garden Style and Situation
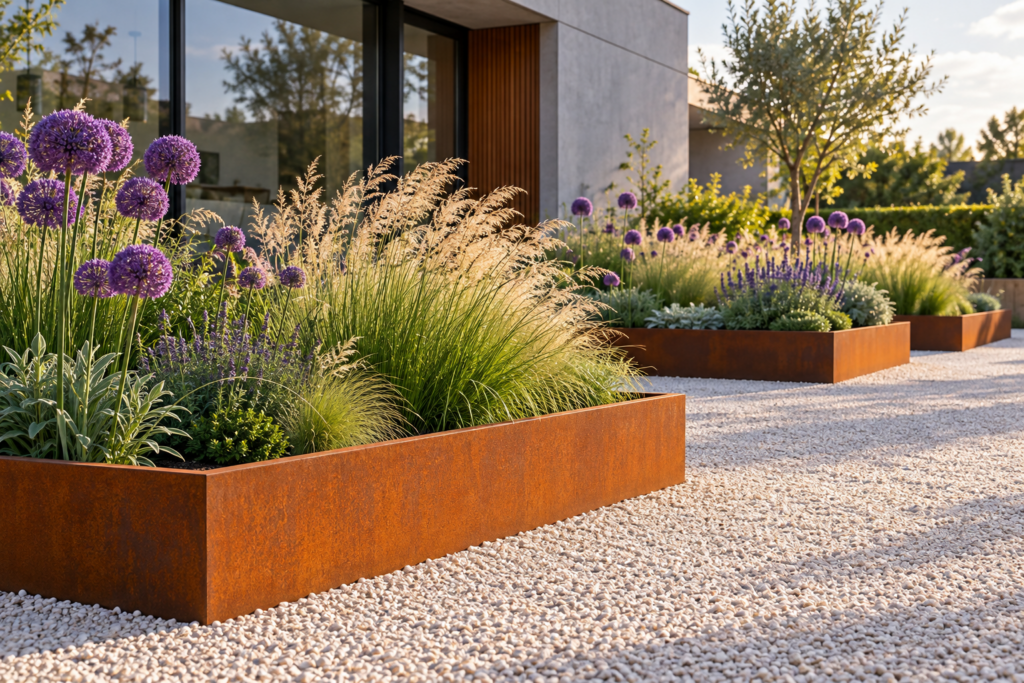
The best edging suits the style of the house and garden around it. A material that looks perfect in one setting can feel out of place in another.
Cottage Gardens
Cottage gardens suit soft, traditional edges: reclaimed brick, woven willow, rope-top tiles, or a simple spade-cut edge, with abundant plants tumbling over. Catmint, lady’s mantle, and hardy geraniums spilling onto a brick path capture the look perfectly.
Modern and Contemporary Gardens
Crisp steel, weathering steel, smooth concrete, and clean-cut stone suit modern designs. Pair straight, strong lines with bold, simple planting, such as blocks of ornamental grasses or a single repeated perennial. Edges set flush with gravel or paving create a sleek, uninterrupted look.
Formal Gardens
Formal gardens rely on symmetry and clean geometry. Low clipped hedges, stone setts, and brick laid in straight lines reinforce the structure. Keep edges precise and consistent, since any wobble stands out in a formal layout.
Naturalistic and Woodland Gardens
In informal and woodland settings, edges should be subtle. Logs, fieldstones, and boulders placed along the edge of a bed, or simply a clean spade-cut line softened with groundcovers, suit the relaxed style. Paths of bark mulch or gravel with a soft edge of ferns and hostas feel natural.
Vegetable Gardens
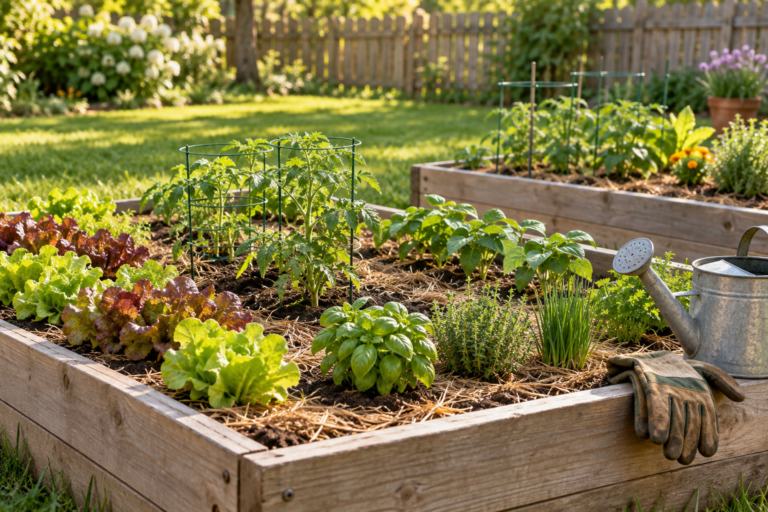
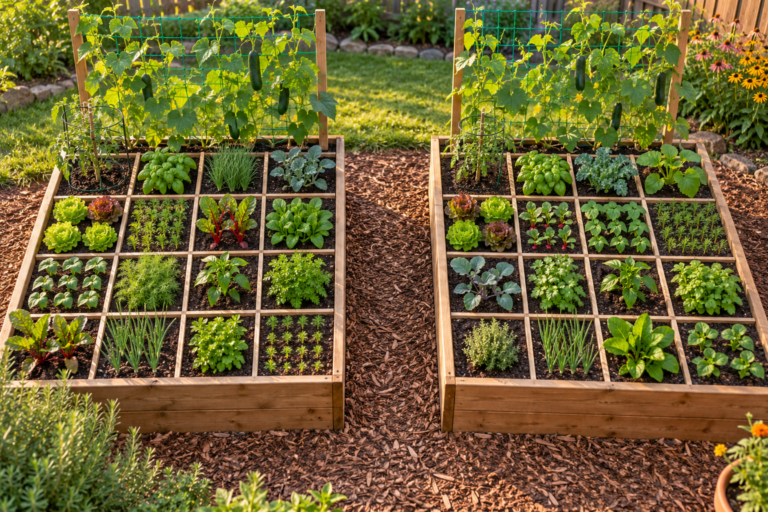
Timber boards, raised bed frames, or brick edges keep kitchen gardens tidy and make paths easy to maintain. Gravel or wood chip paths edged with boards stay clean and weed-free and let you access beds in wet weather.
Slopes and Changes in Level
On slopes, edging often doubles as a small retaining wall. Stone, sleepers, or timber boards set into the slope hold soil in place, prevent erosion, and create terraced beds. Low walls higher than about 2 feet (60 cm) should be built with proper foundations and drainage, or by a professional, as the soil behind them exerts significant pressure.
Paths and Driveways
Edges along paths and driveways keep gravel from spreading into beds and lawns. Brick, stone, steel, and concrete edge restraints hold path materials firmly in place. For gravel paths, set the edge slightly higher than the gravel surface to keep stones from migrating.
Common Garden Edging Mistakes
Setting edges too high above the lawn. A raised edge blocks the mower, leaving a strip of grass that needs trimming by hand. Mowing strips should sit level with the lawn.
Burying edging too shallowly. Shallow edging looks fine for a season, then heaves in frost and lets grass creep underneath.
Choosing tight, fussy curves. Wiggly lines are harder to mow, harder to edge, and look less natural than broad curves.
Using materials that clash with the house. Edging that echoes the house materials, such as matching brick, ties the garden to the building. Too many different materials make a garden look busy.
Forgetting mulch depth. Mulch piled above the top of an edge spills over. Keep it just below the edge.
Using ordinary house bricks. Standard bricks can crack and flake in frost. Choose frost-resistant paving or engineering bricks.
A good edge is one of those details visitors notice without quite realizing why. Put the effort into installing it well, then let the plants behind it do the rest.
Frequently Asked Questions
What is the cheapest garden edging?
A spade-cut edge is the cheapest option, since it requires only a spade or edging iron and a little time. Materials already on hand, such as stones cleared from the garden, logs from pruned trees, or reclaimed bricks, also cost little or nothing. Among bought products, flexible plastic edging and simple timber boards are usually the least expensive.
What is the best edging for curved garden beds?
Steel and aluminum strips are among the best choices for curved beds, since they bend smoothly into flowing shapes. Bricks and small stone setts laid in short units also handle gentle curves well, as does poured concrete curbing. Flexible plastic works but can kink. Rigid timber boards and long concrete kerbs suit straight lines better than curves.
Is metal garden edging safe for children and pets?
Metal edging can have thin, sharp top edges, so choose products with a rolled or rounded top, or with protective caps, in gardens where children and pets play. Install it so only about an inch sits above the soil, and make sure the joins between sections are secure and smooth. Setting it flush with gravel or lawn reduces the risk further.
Does weathering steel edging stain paving?
Yes, weathering steel releases rusty runoff while its protective surface layer is forming, which can stain nearby paving, stone, and gravel for the first months after installation. The effect lessens as the surface stabilizes. To reduce staining, install it where runoff drains into soil or planted areas rather than onto light-colored paving.
How do you edge around trees?
Create a circular bed or mulch ring around the tree, marking a smooth circle that extends at least a few feet from the trunk. Avoid cutting deep trenches or installing deep edging, since this can damage the tree’s shallow roots. Use a shallow visual edge such as stones laid on the surface, and keep mulch at 2–3 inches (5–8 cm) deep, pulled back from the trunk.
How do you keep mulch from washing out of garden beds?
Install an edge that sits about 1–2 inches (2.5–5 cm) above the soil level of the bed, and keep the mulch surface just below the top of the edge. Coarse, shredded mulches knit together and resist washing away better than fine or loose ones. On slopes, a slightly raised edge on the downhill side and denser planting help hold mulch in place.
When is the best time to install garden edging?
Spring and autumn are the best times to install garden edging, since the soil is usually moist enough to dig easily but not waterlogged or frozen. Cutting turf and setting edging in dry, baked summer soil is much harder, and frozen ground makes installation impossible. Installing edging before spring planting also avoids disturbing new plants later.
Keep Learning
For more beginner help, see How to Start a Garden: The Complete Beginner’s Guide, How to Start a Vegetable Garden: Step-by-Step Guide for Beginners, and Straw Bale Gardening: A Beginner’s Guide to Growing in Bales.