How to Start a Garden: The Complete Beginner’s Guide
The first garden most people plant is too big, in the wrong spot, and full of things they do not eat. Mine had forty square metres of ambition, six tomato plants that all ripened the same week, a row of parsnips I never harvested, and a watering regime that lasted until the second week of…
The first garden most people plant is too big, in the wrong spot, and full of things they do not eat. Mine had forty square metres of ambition, six tomato plants that all ripened the same week, a row of parsnips I never harvested, and a watering regime that lasted until the second week of July.
Nothing about that is unusual. Gardening looks simple from outside because the failures are invisible. What you see is a photograph of a bed in June, not the seedlings that damped off in April or the courgettes that went unpicked and turned into marrows the size of a forearm.
The genuinely useful thing to know at the start is that a garden is mostly a series of small, specific decisions made in the right order. Where the sun falls. What the soil is like. How big a space you can actually keep up with. What to plant that will forgive you. Get those four right and the rest is maintenance and enthusiasm. Get them wrong and no amount of effort later will rescue the season.
This walks through the whole sequence, from reading your site through to the first harvest, with the numbers and timings that actually matter.
Related: Want to grow food specifically? Follow our step-by-step guide to starting a vegetable garden.
Read Your Site Before You Buy Anything
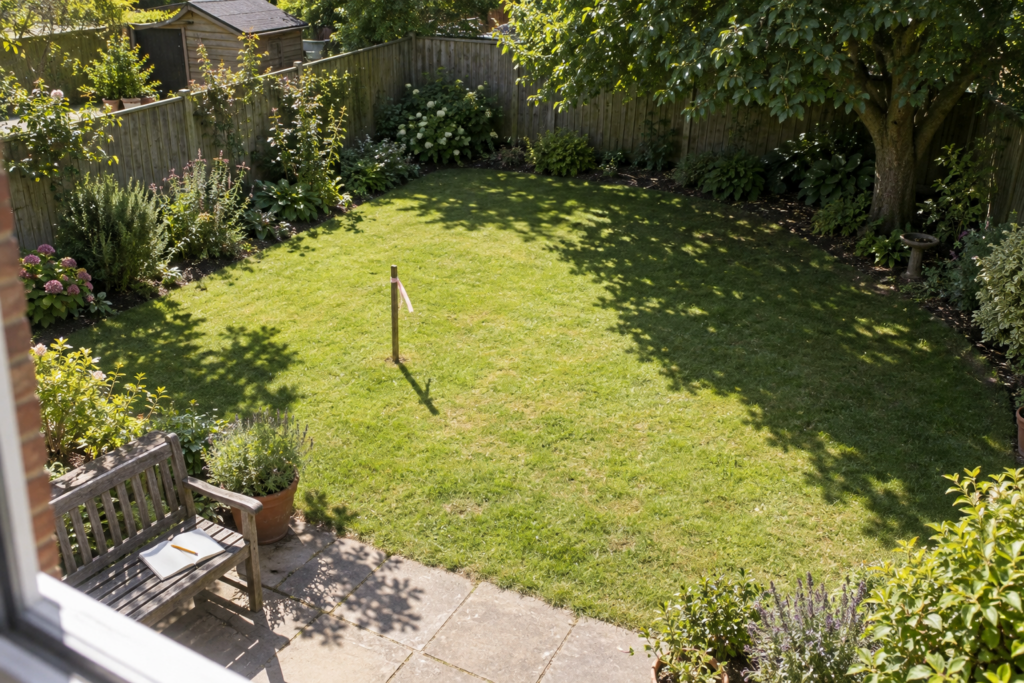
Spend one full day watching where the sun falls before you spend any money. Most vegetables need six or more hours of direct sun daily, and the single most common reason a first garden underperforms is that it was placed where it looked convenient rather than where the light was.
The method is simple and worth the patience. Pick a clear day, ideally in late spring or summer when the sun is high and the trees are in leaf, and check the space at 8am, 10am, midday, 2pm, 4pm and 6pm. Note which parts are in full sun at each check. Add the hours up for each area. Take photographs if you are likely to forget.
What you are sorting the space into:
Full sun, six or more hours of direct light. This is the prime ground and it goes to fruiting crops: tomatoes, peppers, courgettes, beans, cucumbers, squash, aubergines, most herbs.
Partial sun or partial shade, roughly three to six hours. Perfectly usable. Leafy greens, lettuce, spinach, chard, kale, rocket, and root crops like radishes, beetroot and carrots all crop acceptably here, and leafy greens often prefer it in hot weather because they bolt less.
Full shade, under three hours. Difficult for edibles. Some herbs including mint, parsley and chives will manage, and this is better used for shade-tolerant ornamentals, a seating area or storage than fought over.
Light is not the only site factor. Water access matters enormously in practice, because a garden more than a hose length from a tap will be watered less often, whatever your intentions. Wind exposure matters, since a windy site dries soil fast and knocks over tall crops, and a fence, hedge or temporary windbreak makes a real difference. Drainage matters: after heavy rain, if water sits on the surface for hours, that ground will rot roots and needs raised beds or a different spot. And proximity to the house matters more than anyone expects, because a garden you walk past daily gets tended and one at the bottom of the plot does not.
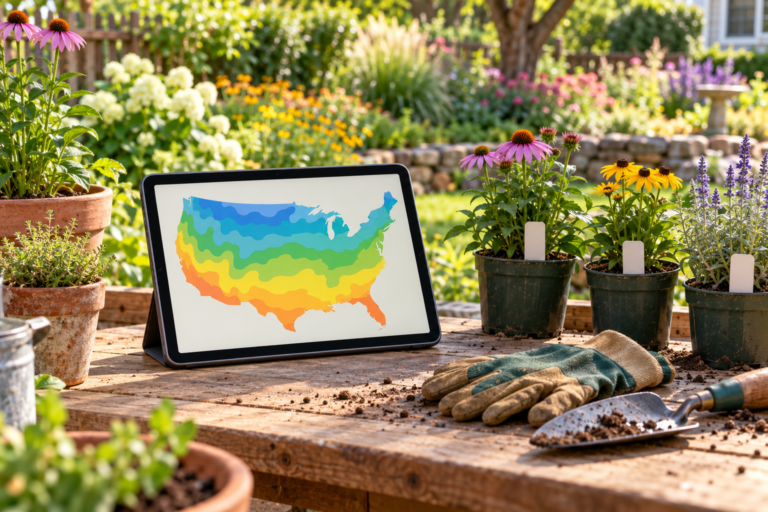
Then there is your climate, which sets everything. Find out your last expected spring frost date and your first expected autumn frost date, since those two dates bracket your entire growing season and determine when everything goes in the ground. Local gardening groups, allotment associations and regional extension or advisory services all publish these, and they vary considerably even across short distances.
How much space do I actually need to start a garden?
Far less than most beginners assume, and starting small is the strongest predictor of sticking with it. A single raised bed of roughly 1.2m by 2.4m, or four to six large containers, will produce a meaningful amount of food and takes perhaps twenty to thirty minutes of attention a week in the growing season.
The reasoning is about maintenance, not yield. Weeding, watering, staking, pest-checking and harvesting all scale with area, and a large first garden usually becomes an overwhelming one by midsummer, at which point it gets abandoned and the whole thing feels like failure. A small bed kept well produces more food than a large bed kept badly, and it teaches you the same lessons at a fraction of the cost.
If you have a balcony, a doorstep or a windowsill, that is still a garden. A few large pots of herbs, salad leaves and a determinate tomato will produce genuinely useful amounts and teach you watering, feeding and timing, which are the skills that transfer to everything else.
Understand Your Soil, Because Everything Depends On It
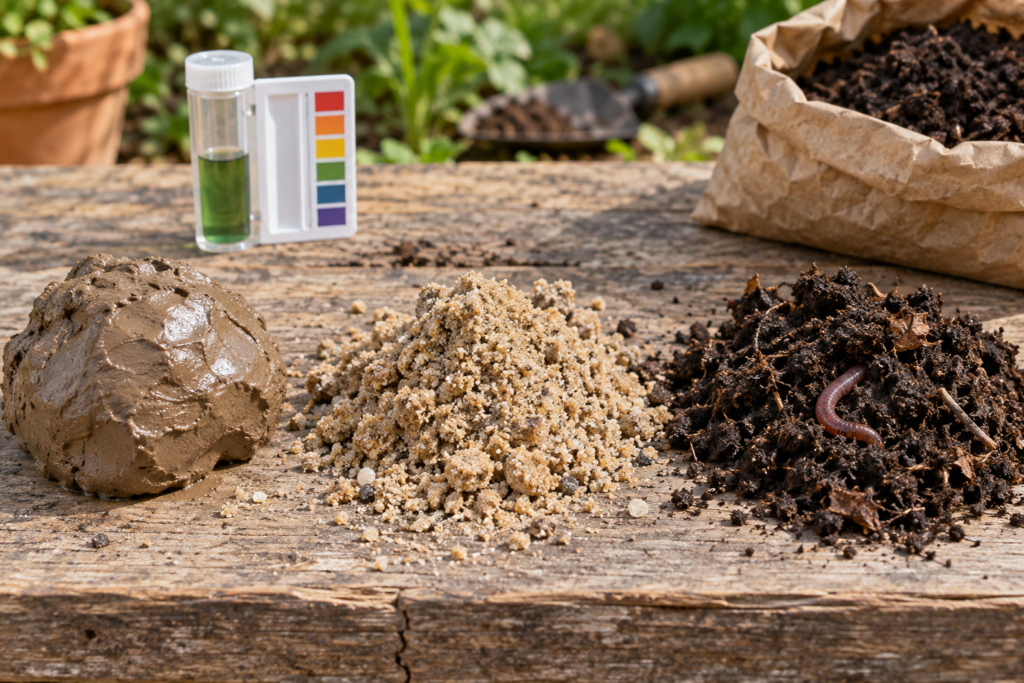
Soil is the single biggest determinant of how a garden performs, and the fastest way to learn yours is to pick up a handful of moist soil and squeeze it. If it forms a sticky ball that holds its shape and feels slick, you have clay. If it crumbles apart immediately and feels gritty, you have sand. If it holds together loosely and feels slightly silky, you have loam, which is the good stuff.
Each behaves differently and each has a straightforward fix.
Clay soil holds water and nutrients well but drains slowly, compacts easily and warms up late in spring. It is heavy to work and cracks when dry. The fix is organic matter, applied repeatedly rather than once. Do not dig sand into clay, which makes matters worse.
Sandy soil drains fast, warms early and is easy to work, but it loses water and nutrients quickly. The fix, again, is organic matter, which improves its ability to hold both.
Loam is the balance of sand, silt and clay that most gardeners are trying to create. If you have it, maintain it with annual compost and avoid compacting it.
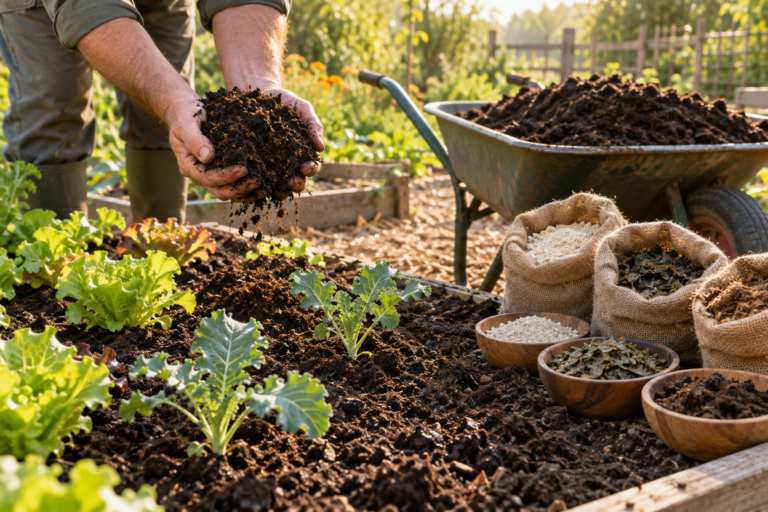
The answer to almost every soil problem is compost and other organic matter. Well-rotted manure, garden compost, leaf mould, spent mushroom compost. Spread 5 to 8cm across the surface annually and let worms work it in, which is less effort and less damaging to soil structure than digging it through.
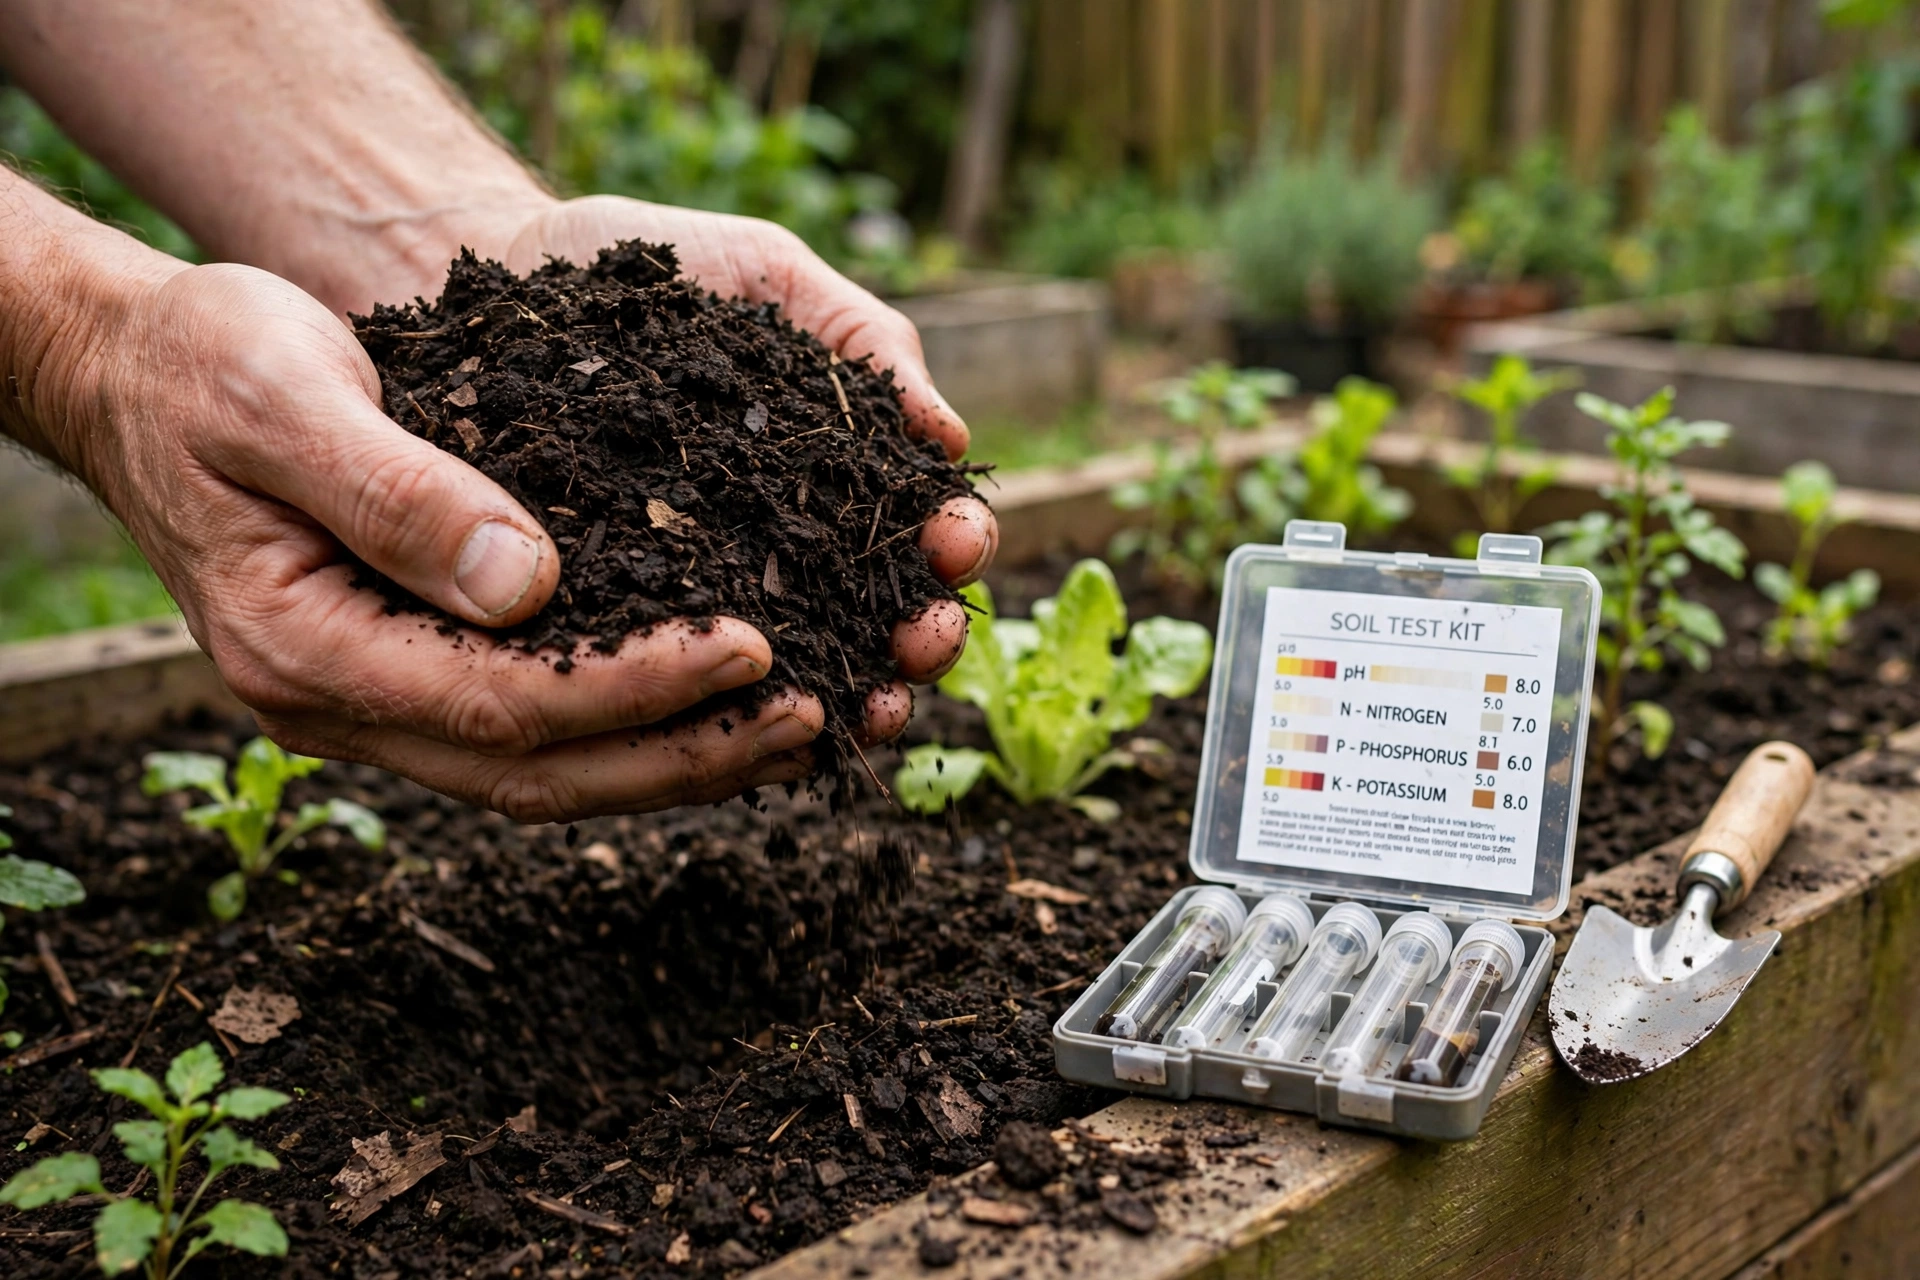
Soil pH is worth testing once, with an inexpensive kit. Most vegetables prefer a pH between roughly 6.0 and 7.0, slightly acidic to neutral. If your soil sits well outside that, growth will be poor no matter how well you feed it, because the nutrients are present but locked up and unavailable. Garden lime raises pH over time; sulphur or heavy organic matter lowers it. Both work slowly, over months, so this is an autumn job for the following spring.
A basic soil test kit will also give you a rough reading on nitrogen, phosphorus and potassium. Broadly, nitrogen drives leaf growth, phosphorus supports roots and flowering, and potassium supports fruiting and overall hardiness. You do not need to understand this deeply to start, but it explains why a leafy-green feed and a tomato feed are different products.
One thing worth checking before growing food in ground soil: if the site is close to an old building, a former industrial area or a road that carried leaded traffic, a contamination test is a reasonable precaution, and raised beds with imported soil sidestep the question entirely.
Choose Your Growing Method: Beds, Containers or Ground
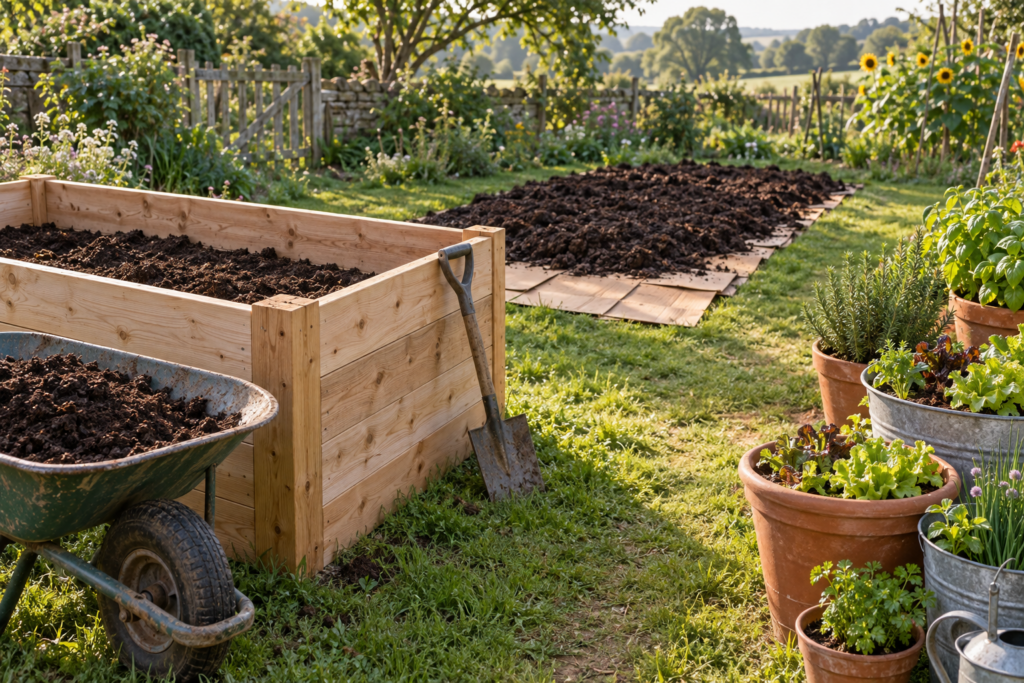
Three approaches suit beginners, and the right one depends mostly on your soil and your budget rather than on preference.
In-ground beds are the cheapest and require the least setup. Mark out the bed, remove grass and weeds, spread a thick layer of compost, and plant. The drawbacks are that you are stuck with the soil you have, drainage is whatever the site gives you, and weeds arrive from the surrounding ground continuously. This is the right choice if your existing soil is decent and your budget is small.
A useful low-effort method for clearing grass is sheet mulching, sometimes called the no-dig or lasagne approach. Lay plain cardboard with the tape removed directly over the grass, wet it thoroughly, then pile 10 to 15cm of compost on top. Plant straight into the compost. The grass dies underneath and the cardboard breaks down over a season. This is far easier than digging turf and better for soil structure.
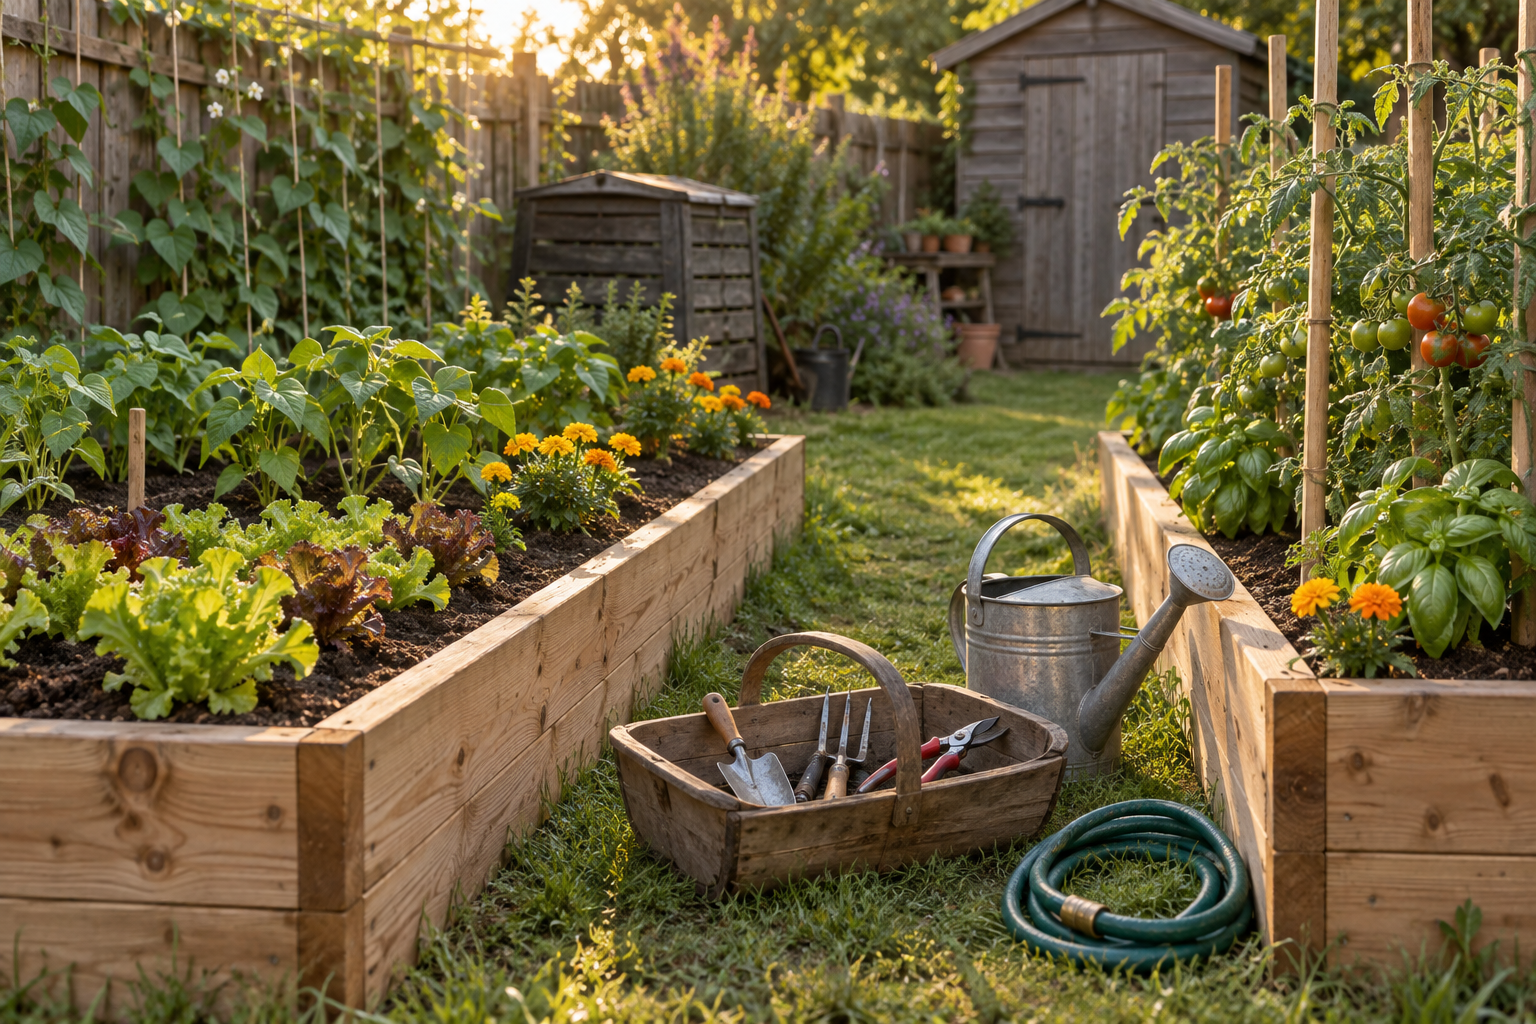
Raised beds are the best all-round option for a first garden and are worth the cost if you can manage it. They give you complete control of the soil, drain well, warm up earlier in spring, define the space clearly and are easier on the back.
The practical specifications:
- Width no more than 1.2m if accessible from both sides, or 60 to 75cm if against a wall, so you can reach the centre without stepping on the soil.
- Length whatever suits the space; 2.4m is a common and manageable size.
- Depth of 25 to 30cm is enough for most crops, and 40cm or more suits carrots, parsnips and other long roots.
- Paths between beds of at least 45cm, and 60cm if you want a wheelbarrow through.
- Materials: untreated cedar or larch lasts well and is safe; standard treated timber used in modern construction is generally considered safe for vegetable beds, though untreated hardwood, composite boards, galvanised steel or brick avoid the question altogether. Old railway sleepers treated with creosote should not be used for food crops.
For filling, a mix of roughly 60 percent topsoil, 30 percent compost and 10 percent drainage material such as coarse grit works well. Buying soil in bulk is far cheaper than in bags for anything larger than a single small bed.
Containers suit balconies, patios, rented homes and anyone testing whether they like gardening before committing. The critical rules are size and drainage. Containers need to be bigger than beginners expect: a 30cm pot minimum for most crops, and 40 to 50cm for tomatoes, peppers and courgettes. Every container needs drainage holes, without exception, and a saucer that holds standing water will drown roots.
Use potting compost rather than garden soil in containers, since garden soil compacts into a solid block when confined. Expect to water containers far more often than beds, daily in hot weather and sometimes twice, and expect to feed them, since nutrients wash out with every watering.
Should I build raised beds or plant directly in the ground?
Choose raised beds if your existing soil is heavy clay, very sandy, rocky, poorly drained or potentially contaminated, if you struggle with bending, or if you want the garden to look tidy and defined from day one. Choose in-ground planting if your soil is reasonable, your budget is tight, or you are gardening a larger area where the cost of beds becomes prohibitive.
The honest comparison: raised beds cost money upfront but give better results faster, especially in the first two years, because you are planting into good soil immediately rather than building it. In-ground beds cost almost nothing and catch up over several seasons of adding compost. Neither is wrong, and many gardens end up with both.
What to Plant First: Crops That Forgive Beginners
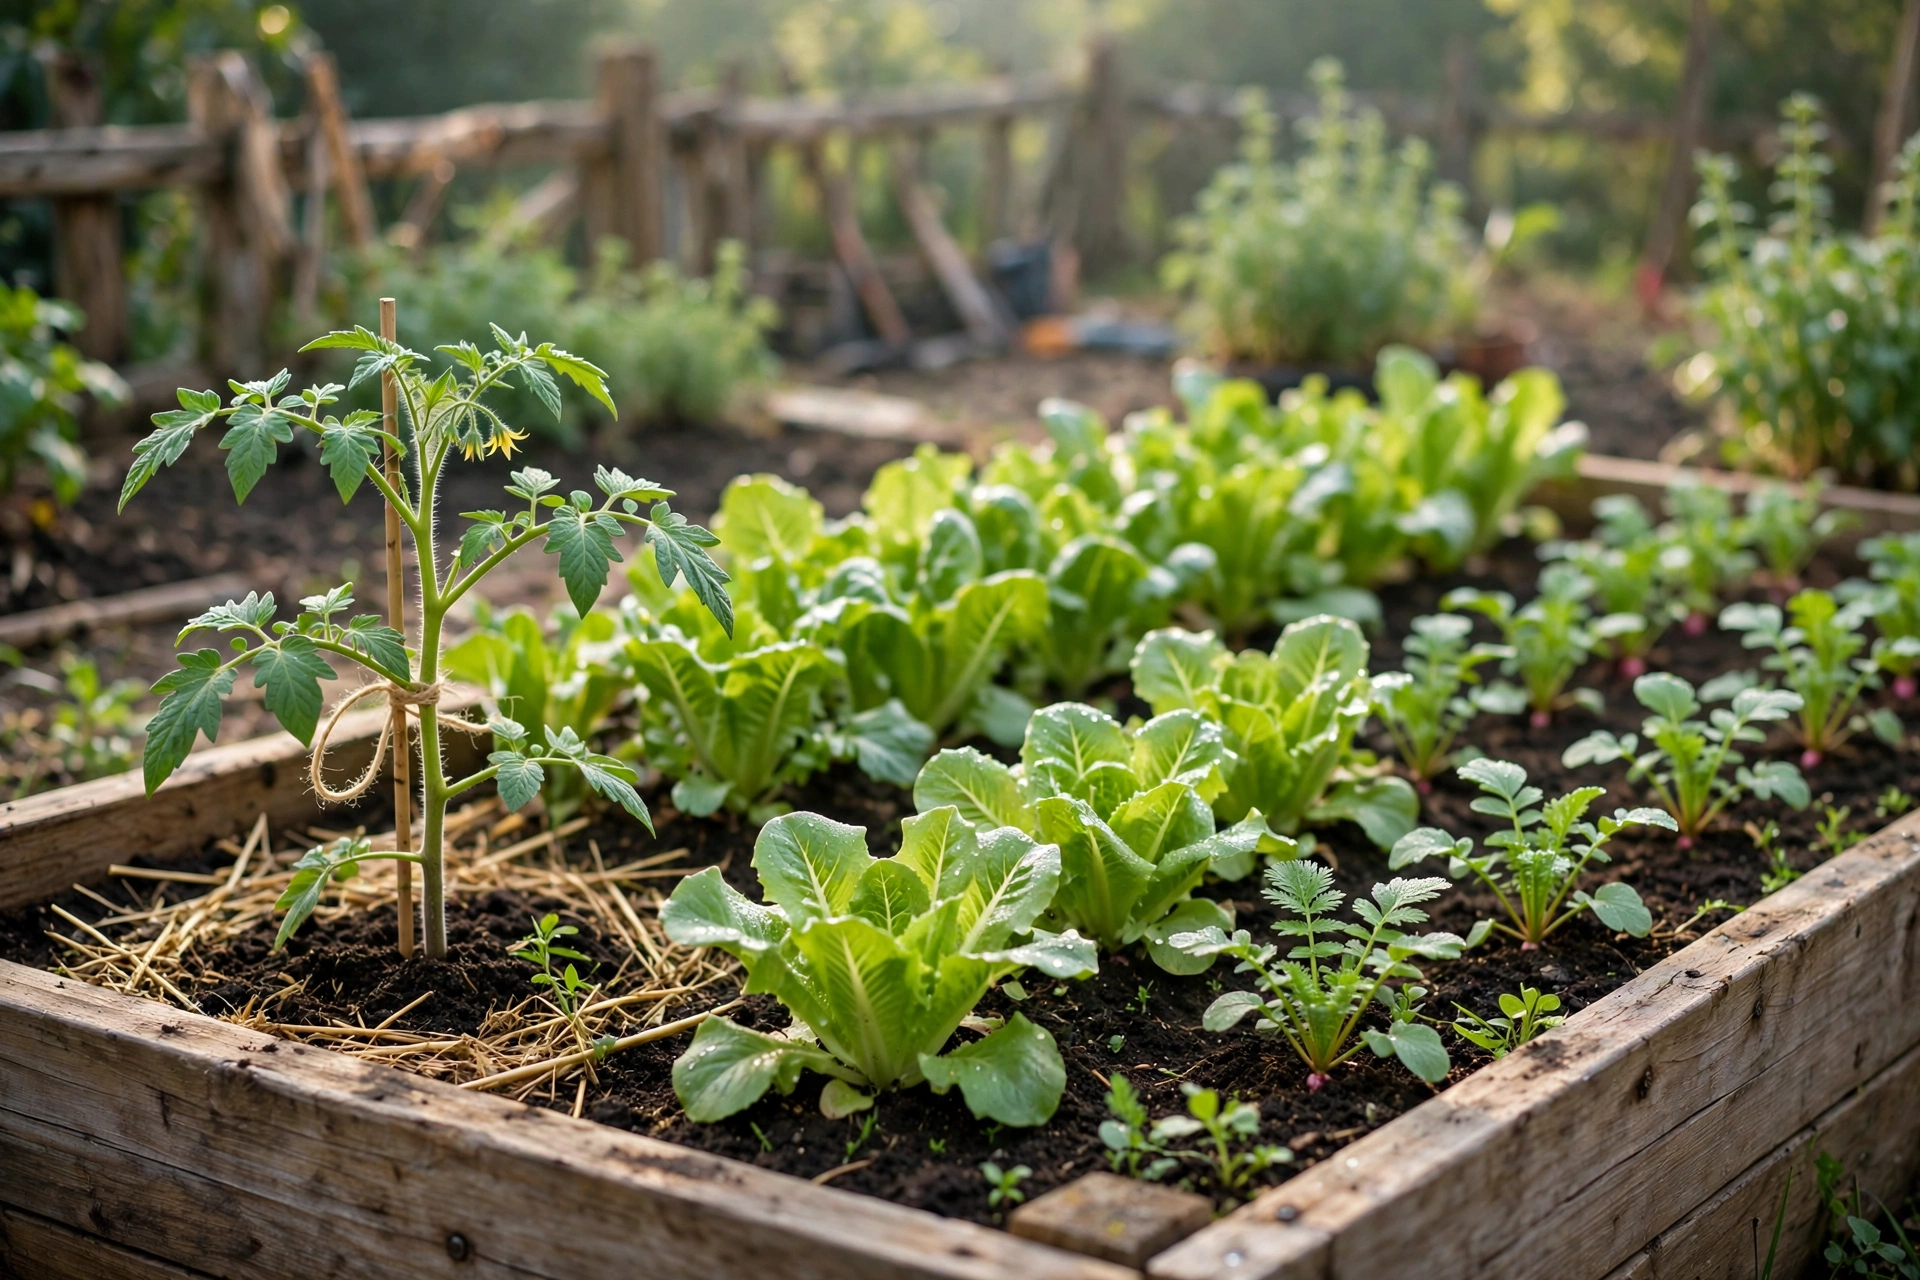
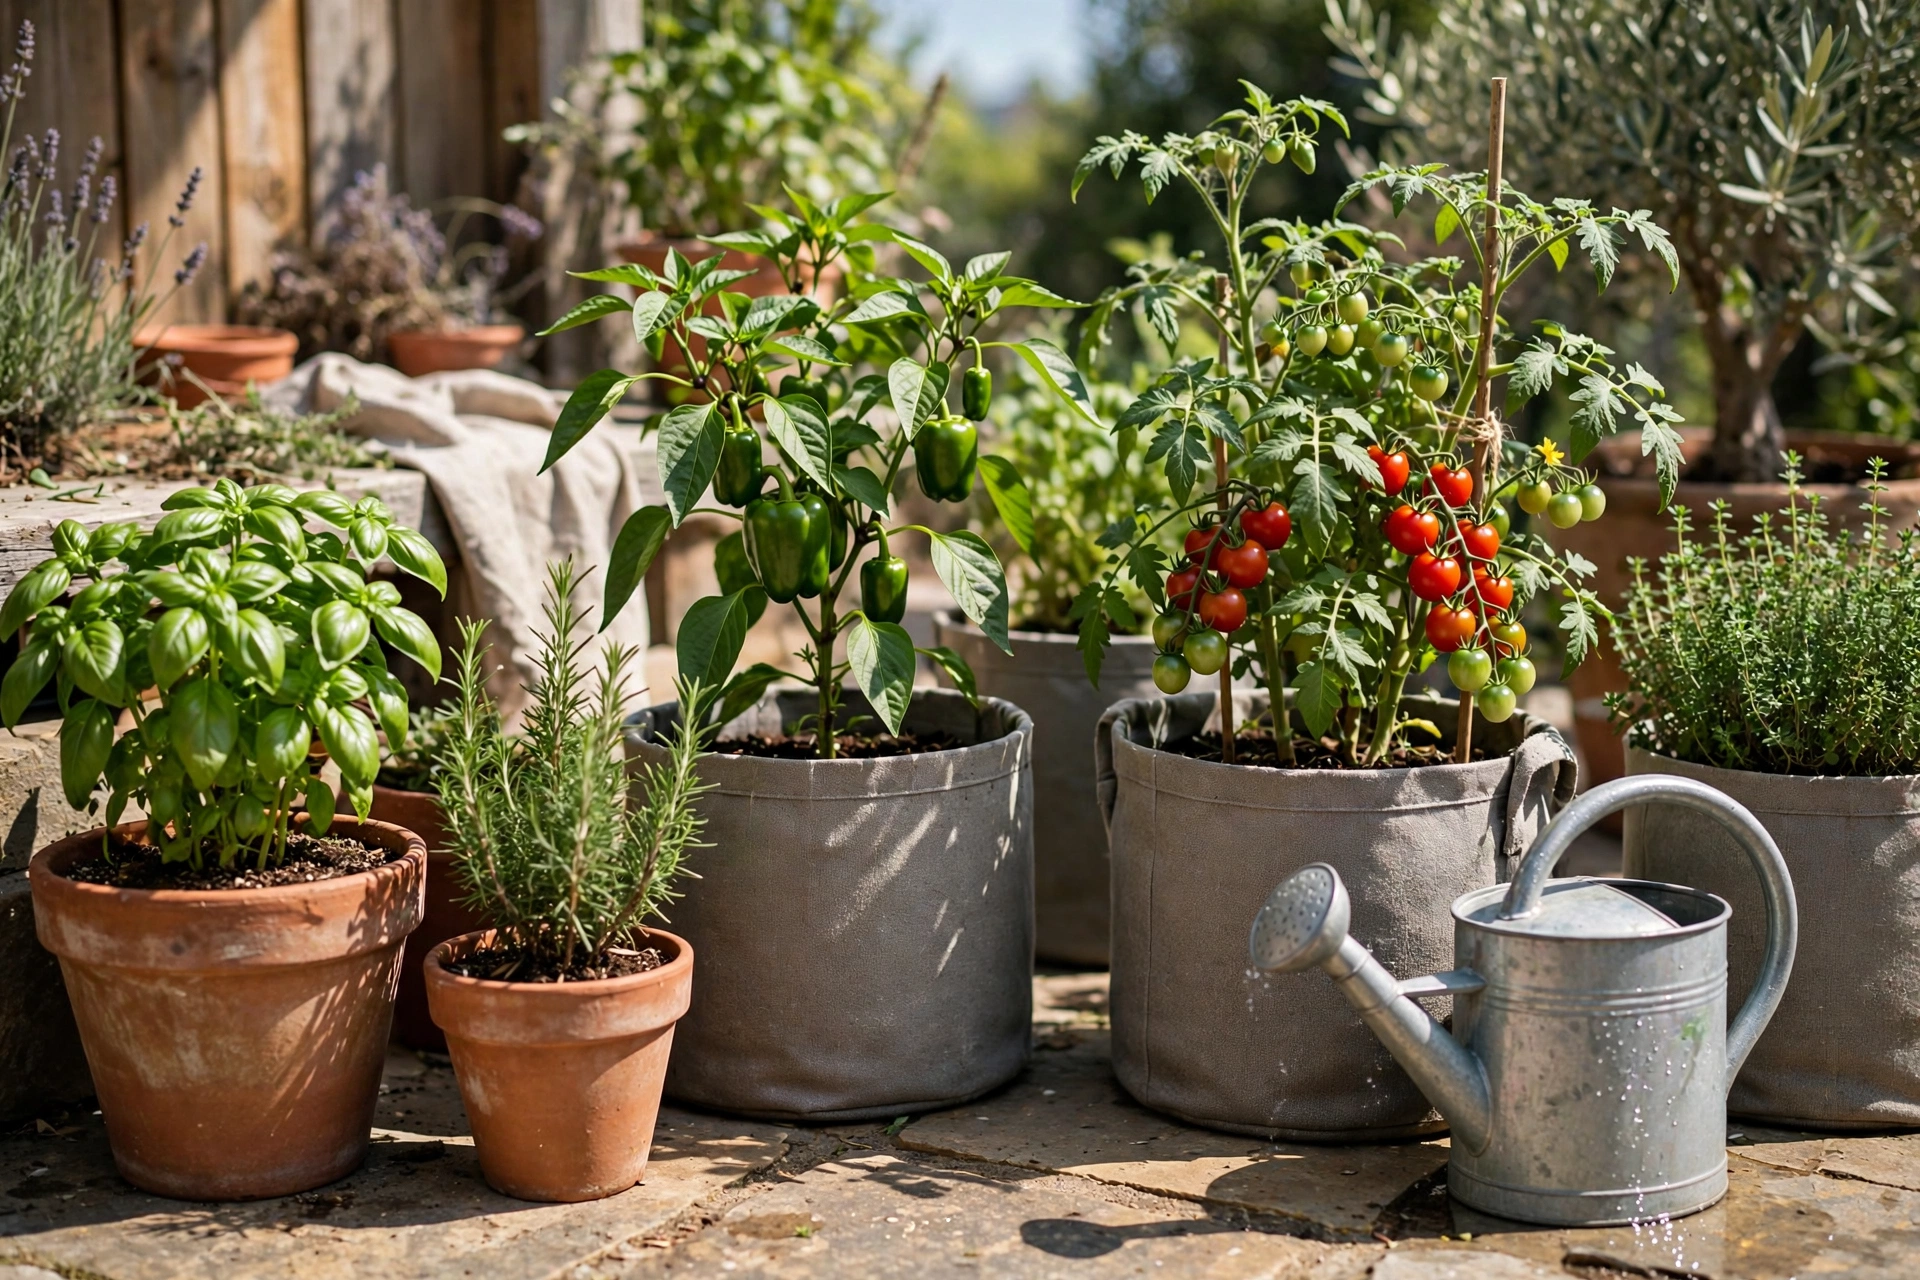
Plant what you actually eat, and start with crops that are genuinely hard to fail. The reliable beginner list is lettuce and salad leaves, radishes, bush beans, courgettes, tomatoes, spring onions, chard, kale, and herbs including basil, chives, mint and parsley. Each grows fast, tolerates imperfect conditions, and gives visible results within weeks.
Taking those in turn, with what makes each worth growing:
Salad leaves and lettuce are the fastest return in the garden. Sow directly, thin the seedlings, and cut leaves in three to five weeks. Sow a short row every two or three weeks rather than one long row at once, which is the single most useful habit in vegetable growing.
Radishes are ready in three to four weeks and are ideal for children and impatient adults. Sow them between slower crops to use the space.
Bush beans need no staking, crop heavily, and improve the soil by fixing nitrogen. Sow after the last frost, directly into the ground.
Courgettes produce absurd quantities from one or two plants. Two plants will feed a household. Four will make you unpopular with neighbours by August.
Tomatoes are the crop most people want and they need slightly more attention: full sun, consistent water, support and feeding once flowering starts. Determinate or bush varieties are easier for beginners than indeterminate cordon types, which need regular side-shooting and tying in.
Herbs are the best value in the whole garden, because supermarket herbs are expensive and short-lived. Basil in a warm sunny spot, chives and parsley almost anywhere, and mint in a container, always in a container, because it will take over a bed within two seasons.
What to avoid in year one: cauliflower, which is fussy about consistency; celery, which needs constant moisture; melons and aubergines in cooler climates; anything that takes a full year to mature; and large quantities of a single crop that all ripens simultaneously.
Seeds or seedlings? Both, depending on the crop. Direct-sow seeds for things that dislike root disturbance and grow quickly: radishes, carrots, beans, peas, salad leaves, spring onions, beetroot. Buy young plants for things that need a long head start indoors: tomatoes, peppers, aubergines, and often brassicas. Seeds are enormously cheaper; young plants save six to ten weeks and remove the whole business of indoor sowing in your first year, which is a reasonable trade.
Timing comes back to your frost dates. Hardy crops including peas, broad beans, spinach, radishes and onion sets can go in several weeks before the last frost. Tender crops including tomatoes, beans, courgettes, cucumbers and basil must wait until after the last frost date and until the soil has warmed, because cold soil stunts them even if no frost arrives. Read the back of every seed packet, which tells you sowing depth, spacing and timing specific to that variety, and is the most under-read piece of gardening literature there is.
Two planting habits worth adopting immediately. Succession sowing, meaning small repeated sowings of quick crops every two to three weeks, spreads the harvest instead of producing a glut. And companion planting is worth a light touch: marigolds among vegetables, basil near tomatoes, and flowers such as borage, calendula and cosmos anywhere, because pollinators are essential for fruiting crops and a garden with no flowers in it sets less fruit.
The Tools and Setup You Actually Need
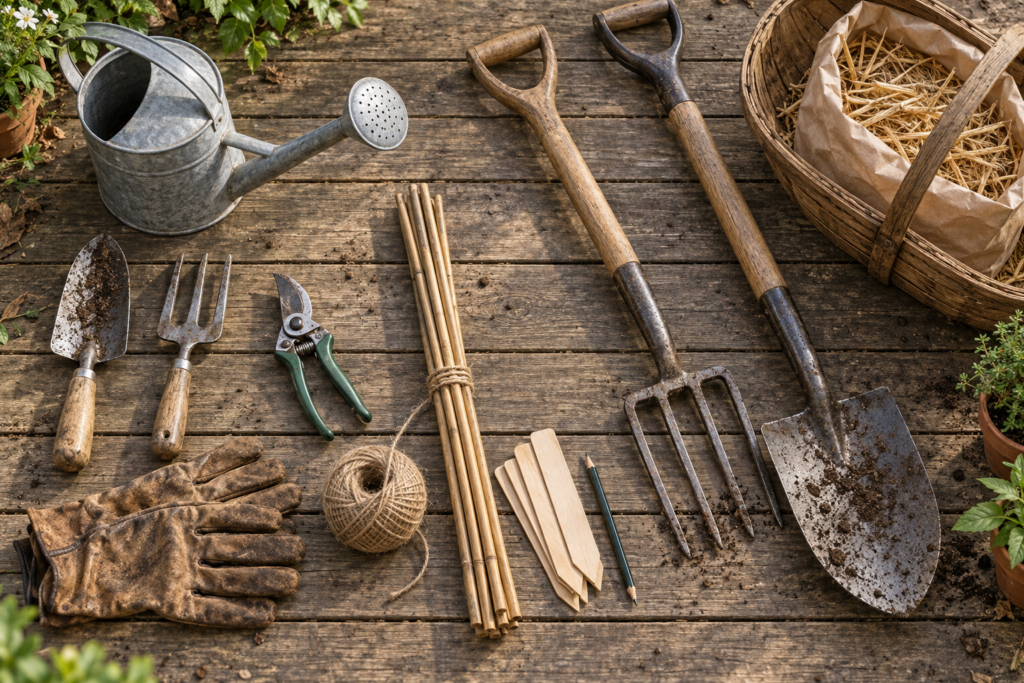
Beginner tool buying tends toward either a cheap twelve-piece set that breaks within a season or an expensive collection that mostly sits unused. The genuinely necessary list is short.
Essential from day one:
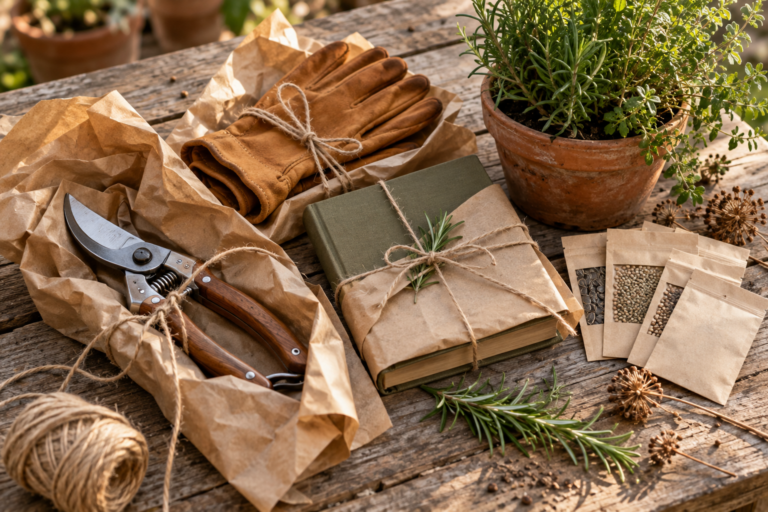
- A hand trowel, and it is worth buying a good one with a forged head, since cheap trowels bend at the neck within weeks.
- A hand fork for weeding and loosening soil.
- Secateurs or bypass pruners, which get used constantly for harvesting and tidying.
- A watering can with a rose attachment, or a hose with an adjustable nozzle.
- Gloves, which prevent most of the small injuries that put people off.
- A garden fork for turning soil and lifting root crops.
- A spade if you are digging beds or planting anything larger than a seedling.
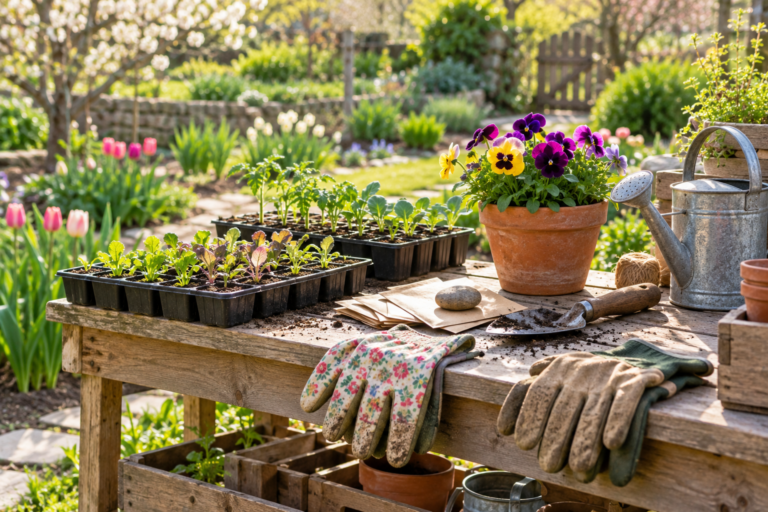
Worth adding soon after: a rake for levelling, a hoe for weeding larger areas standing up, a kneeling pad or knee pads, garden twine and canes for support, a trug or bucket for harvest and weeds, and labels, which sound trivial until three unlabelled seedling trays look identical in April.
Not needed at the start: a tiller, a leaf blower, an elaborate propagation setup, most specialist hand tools, and any powered equipment for a small bed.
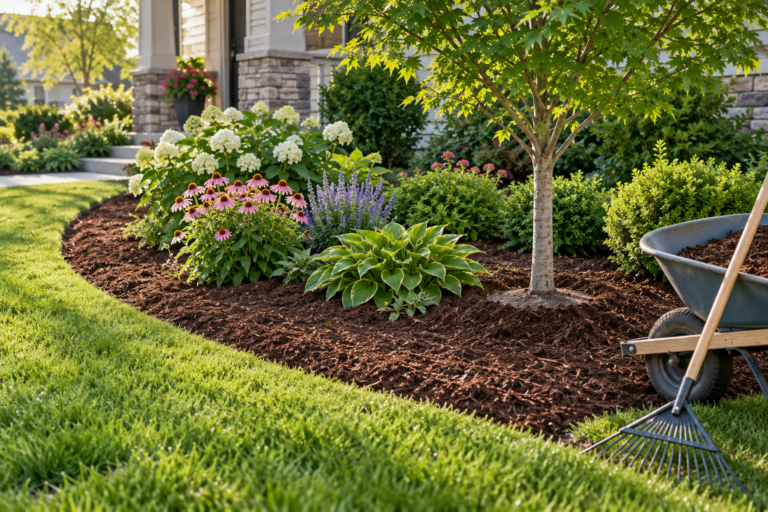
Beyond tools, a few setup items make the difference between a garden that thrives and one that limps. Mulch is the highest-value material in gardening: a 5 to 8cm layer of straw, bark, compost or grass clippings on the soil surface suppresses weeds, holds moisture, moderates soil temperature and feeds the soil as it breaks down. Keep it a couple of centimetres clear of plant stems to prevent rot.
Support for climbing and tall crops should go in at planting time, not when the plant flops over in July. Canes and twine, a simple A-frame or a tomato cage cost little and save a crop.
A compost setup, even a simple one, closes the loop on kitchen and garden waste and produces the material your soil needs most. A basic bin, roughly alternating green material such as vegetable scraps and grass clippings with brown material such as cardboard, dried leaves and straw, will produce usable compost in six to twelve months with almost no intervention.
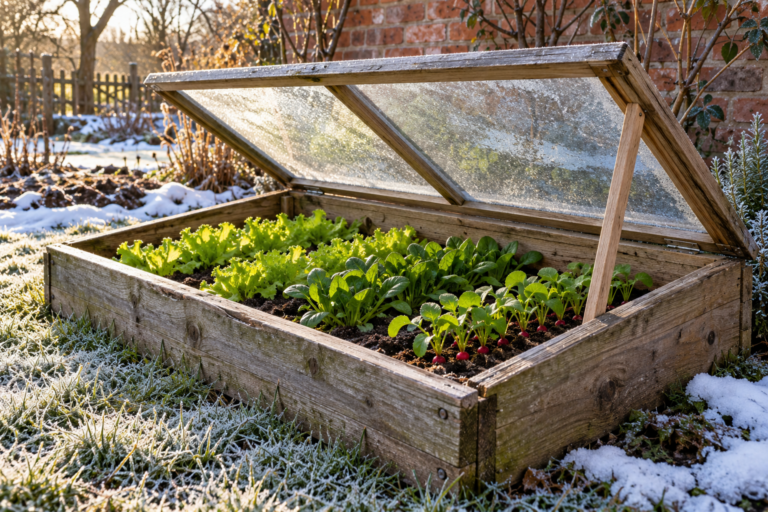
Protection is worth having ready before you need it. Netting or mesh against birds and cabbage white butterflies, fleece for unexpected late frosts, and something to keep cats and pets off freshly sown beds.
Watering, Feeding and the Weekly Rhythm of Keeping It Alive
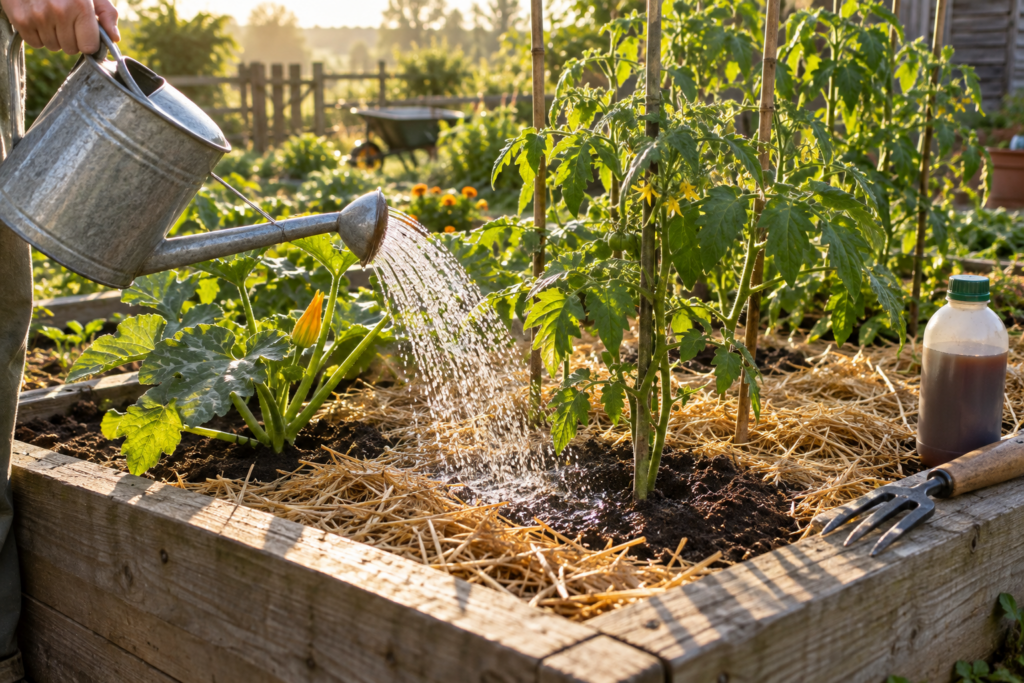
Water deeply and less often rather than lightly and daily. A thorough soak that reaches 15 to 20cm down encourages roots to grow deep and makes plants far more resilient; a daily sprinkle keeps roots shallow and dependent. Most established garden beds need roughly 2.5cm of water per week, from rain or irrigation combined, and considerably more in hot, dry or windy weather.
The practical test is your finger. Push it into the soil to the second knuckle. If it comes out dry at that depth, water. If it is moist, wait. This one habit prevents both the underwatering and the overwatering that kill most beginner plants, and overwatering kills more than drought does, because waterlogged roots suffocate and rot.
Water at the base of plants rather than over the leaves, which reduces fungal disease considerably. Water in the early morning where possible, so leaves dry through the day and less evaporates than at midday. Evening watering is acceptable but leaves foliage damp overnight, which encourages mildew on susceptible crops.
Containers are a separate case entirely and need water far more often, daily in summer and sometimes twice in heat, because there is simply less soil to hold moisture.
Feeding follows a simple logic. Soil with plenty of compost in it feeds most crops adequately for the first half of the season. Heavy feeders, meaning tomatoes, peppers, courgettes, cucumbers and anything in a container, need additional feeding once they start flowering and fruiting, typically every one to two weeks with a liquid feed. A general-purpose feed suits leafy growth; a high-potassium feed, usually sold as tomato feed, supports flowering and fruiting. Over-feeding with nitrogen produces magnificent leaves and very little fruit, which is a classic first-year mistake.
Weeding is easiest when done briefly and often. Ten minutes weekly with a hand fork beats two hours monthly, because small weeds pull out cleanly and large ones take root systems and neighbouring plants with them. Mulch reduces the work by most of it.
A realistic weekly rhythm in the growing season looks roughly like this:
- Check soil moisture and water as needed, more often in hot spells
- Pull weeds while they are small
- Look at the undersides of leaves for pests, which is where they hide
- Harvest anything ready, because picking encourages more production
- Tie in and support anything that has grown
- Feed fruiting crops every one to two weeks
- Sow the next short row of quick crops
That is perhaps twenty to forty minutes a week for a small bed, spread across two or three visits rather than one long session.
What are the most common pests and how do I deal with them without chemicals?
The usual culprits are slugs and snails, aphids, caterpillars from cabbage white butterflies, birds and, in some regions, larger animals. Almost all can be managed without reaching for anything strong, particularly at small scale.
The approaches that work in practice: barriers first, meaning netting or fine mesh over brassicas to stop butterflies laying, fleece over young seedlings, and physical collars around stems. Hand-picking is unglamorous and highly effective for slugs, snails and caterpillars, done in the evening or early morning when they are active. A strong jet of water knocks aphids off, and they are also controlled by ladybirds and hoverflies, which arrive if you have flowers in the garden. Encouraging birds, frogs and beneficial insects is the long game and the most sustainable one.
The two habits that prevent most problems are checking plants regularly, since a small infestation caught early is trivial to deal with, and keeping plants healthy, because stressed plants attract pests far more than vigorous ones. A garden with some pest damage is normal and healthy; a garden with none has usually been sterilised of the insect life that keeps it balanced.
Where Beginner Gardens Go Wrong
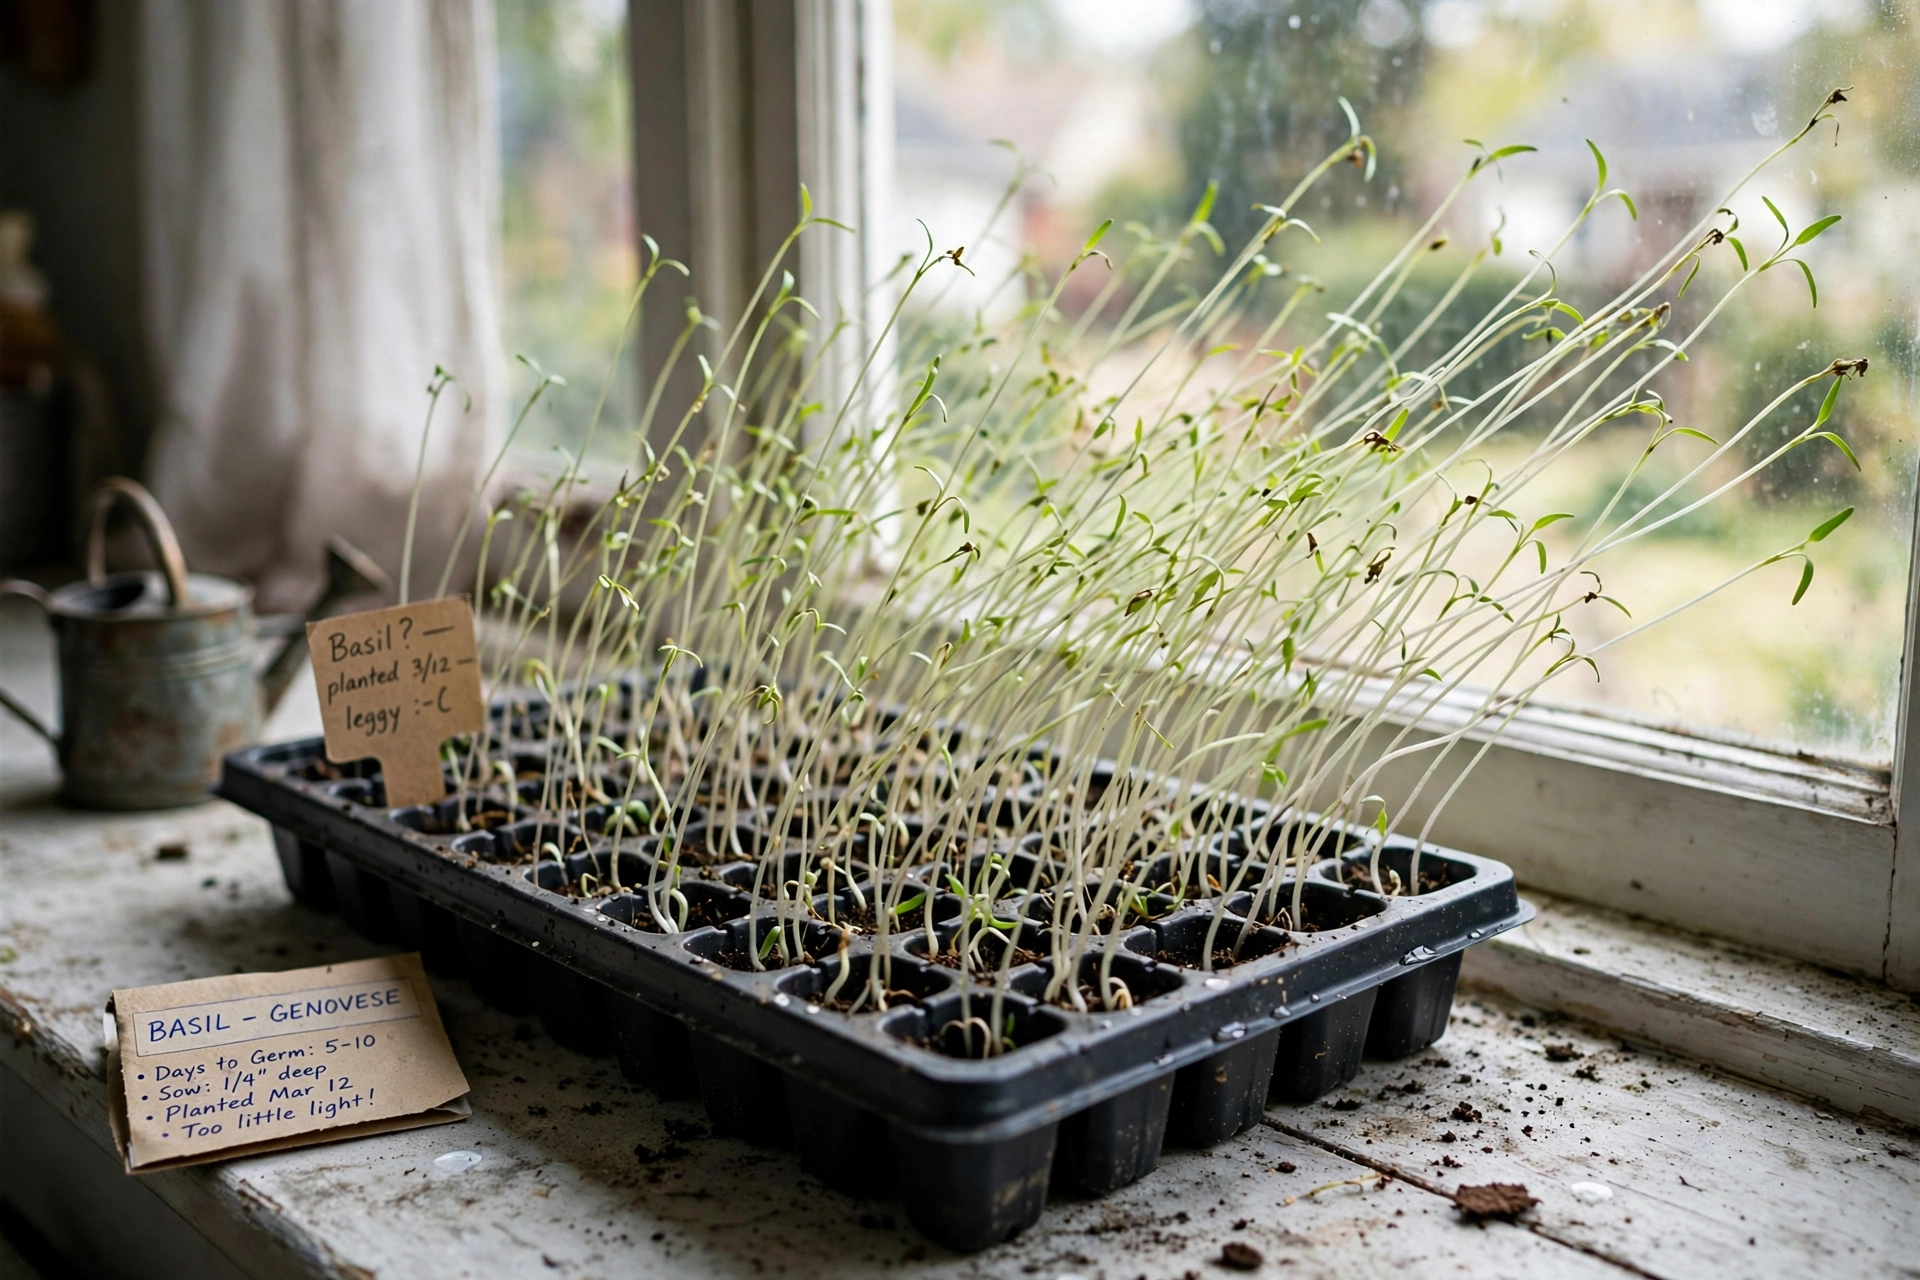
The failures are consistent, and knowing them in advance is most of the cure.
Starting too big. By far the most common. A large first garden becomes unmanageable by midsummer. One bed, tended well, teaches more than five neglected ones.
Planting in insufficient light. No amount of watering, feeding or care compensates for a shortage of sun. Check first, plant second.
Planting too early. Cold soil stunts tender crops even when no frost arrives, and plants set out two weeks late often overtake those set out two weeks early. Wait for the soil, not just the calendar.
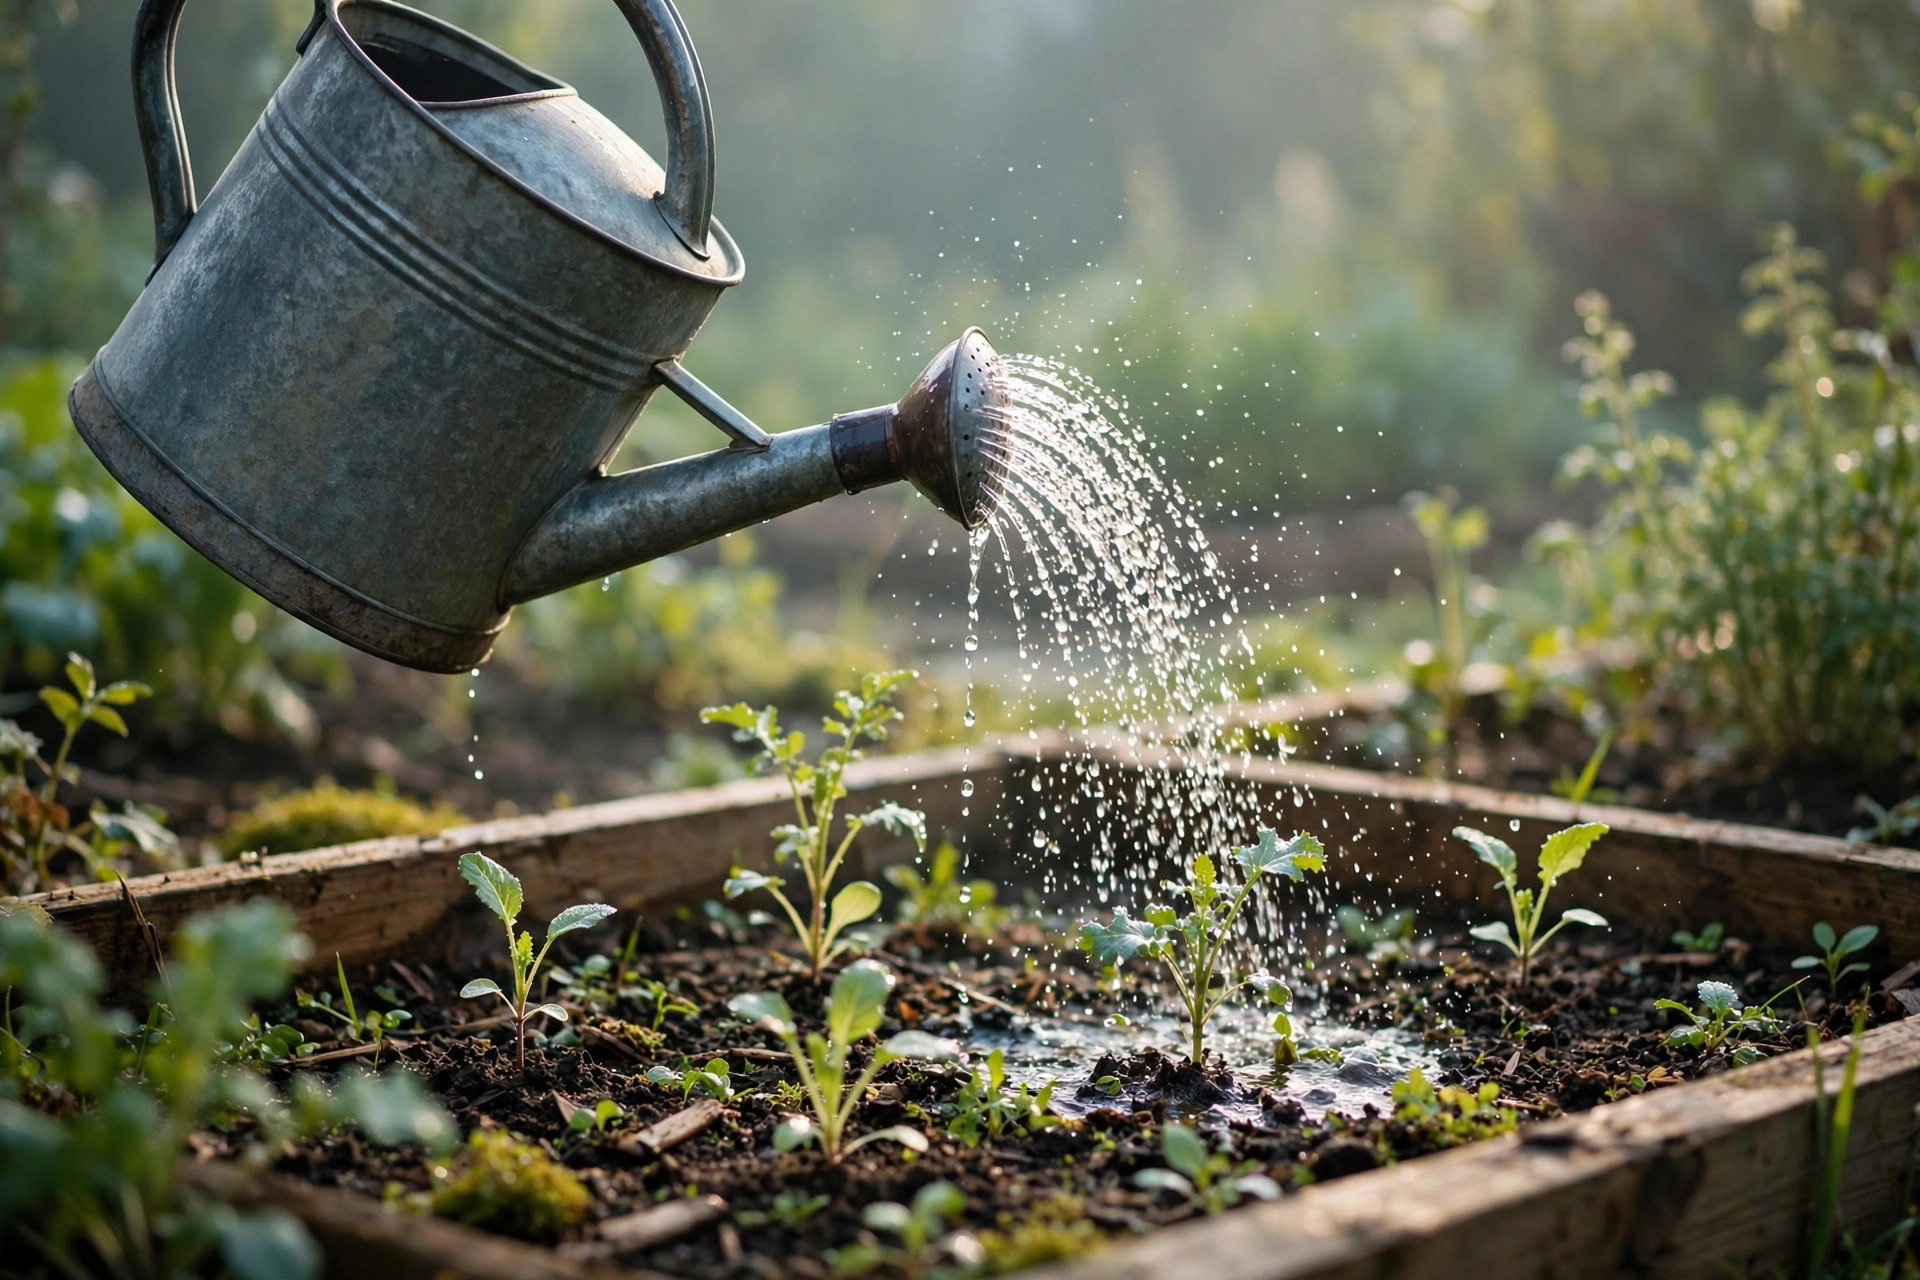
Overwatering. Kills more beginner plants than drought. Check the soil with a finger before every watering.
Ignoring spacing. Seed packets specify spacing for a reason, and crowded plants compete for light, water and nutrients, and develop fungal problems from poor airflow. Thinning seedlings feels brutal and is essential.
Growing things you do not eat. Every garden has a crop nobody wanted. Grow what ends up on your plate.
Skipping the soil work. Planting into poor soil and hoping fertiliser will compensate is the slowest route to a disappointing season.
Not mulching. Mulch solves weeds, moisture and soil temperature simultaneously and takes an afternoon.
Forgetting to harvest. Many crops stop producing once fruit is left to mature on the plant. Picking regularly keeps beans, courgettes and salad leaves productive for weeks longer.
Giving up after one bad season. Every gardener loses crops. Weather, pests and timing conspire, and the useful response is to note what happened and adjust, since a garden journal recording sowing dates, varieties and what worked is worth more in year three than any book.
Frequently Asked Questions
When is the best time to start a garden?
Early spring is the classic starting point, once the soil has begun to warm and workable, though you can begin site preparation, bed building and soil improvement at almost any time of year. Autumn is an excellent and underrated time to start, since it lets you build beds, add compost and let the ground settle over winter, ready for planting at the first opportunity in spring. If it is already midsummer, plant quick crops like salad leaves, radishes and bush beans rather than waiting a whole year.
How much time does a garden take each week?
A small raised bed or a group of containers needs roughly twenty to forty minutes a week during the growing season, best split across two or three short visits rather than one long session. That covers watering, weeding, checking for pests and harvesting. Larger gardens scale roughly with area, and the workload peaks in late spring when planting, and midsummer when everything grows and crops at once. Winter needs almost nothing beyond occasional tidying and planning.
What vegetables are easiest for a complete beginner?
Lettuce and salad leaves, radishes, bush beans, courgettes, spring onions, chard, kale and herbs such as chives, mint and parsley are all forgiving, fast and productive. Tomatoes are worth growing despite needing more attention, because the difference from shop-bought is dramatic. Avoid cauliflower, celery, and anything with a long growing season or fussy requirements in your first year.
Do I need to test my soil before planting?
A pH test is worth doing once with an inexpensive kit, since most vegetables want a pH between roughly 6.0 and 7.0 and growth will be poor outside that range regardless of feeding. A full nutrient test is useful but not essential for a first garden, because adding plenty of compost addresses most deficiencies. A contamination test is worth considering if the site sits near an old building, a former industrial area or a busy road, and raised beds with imported soil avoid the question entirely.
Can I start a garden without a yard?
Yes. Containers on a balcony, patio, doorstep or sunny windowsill will grow herbs, salad leaves, spring onions, bush tomatoes, peppers, chillies and strawberries productively. The key requirements are the same as in the ground: enough sun, containers large enough for the crop, drainage holes in everything, potting compost rather than garden soil, and more frequent watering and feeding than beds need. Community gardens and allotments are the other route if you want more space than a balcony allows.
How do I know when to harvest?
Most crops are best picked slightly younger than instinct suggests, since flavour and texture decline as things mature. Salad leaves are cut when large enough to use, leaving the growing point to regrow. Radishes are ready in three to four weeks. Beans and courgettes should be picked small and often, because leaving them to grow large tells the plant to stop producing. Tomatoes ripen best on the plant but will finish indoors. Root crops can be checked by scraping soil back from one shoulder to see the size.
What should I do with my garden over winter?
Clear away spent plants and anything diseased, though leaving some seed heads and stems standing gives insects and birds shelter. Spread a layer of compost or well-rotted manure across the beds and leave it for worms to work in, which is the single most valuable winter job. Mulch bare soil to prevent nutrient loss and weed growth, or sow a green manure crop. Clean, sharpen and oil your tools. Then use the quiet months to plan, order seeds and record what worked, which is when most of the improvement in a garden actually happens.